Reversible bias cut apron in 2 sizes for women and 2 sizes for children
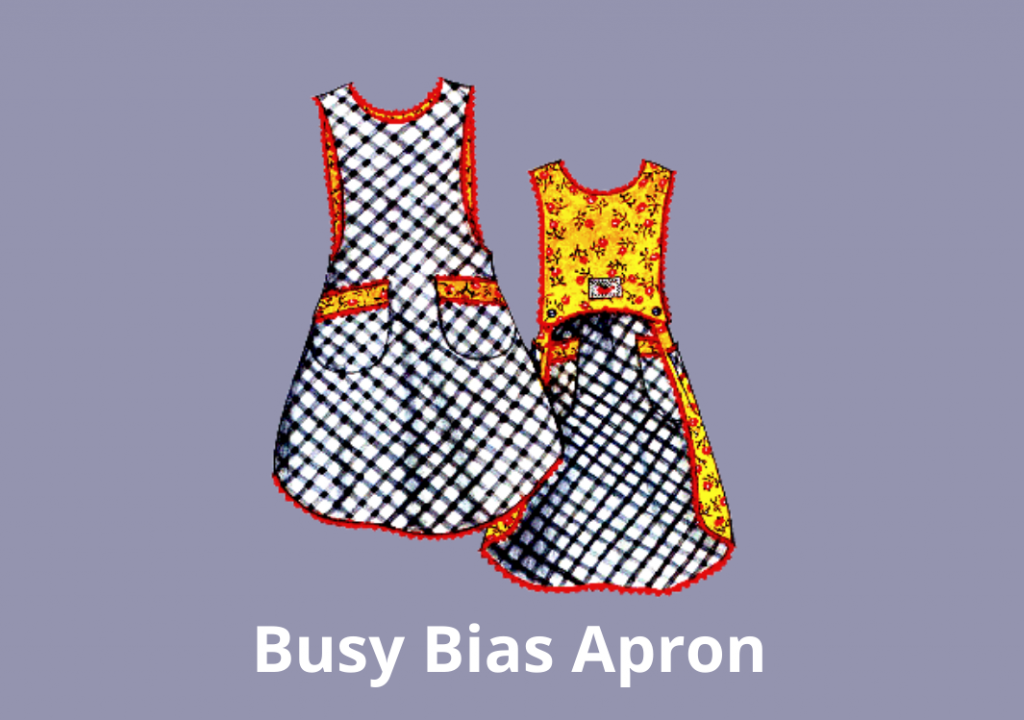
Busy Bias Apron
Materials (Women’s Size B 8–12)
Main Fabric: 1 5/8 yards.
Contrast Fabric: 1 5/8 yds.
Trim: 7 1/2 yds. (I used Wright’s Jumbo Rick Rack)
4 Buttons
I also used about 1/3 yd. of a different print for the pockets.
Overall Design
The end result is great. It looks good and it’s like having 2 different aprons in one. I made this apron for a friend’s birthday, but ended up giving it to her at her Super Bowl party, so she got to wear it that day. I think it was fun for her and good for my crafty ego, since we both got oodles of compliments. She even switched to the reverse side of the apron at halftime;-)
Functionally, I think this is a wonderful apron because the half back and the buttons at the side really keep this one in place. You don’t have to keep tying the strings, adjusting the neck, or straightening out the body. The pockets are in a good position and the sides wrap around for excellent coverage of your hips. The only downside is that getting the buttons done up when the apron is on your body takes some flexibility.
Written Instructions
I’m not a big fan of casual, conversational written instructions. I like my procedures clean and dry, so the instructions in this pattern were too chatty for me. There were a few times that I had to read the step again and again, only to apply SMS Sewing Tip #1 before I could progress. (I had to talk about it aloud, but I didn’t have to call my mom on this one ;-))
The hardest part was pinning the right sides of the apron together after I had already finished the neck. This requires some spatial skills that I know I lack, so I had a tough go of it, and ended up having to do a little seam ripping. Here are the results of that fiasco.
Since I had already finished 80% of the apron when I did this, I patched it up and put a heart applique over it. (There are little hearts on the pocket fabric.)
Note: This pattern comes with two sizes for women. The friend for whom I made this apron is around a size 8 or 10 while I…..am not. The back wouldn’t be as snug if I had made the larger size.
Diagrams / Images
The only images in the pattern are of the finished apron and a diagram of how to cut the pieces. As this is a reversible pattern, it is very tricky to pin and sew so when you turn it out everything is as it should be. It would have been very helpful to have some pictures of this. Lack of images is a failing of most sewing patterns, in my opinion.
If you decide to try this pattern, you might get a little help from some photos I took of the process.
Pattern Pieces
The pattern pieces are very well marked. Notches and placement markings are very clear. There are nice dark, long grain lines that help you place your pattern pieces down on the bias.
Overall Level of Difficulty
Easy to Intermediate
If you are just learning to sew, I wouldn’t choose this pattern unless you had someone to help you.
Modifications
Although I stayed true to the pattern this time, if I were to make this apron again, I would change the pockets. I would rather have a finished pocket on the inside, so I’d make another piece the same size as the pocket body with the trim, then sew the two pieces with right sides together, clip the curves, and turn it right-side out.
Conclusion
This is a very functional apron that makes a great impact. The construction takes a bit of patience and persistence, but it’s worth the end result.