Don’t miss Part 1 of our Doll Quilt Sew-Along from Alissa. Remember, if you have any questions throughout the sew-along then please let me know.
From Alissa: Thanks for coming back for Part 2 of our fun doll quilt sew along! Let’s get started with embellishing our quilt top and basting.
Part 2: Embellishing your quilt top and making the quilt “sandwich”
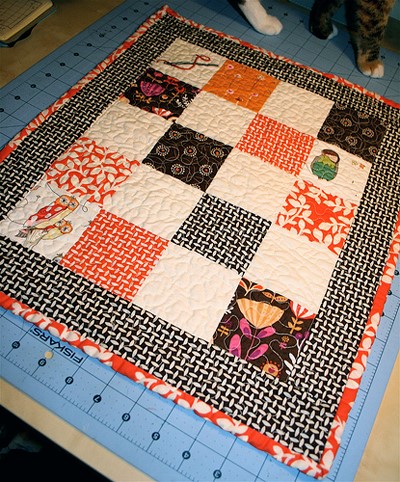
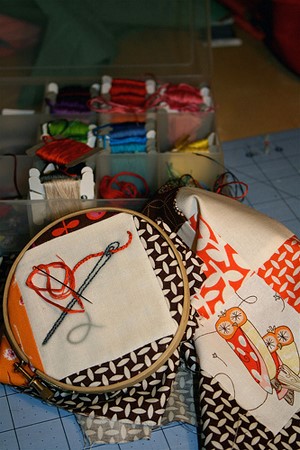
There are many options for embellishing your quilt top. I’ve decided to embroider a cute Sublime Stitching pattern on one of the blocks. Embroidery is a wonderful way to liven up a simple quilt top.
Or what about some applique? Maybe sew on that special vintage button that deserves a place of honor. Or perhaps you’d like to add a little pocket for someone to hide their latest little treasure. This tutorial would be great for adding a pocket to anything!
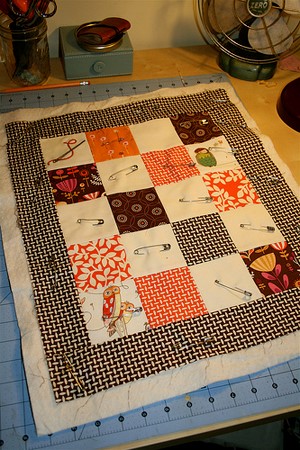
Now that you’ve taken the time to add the embellishments of your choice, it’s time to baste all three layers of our quilt and make our quilt “sandwich.” Time to get the fat quarter (that is the back of your quilt) and the batting involved!
Carefully lay out and smooth your three layers. Make sure that they all line up. First, the back with wrong side up, then the batting. Lastly, center the top, right side up. The quilt top will be smaller than the back and batting. Make sure that all three layers are completely smooth with no lumps or bumps.
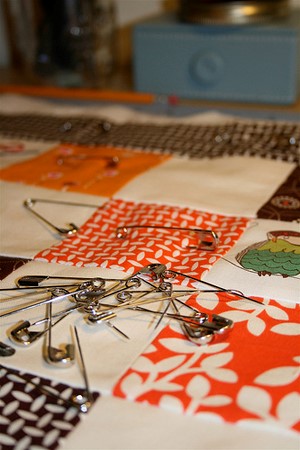
Pin all three layers together in regular intervals all over the quilt top. Make sure you pin plenty. In large quilts this step can be tedious but it is vital that you are thorough or you will pay the price during the next step: quilting. I put pins every 3 to 4 inches. Some people prefer to baste with spray.
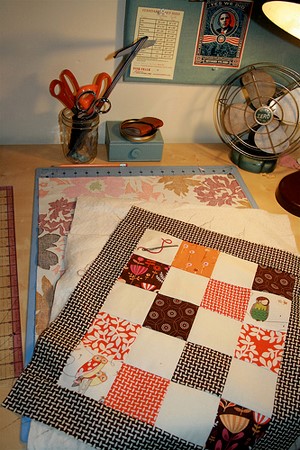
Stop and appreciate your pinned quilt sandwich. Can’t wait to see you back here for part 3 next week when we’ll be quilting this beauty!