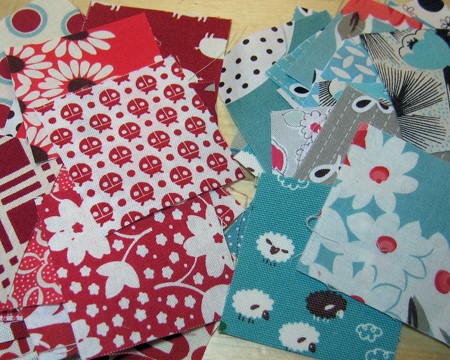
Elizabeth do a lot of quilting and, consequently, end up with a lot of scraps. To keep things under control, I generally save only those scraps that are at least 5” square. However, there are some smaller scraps that I just can’t let go. Some are out of print, some are more difficult-to-find Japanese imports, and some are just prints that I really like. I love the idea of patchwork piecing tiny scraps, but it can take a whole lot of time. (And that’s saying nothing for how difficult it can be to match so many closely-spaced seams!)
Today I am going to use lightweight fusible interfacing to help quick-piece tiny squares. By this method, I will able to piece the 81 squares of mini quilt in less than one hour.
Make Quick Piece Tiny Fabric Squares
Start by determining the size of your finished block and how many squares you want to use. Calculate the finished size of your squares and blocks using a 1/4″ seam allowance, just as you would for conventional patchwork. That means, if you’re using 2” x 2” squares, your finished squares will be 1-1/2” x 1-1/2”.
I used 81 squares 2” x 2” (41 red and 40 aqua) to make a finished block 13-1/2″ across.
Now, on to the interfacing! I used very lightweight Pellon. (Some stores also carry a gridded interfacing designed especially for this purpose.) Cut a square of interfacing large enough to accommodate all of your fabric squares, including seam allowances. For me, this was 18” x 18”. Use a fabric marker and ruler to draw a 2” x 2” grid on the non-fusible side of the interfacing.
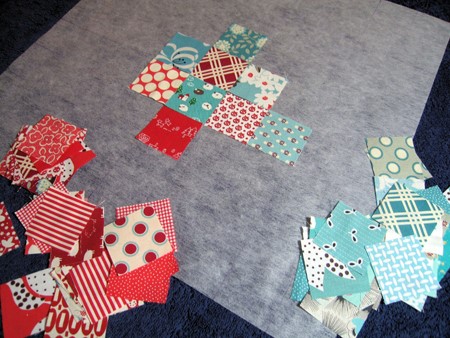
My ironing board would not accommodate an 18” square, so I created a makeshift ironing area by laying towels on my worktable. Lay the interfacing, fusible side up, on your ironing area. Starting in the center, use the grid you just drew (or the one printed on the interfacing) to arrange your fabric squares as you’d like them to be in the finished block.
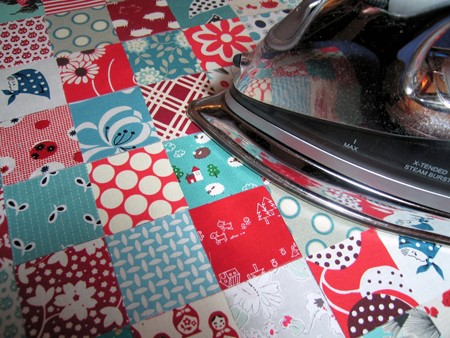
Once all squares are in place, press to fuse them to the interfacing. Rather than ironing (i.e. moving the iron from side to side) pick up your iron and put it down on the block, using even pressure and a quick burst of steam. Continue across your block, until all squares are fused. Flip the block over and, iron (moving the iron back and forth this time) the back using very light pressure and several quick bursts of steam.
Note: This is what works with my iron and the interfacing I use. If you’ve had trouble fusing interfacing in the past, I recommend practicing with some less-precious scraps to get a feel for what will work for you. I don’t recommend laying a protective cloth over your fabric squares before pressing, at this is likely to disrupt their position.
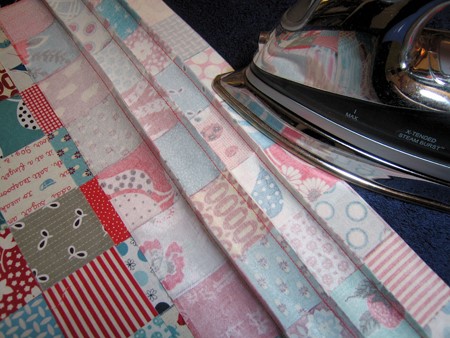
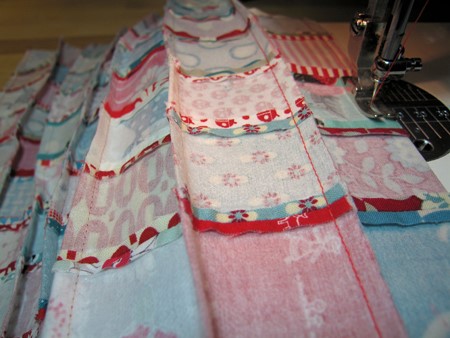
Starting at one side of the block, fold adjacent vertical columns toward one another, matching right sides. Press fold and use a 1/4” seam allowance to sew columns together. Repeat until all vertical columns are sewn.
Use scissors or a rotary cutter and ruler to carefully trim a miniscule amount from each of the seam allowances you just created – just enough to allow you to press each of the seams open
Use the same method to fold and sew horizontal rows together.
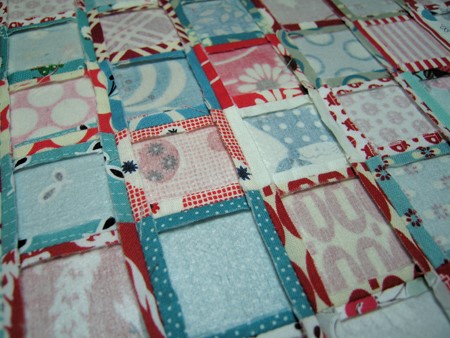
Once again, trim a miniscule amount from each seam allowance and press seams open.
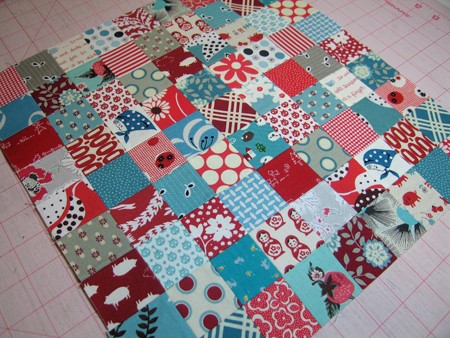
And that’s all there is to it. Square up your block and you’re done!
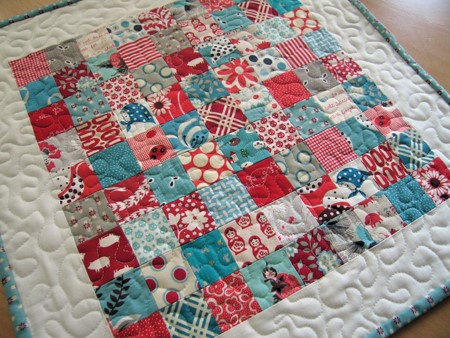
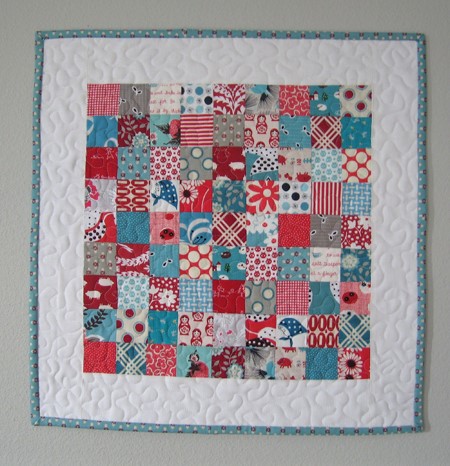
Because of the interfacing, blocks made using this method may not be appropriate for a quilt that’s going to be used as a blanket. However, they’re perfect for anything that will benefit from being slightly rigid. I used my block to make a mini quilt for my kitchen wall, but it could also have been used to make a bag, an oven mitt a hot pad, or even part of a placement or table runner.