Oilcloth was created by treating canvas using several coats of linseed oil. Although the companies manufacturing “oilcloth” today are using many original designs, the material is very different.
Oilcloth
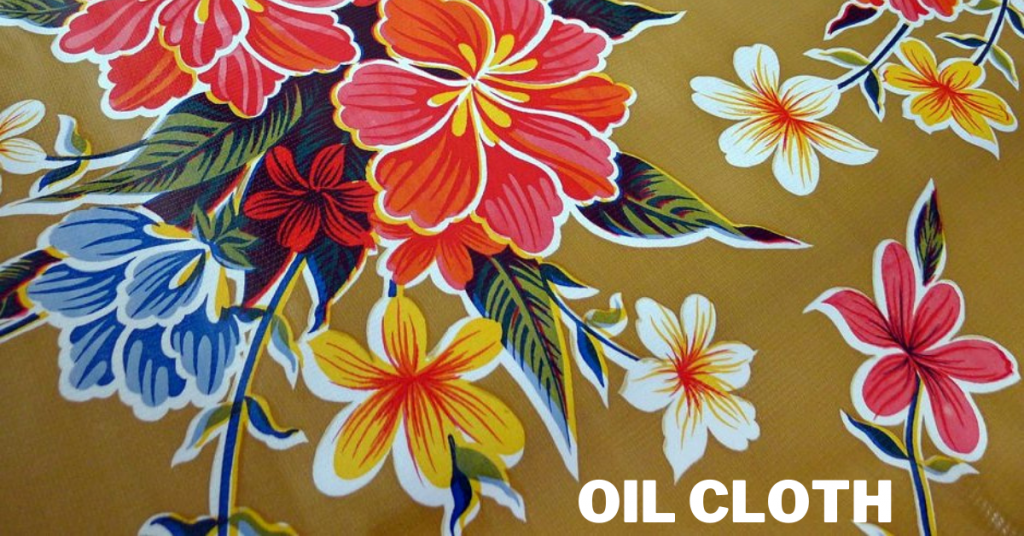
Oilcloth (what we call it today anyway) is vinyl on a cotton mesh base. The design is printed on the top of the vinyl. The back is somewhat rough and canvas-like. Most styles are 47″ wide, but the medallion prints are 54″.
Vinyl-Coated Cotton is regular cotton fabric that has been laminated with clear vinyl. As the base is actual cotton fabric, it is more supple than oilcloth, and a little easier to sew. The back is just like the back of printed cotton. The manufacturing process is more expensive. Aside from these minor differences, assume that all the following suggestions that apply to oilcloth also apply to vinyl-coated cotton. Some styles are 44″, while some are 54″.
Chalk Cloth is like oilcloth with a matte finish. Usually black or green, you can write on it with chalk and wipe it clean! Sew with it, roll it and fold it just like oilcloth. Chalk Coth is 48″ wide.
Oilcloth Applications
Not sure what to do with oilcloth? Try some of these ideas.
- Baby bib
- Apron
- Splat mat or mess mat
- Place mats
- Book covers
- Pen or crayon case
- Shelf or drawer liner
- Pillow (envelope style works well)
- Kitchen or outdoor chair seat cover
- Tablecloth
- Lunch sack
- Tote bag, purse, or diaper bag
- Shopping cart seat cover
- Kitchen canister covers (secure with hot glue gun)
- Please comment with your ideas!
Getting the Wrinkles Out
When you get your oilcloth out of the box, it will be extremely creased from being folded and shipped. Before you begin working with it, you should give these wrinkles a chance to work themselves out. Fortunately, all you need to do is to lay it flat in a warm room for a few hours. Lay it out in the sun if possible.
General Machine Sewing Suggestions
- Use a size 16 needle, especially if you’re sewing oilcloth to oilcloth. (The package might say DENIM needles.)
- Your favorite poly/cotton thread will do.
- Use a long stitch length for seams so you don’t perforate the oilcloth too much and have it tear apart on you. You might, however, decrease the stitch length for curves.
Note: Someone reported good results machine-embroidering onto oilcloth. Give it a try!
Getting the Presser Foot to Glide
Oilcloth is actually vinyl on a webbing of sorts. If you sew on the back of the oilcloth, you usually can sail right along. When you try to sew on the right side (printed side), however, your presser foot might stick, which makes a mess of your project and will frustrate you. Here are some suggestions that have been sent to us:
- Use a teflon presser foot.
- Use a roller presser foot.
- Place tissue paper between presser foot and oilcloth.
- Put masking tape on bottom of your presser foot.
- Put masking tape on the oilcloth itself. (Least preferred because it can be tricky to get it off.)
- Again, comment with your experience. Has anyone tried a walking foot?
Finishing the Edges
Oilcloth will not fray, so you don’t have to hem or finish the edges if you don’t want to. You can, for example, cut a tablecloth to size and be done. If, however, you want something prettier on an apron or a bib, you can try one of the following.
- Use decorative edge scissors or pinking shears.
- Sew double-fold bias tape around the edges.
- Serge the edges.
- Turn a hem (on a straight edge)
Have fun working with oilcloth! Let us know how it turns out.