We were so happy when Erin shared this fun summer project with us, incorporating so much of. Enjoy Erin’s Picnic Blanket project (then head off to make one of your own!).
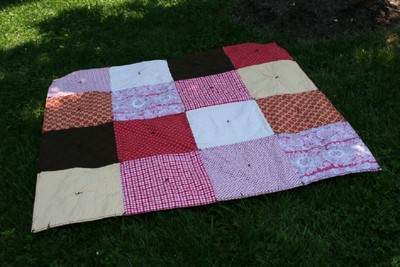
Picnic Blanket with Rock Pockets
You’ll need:
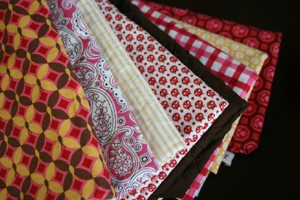
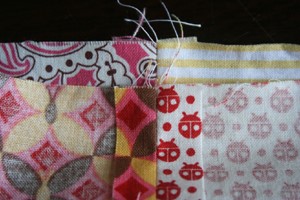
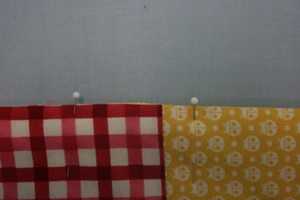
- 1/2 yard each of 8 different fabrics for the front squares and the rock pockets
- A full sized sheet or 3 1/2 yards of 42” wide fabric for the backing
- Low loft cotton batting – 61” x 61”
- Sewing machine
- A walking foot is helpful, but not necessary
- Scissors
- Straight pins
- Rotary cutter and mat are helpful, but not necessary
- Thread to match or contrast – you choose
- Masking tape
- Quilt safety pins
- Two skeins contrasting embroidery floss
- Quilters curved needle
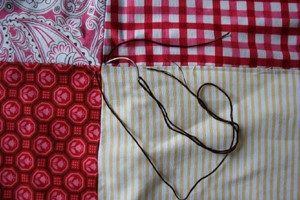
Pre-wash all your fabrics and then cut them
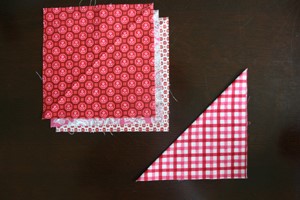
- Cut two 16” squares out of each fabric for the front (a total of 16 squares)
- Choose four prints for the rock pockets and cut one 8” square out of each of these prints.
- Cut a 61” x 61” piece out of the sheet for the back. (If you are using 42” wide fabric, cut your 3 1/2 yard piece into two lengths of 1 3/4 yards. Remove the selvedges and stitch together along what was the selvedge edge. Then square this piece to 61”)
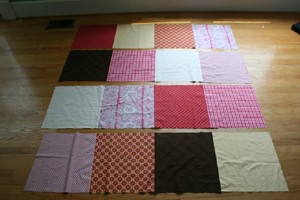
Making the Top
- All seam allowances are 1/2” unless otherwise stated.
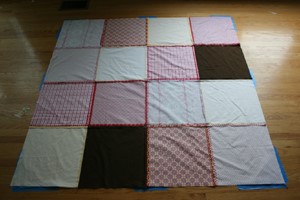
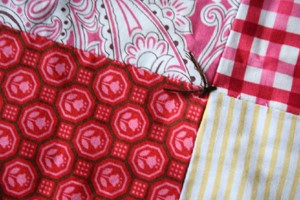
- Arrange the 16” squares in a four by four grid.
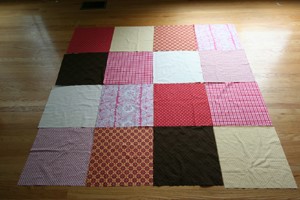
- Sew each row of squares together from left to right. Press the seams open.
- Next sew row 1 to row 2 making sure you match the seams. Press the seam open.
- Repeat step 3 with rows 3 and 4.
- Now sew row 2 to row 3. Press the seam open.
- Measure your top. It should be 61” x 61”. If it is bigger than 61” square, cut your top to 61” x 61”. If it is smaller than 61” square, cut your backing and your batting to the same dimensions of your top.
- Set the top aside.
Making the Pockets
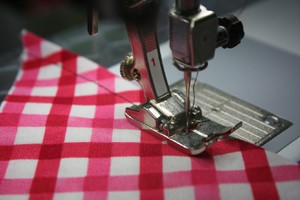
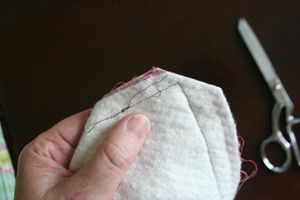
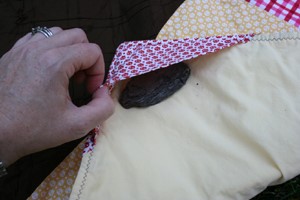
- Fold each of the 8” squares wrong sides together on the diagonal and press.
- Stitch along the fold 1/4” from the edge.
- With the right side of your backing facing, pin each pocket to its corner.
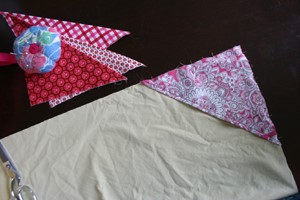
- Stitch the pocket to the backing using a 1/4” seam allowance.
Putting it Together
- Lay your backing fabric on the floor right side up, smooth out all wrinkles and tape it down along the edges with masking tape so it will remain stationary as you add the other layers of your blanket.
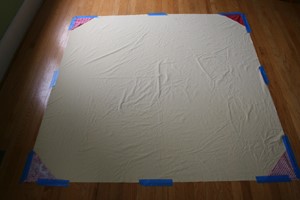
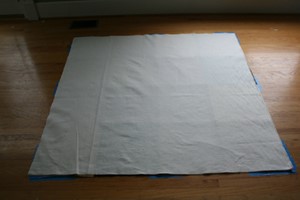
- Next, lay your top piece wrong side up on top of your backing, smoothing out wrinkles and matching edges and corners.
- Place the batting on top, matching edges and corners.
- Using quilter’s safety pins, baste the three layers together around each pocket.
- Pin the layers together around the perimeter of the blanket using straight pins.
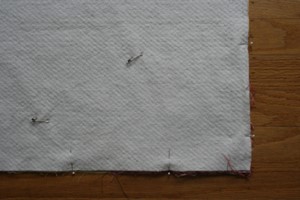
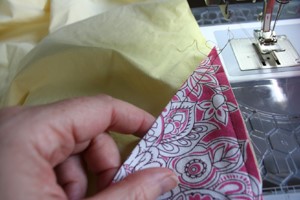
- Sew the blanket together, around the edges using a straight stitch and a 1/2” seam. Leave a 15” opening on one side for turning.
- After it is stitched together, clip the corners and turn the blanket right sides out.
- Press the edges flat, turning the seam allowance towards the inside along your opening.
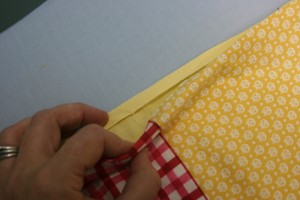
- Pin the opening closed.
- Top stitch around the entire blanket 1/4” from the edge using a zig zag stitch.
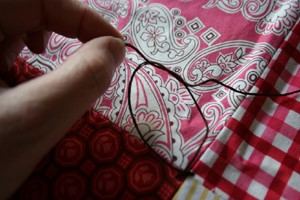
Tying the Blanket
- Cut several 18” lengths of embroidery floss for tying the quilt. Use all six strands of floss together. You will get four or five ties out of each length of floss.

- Lay your blanket on a flat surface with the top facing up and tape it down along the edges and corners with the masking tape.
- Thread your curved needle with one length of embroidery floss. DO NOT tie a knot.
- Beginning in the center of the blanket, tie it together where the squares meet. Then mark the center of each square and tie the layers together at these marks.
To Make the Ties
- Insert your needle through all three layers of your blanket bringing it back out about 1/4” from where you first inserted it.
- Pull the thread through, leaving a 3 inch tail.

- Re-insert the needle in the fabric in the same place that you first did and make an additional stitch.
- Pull the thread taught and then cut the thread leaving a three inch tail.
- Tie your two tails together using a square knot. (Right over left and then left over right.)
- Trim the thread tails to 1”.
You’re finished!
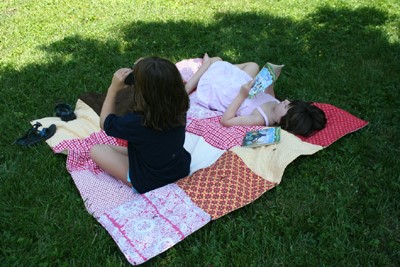
To keep your blanket from blowing up, insert rocks or other weights in the triangle corners.
Sit back, relax and enjoy being outdoors!
How to Sew Picnic Blanket with Rock Pockets