Carley Biblin from Making It Up as I Sew Along showed us How to Embroider Wool + Fur in our Six Weeks of LOVE for Softies, then she filled us in on How to Make Your Own Paper Pieced Designs. Now Carley is back with new ornaments for your holiday tree or packages. Paper piece your way to a new set of geometric ornaments! This article will mainly focus on how to make Geometric EPP Ornament Tutorial.
Geometric EPP Ornament Tutorial
Materials:
- Triangle Templates PDF
- Fabric (a large scrap should be enough)
- Sew-in heavyweight interfacing
- Fusible Web
- 8-10 inches of yarn, ribbon or string
- Needle to fit your yarn, ribbon or string
- Binder clips (optional but highly recommended)
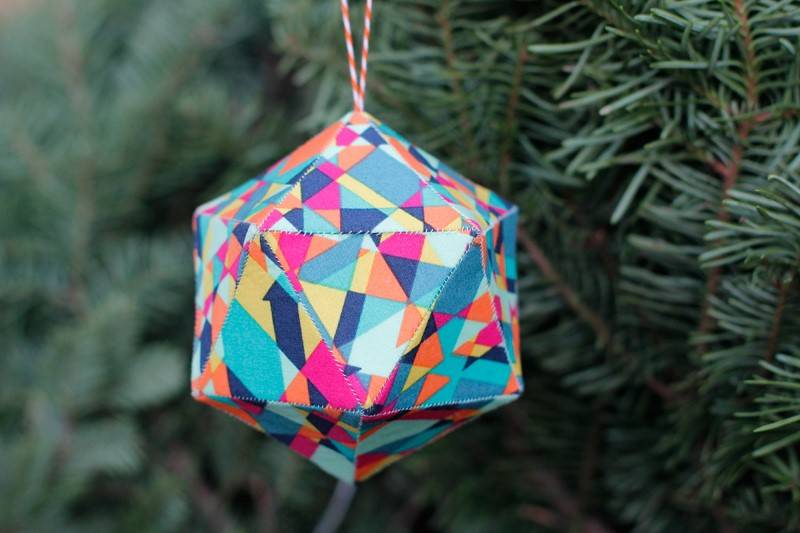
Prepare the templates. Print the Equilateral Triangle Template PDF and select your desired size (I used the 2.5″ template and my finished ornament has a 3.5″ diameter and is 4.5″ from top point to bottom point). Cut out the template along the black line. You will only need one copy of the triangle template.

Prepare the fabric. Iron the fusible web to the wrong side of your fabric according to the instructions on the packaging. Then peel off the backing paper.

Cut the Interfacing. Make sure one side of your interfacing is straight. Use a rotary cutter and mat to cut a strip of interfacing whose width is equal to the height of your triangle. Use the triangle template to cut triangles from the strip. You will need a total of twenty interfacing shapes.
Cut out fabric shapes. Lay the triangle template or an interfacing shape on the fabric and cut out a triangle, adding about 3/8″ for the seam allowance. To reduce the amount of fabric at the corners, trim them to a flat edge, making sure that the seam allowance is still 3/8″. Continue to cut out triangles until you have twenty.
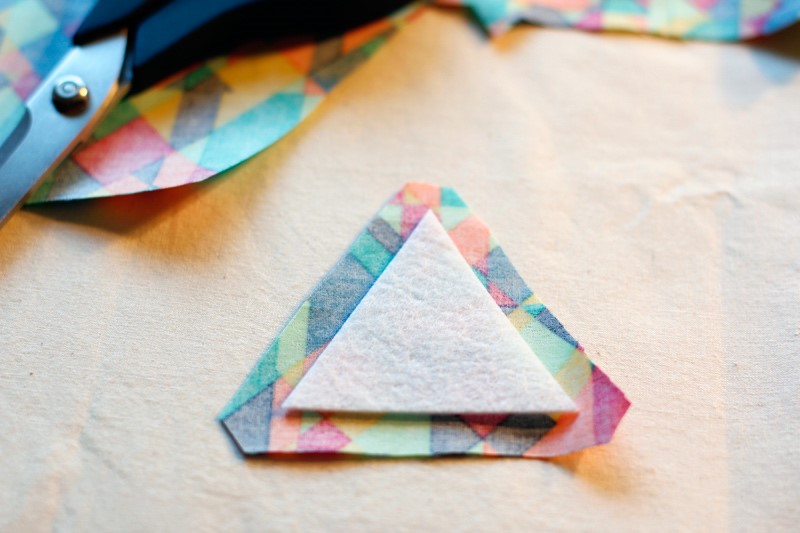

Fuse the fabric shapes to the interfacing shapes. Take one interfacing triangle and center it on the wrong side (fusible side) of a fabric triangle. Beginning at the center of one side, fold the seam allowance over the interfacing shape. Iron the fabric from the center of the side to one corner, leaving the other corner free for now. Rotate the pieces, fold over the next side and iron it down. For the third side, fold over the seam allowance and tuck the last corner under the seam allowance of the first side so that all the “flags” are pointing in the same direction, then iron down both sides. Flip the fused shape over and iron the fabric so it fuses to the interfacing as well. Repeat for the rest of the shapes.

Assemble the base and top of the ball. Arrange five triangles so their points meet in the center. You should have an incomplete hexagon shape. Take two of the triangles and place them right sides together. Whip stitch them together along one edge. Add another triangle, making sure to maintain the pattern you laid out. Continue until all five are sewn together. Close the gap by bringing the triangles together, creating a concave shape on the right side. Bend the pieces until you are able to get the two triangles at the gap to meet right sides together, then whip stitch along the edge. A binder clip can be very helpful in keeping the edges in place while you sew.
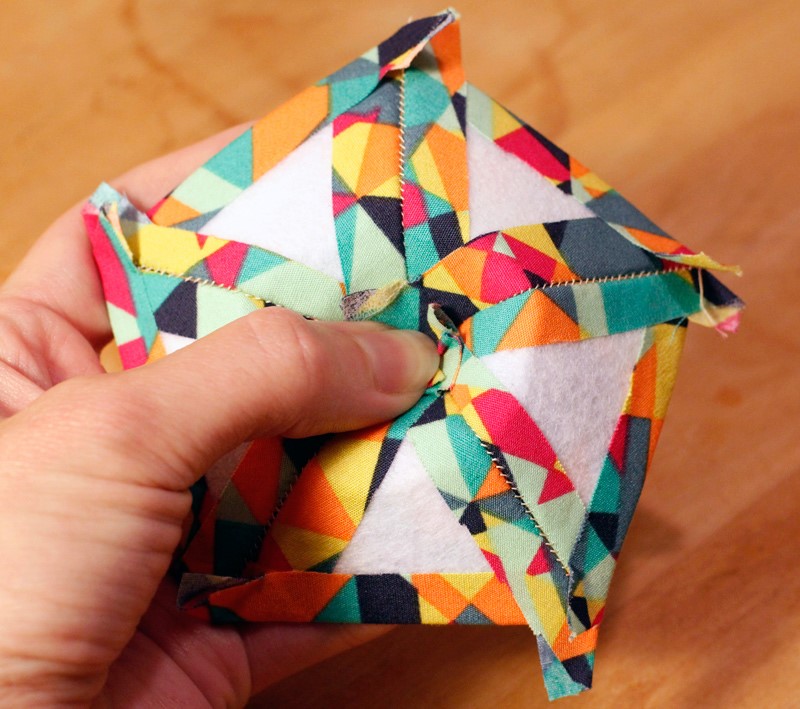
Once done, gently press on the point with your thumb until it pops to the other side, creating a shallow bowl. This will be the base of your ball. Repeat with five more triangles to make the top of the ball. When closing the gap on the top piece, don’t stitch all the way to the point. Leave a gap just large enough to fit your yarn, ribbon or string.
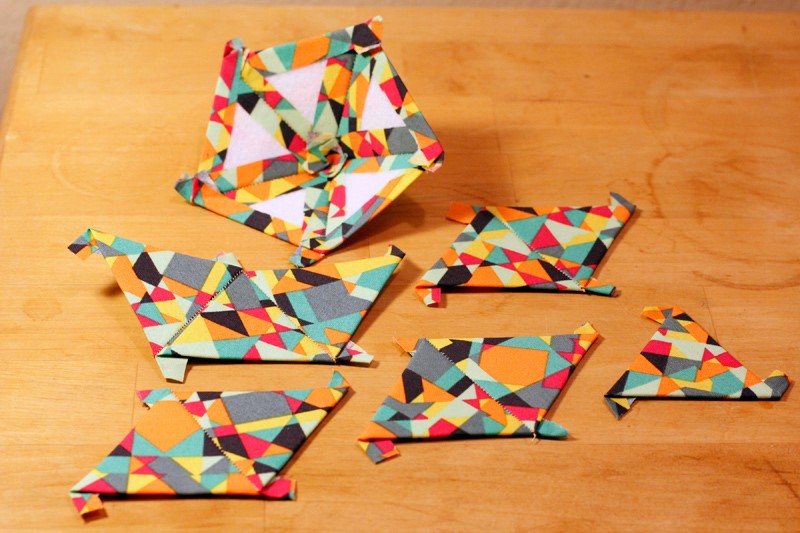
Assemble the sides of the ball. Sort the remaining ten triangles into groups as follows: 3, 2, 2, 2, 1. Arrange the pieces in each group so that one edge meets with another edge and whip stitch them together along these edges.
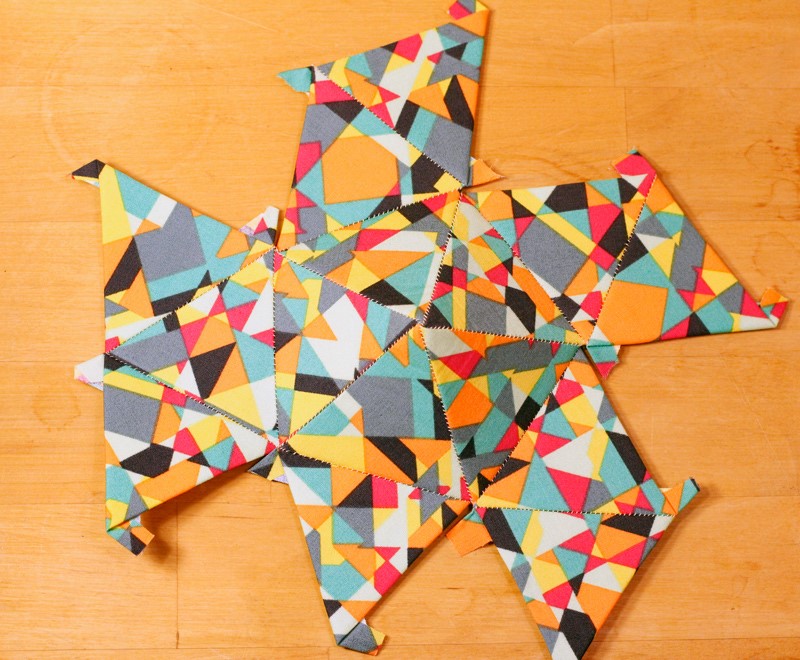
Attach the segments you created to the base of the ball as shown in the picture. The two-triangle segments should “point” clockwise and the order should be 2, 2, 2, 1, 3 (going clockwise).
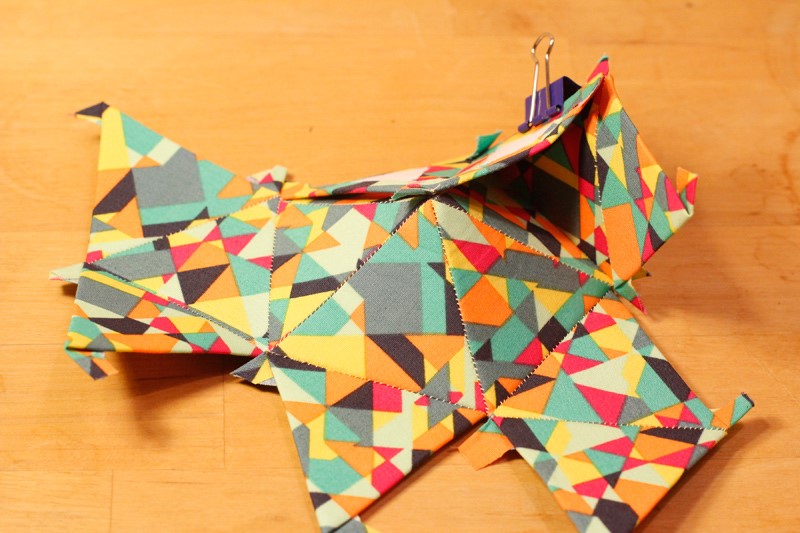
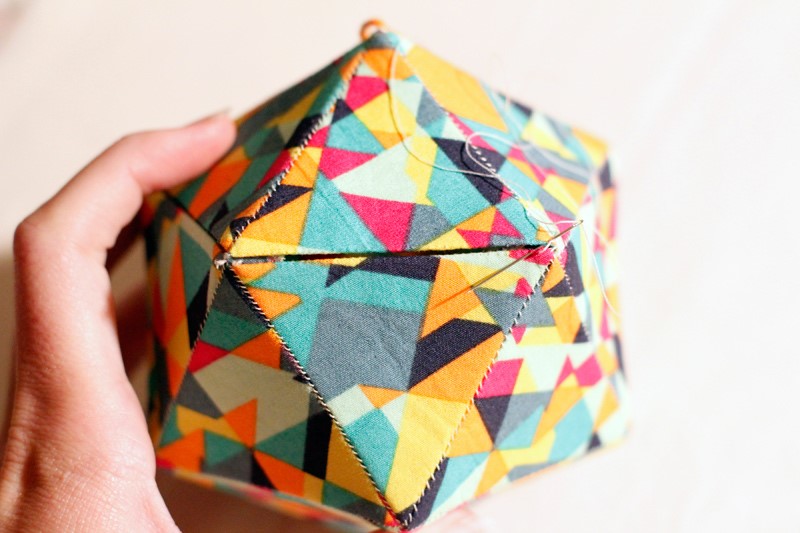
Join the sides of the ball. Bring together the sides of adjacent two-triangle segments. Put them right sides together and whip stitch along the edge. This will close the gap and create another concave shape on the right side. Gently press on the point with your thumb until it pops to the right side. Continue closing the gaps, joining edges, and popping out points until only one is left.

The final gap is the most difficult of the side pieces. Carefully maneuver the last gap closed and bend the pieces of the ball until the right sides are together. Since there is so much tension trying to force the pieces apart, it helps to use a binder clip to keep them in place as you sew the edge. Once done, pop out the point as before.
Add the hanger. Take the length of ribbon, yarn or string you selected and thread it through your needle. Bring the needle up through the small gap you left and pull through, making sure to leave a couple inches on the underside. Put the needle back down through the same gap, creating a loop at the top. Remove the needle and carefully knot the ends together on the underside of the ball top. If you are worried about the string falling to the inside of the ball, also knot it on the outside of the ball.

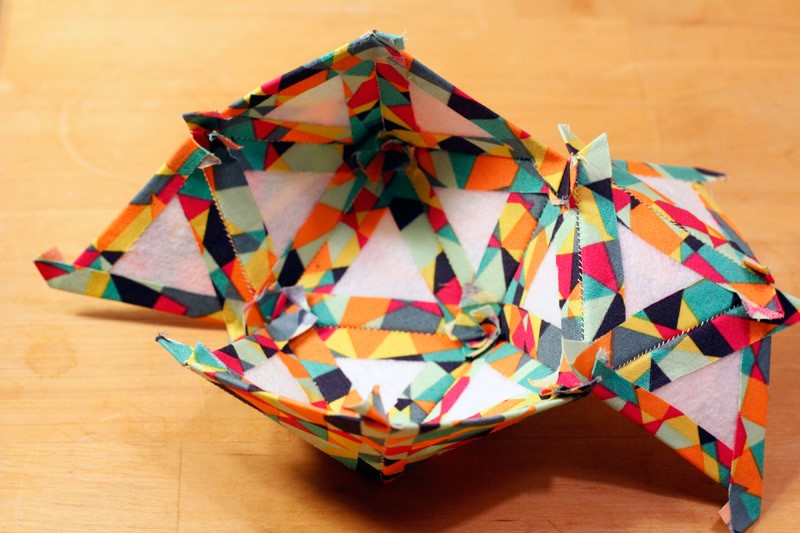
Attach the top of the ball. Place one triangle of the top of the ball right sides together with one of the side triangles and whip stitch the edge.
Flip the top so it sits in position on the sides. The rest of the whip stitching will have to be done from the outside, which is tricky. Try to keep knots on the inside of the ball by maneuvering the needle between the triangles to the inside of the ball and turning it so the point can go out from the inside. Stitch all the remaining sides. It can be helpful to make tacking stitches on the remaining corners before sewing the rest of the top, particularly if you notice the sides shifting out of position.
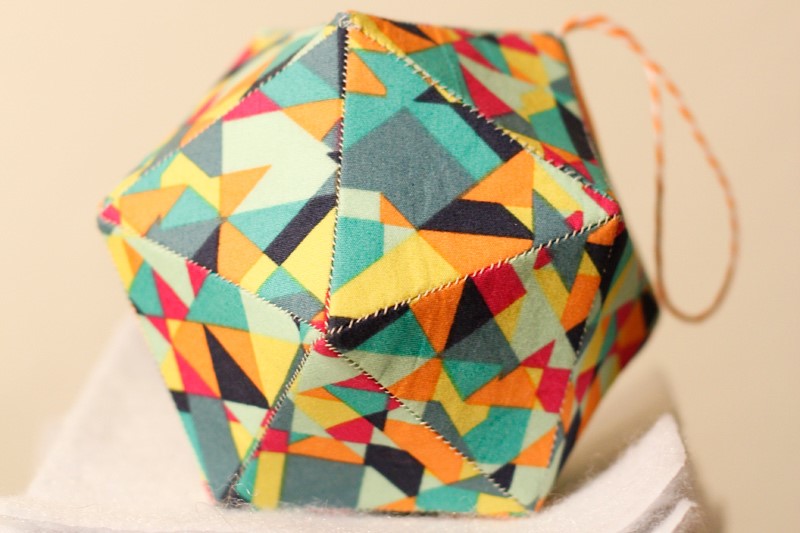
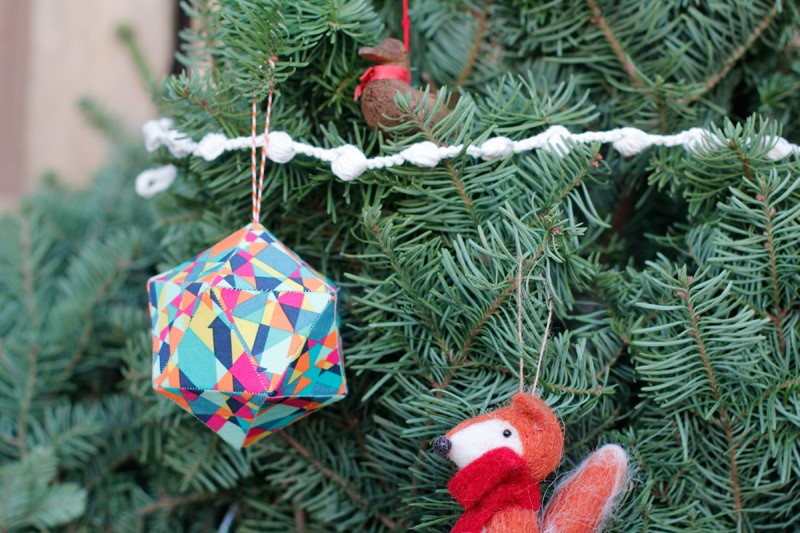
Iron out the wrinkles. If bending the pieces of the ball created wrinkles in the fabric, simply iron them out with light pressure and high heat. Your ornament is now ready to adorn a tree, mantelpiece or other special spot!