Hello, I’m Lindsay and I’m excited to be here today with a machine embroidery tutorial for beginners. I have been quilting and sewing for years but just recently got an embroidery machine and I’ve been excited to start designing some patterns for quilts, kids shirts, and home decor that have a distinct modern touch! If you have an embroidery machine and haven’t yet tried out the features, read on for some basics to get you headed in the right direction.
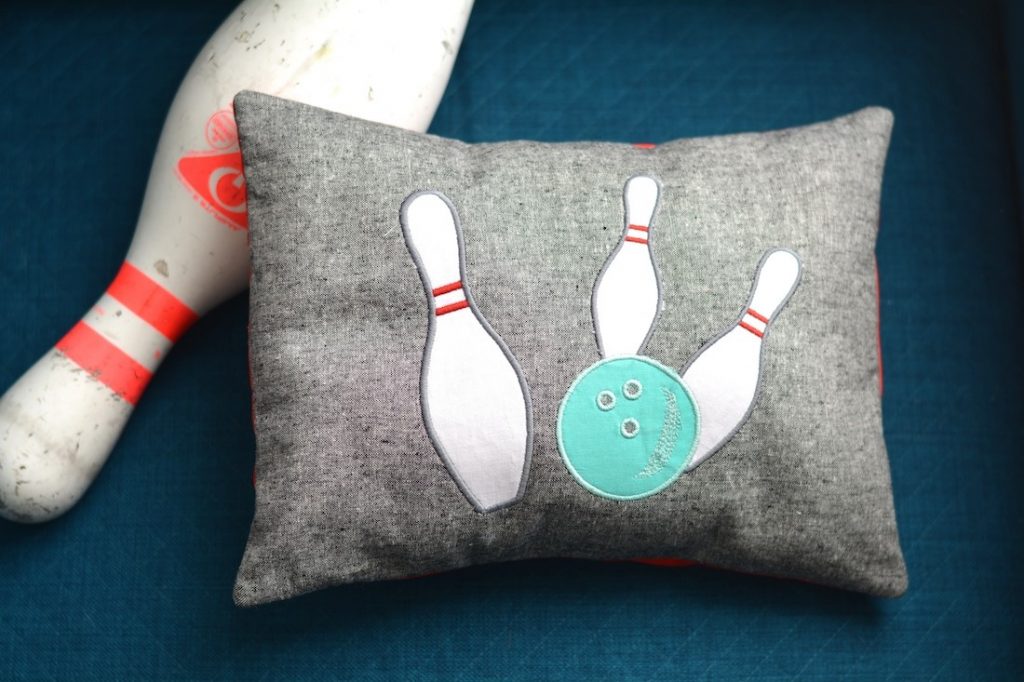
Embroidery Projects for Beginners
How to complete your first machine applique, consult your embroidery machine’s manual? I’ve found several Facebook groups on the topic of machine embroidery to be helpful.
MATERIALS REQUIRED
- 12″ x 8″ embroidery hoop
- Fabric that extends beyond the hoop (try 16″ x 12″ and sew into a throw pillow)
- Medium-weight cut-away embroidery stabilizer (or tear-away if preferred)
- Fabric scraps for applique
- Embroidery thread or dual-purpose thread if that’s what you have
- Double-sided fusible web like Steam-a-Seam 2
- Embroidery needle
BASIC STEPS
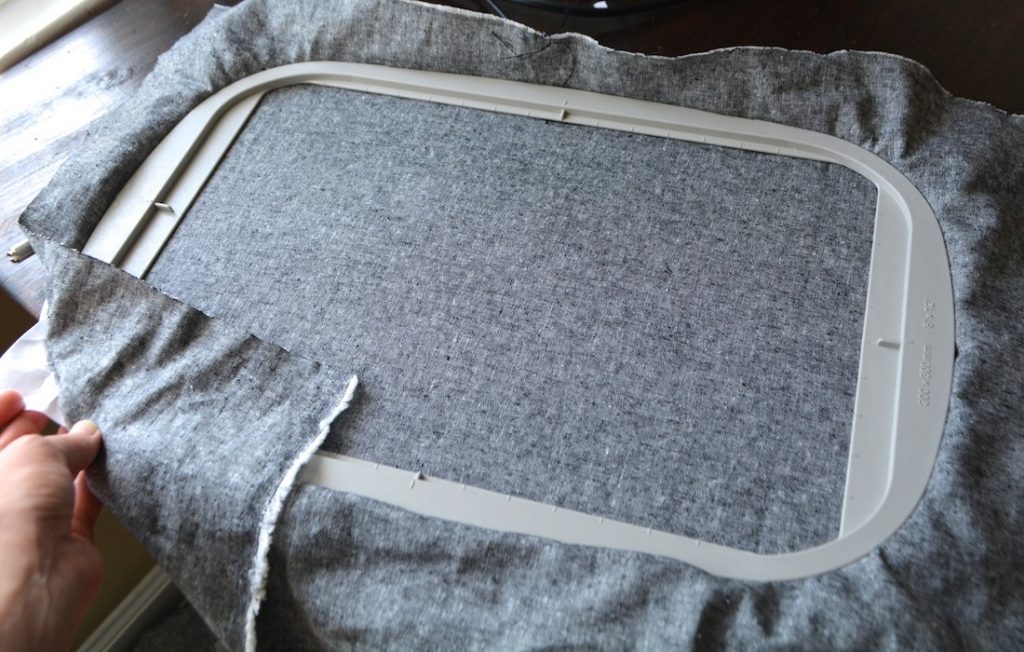
Layer the embroidery stabilizer on top of the fabric, right side up. Loosen the embroidery hoop and insert the materials, and then tighten the hoop completely. Gently pull the fabric taught, pressing it inside the hoop if you need. You want to make sure the materials do not slip out of the hoop during the process or you might have to start over!
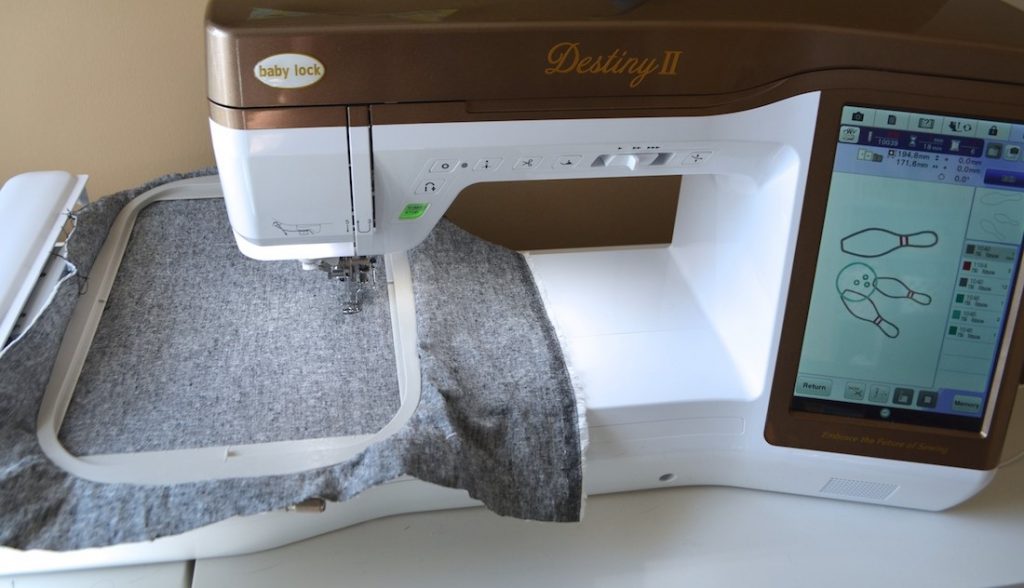
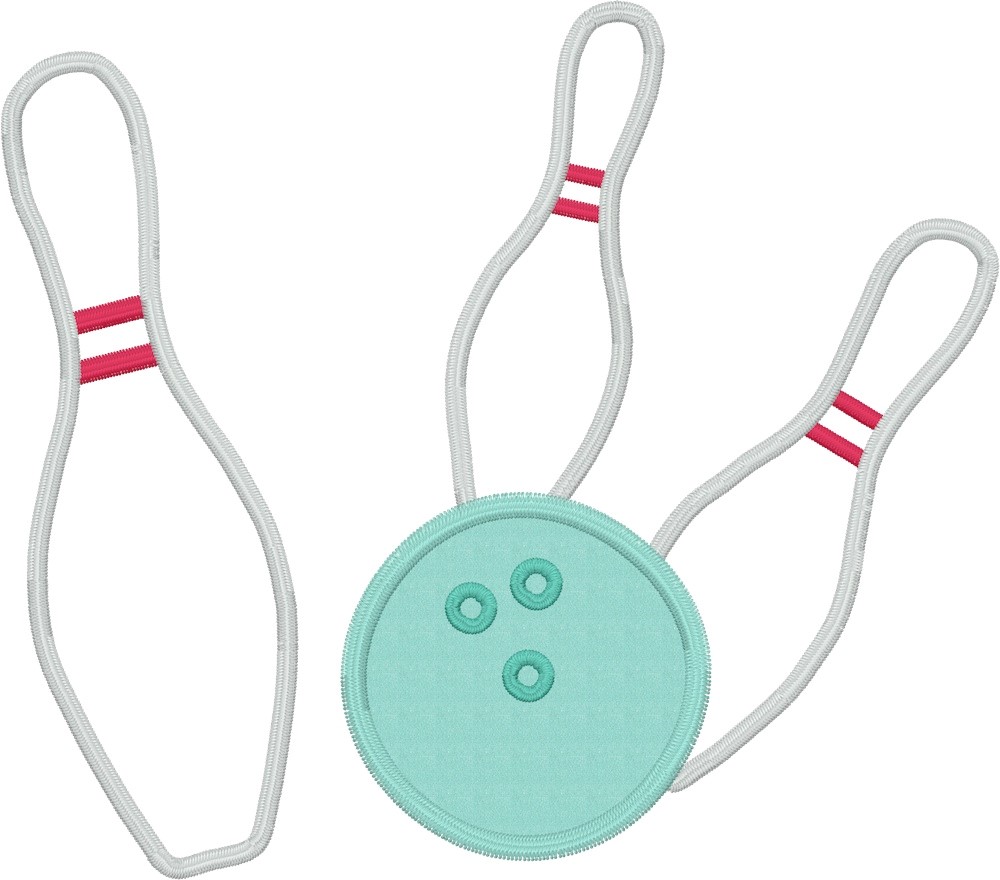
Insert the hoop in your embroidery machine. For this free bowling applique design, you will stitch the first sequence (a running stitch outline of the three pins) to show you where you’ll place the applique fabric. I’ve used GREY thread for steps 2-5.
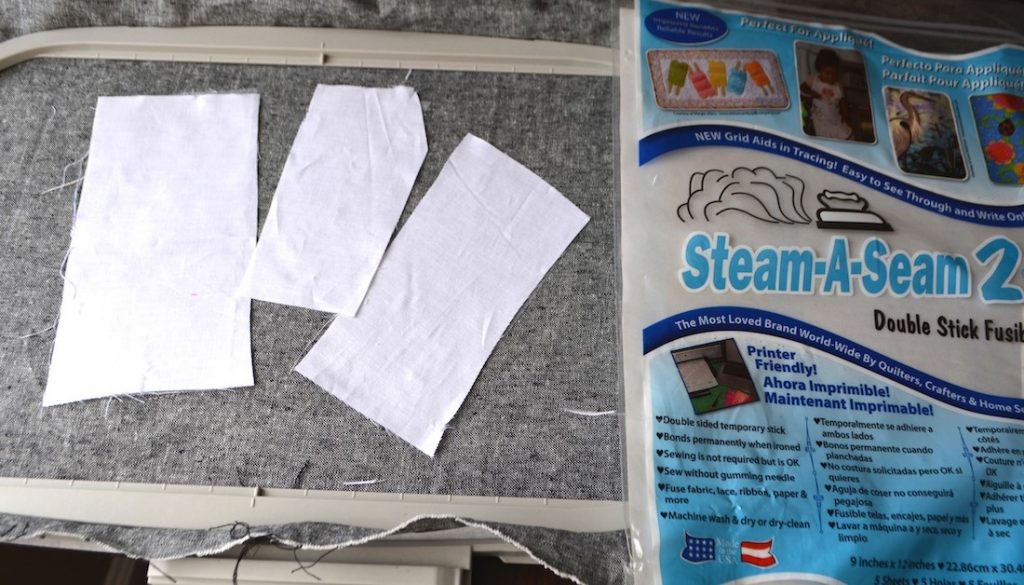
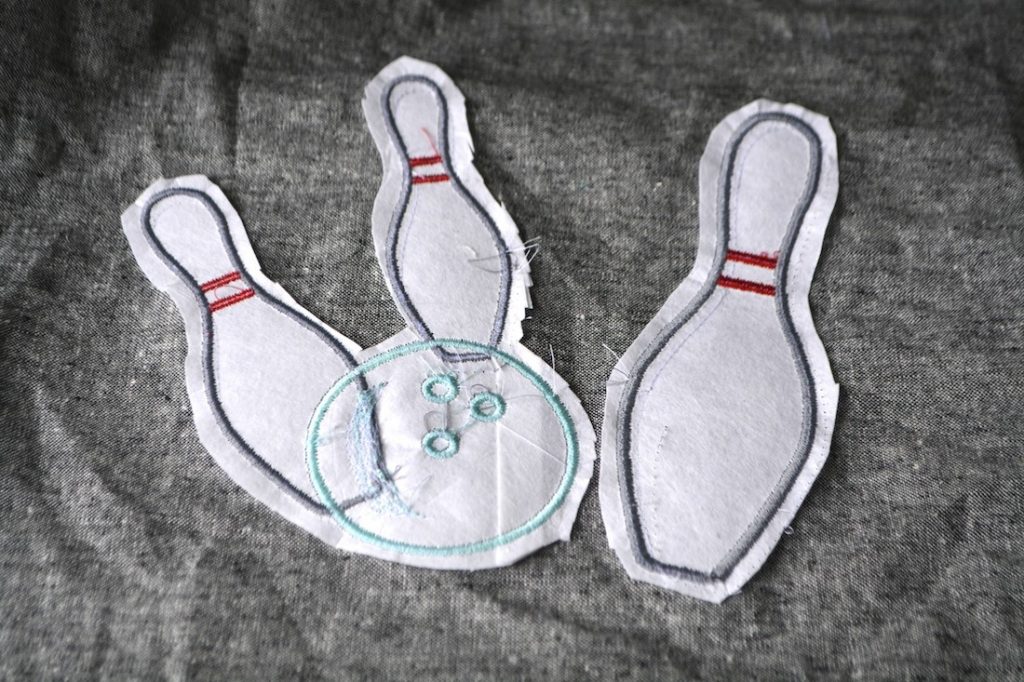
Remove the hoop from the machine. Apply double-sided fusible web to the back of three white fabric scraps, large enough to completely cover the stitched bowling pin outlines.
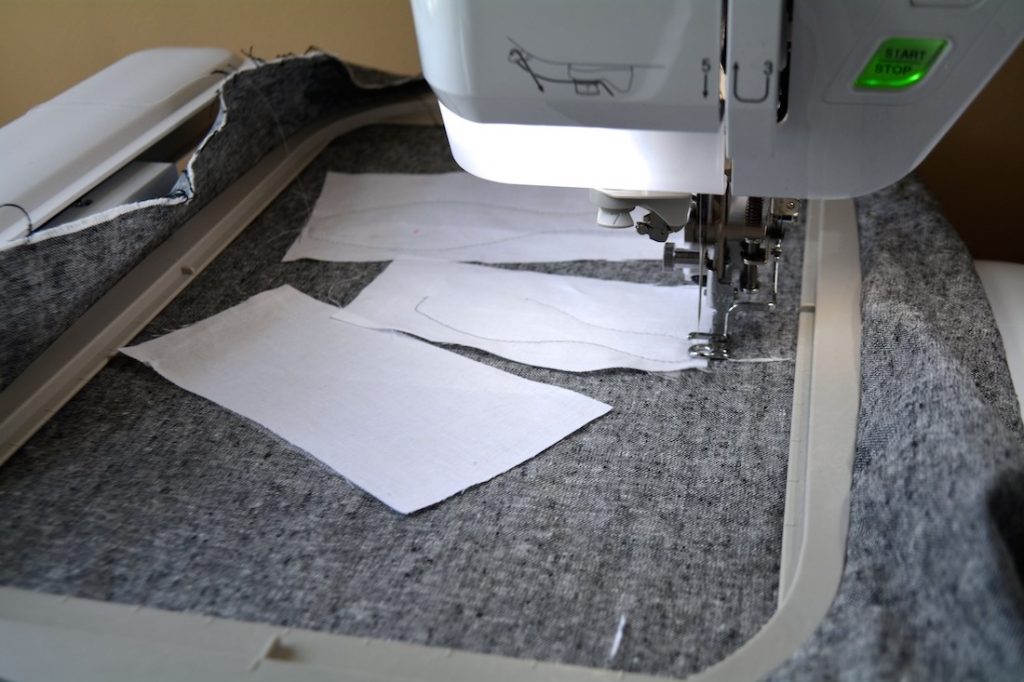
Insert the hoop in the machine. Run the next stitch sequence, another running stitch of the bowling pins. This will secure the white fabric to the background in the shape of the bowling pins.
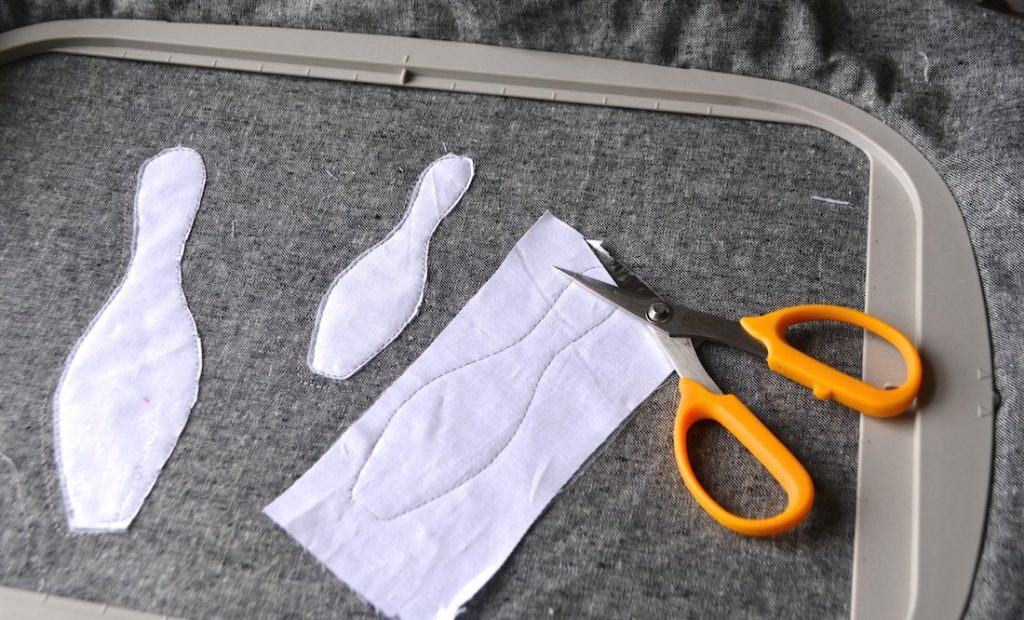
Place the hoop on a level place after removing it from the machine. Use a pair of scissors (duckbill or applique scissors, if you have them) to carefully trim away the excess fabric and fusible web from the bowling pins.
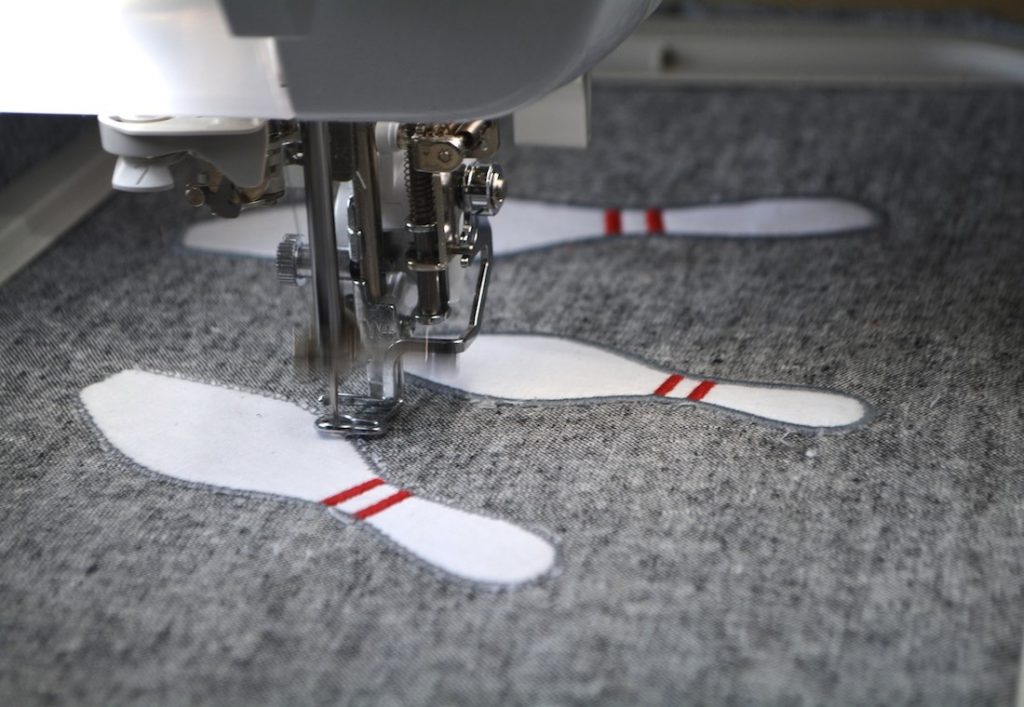
With the hoop back in the machine, run the next stitch sequence using RED thread.
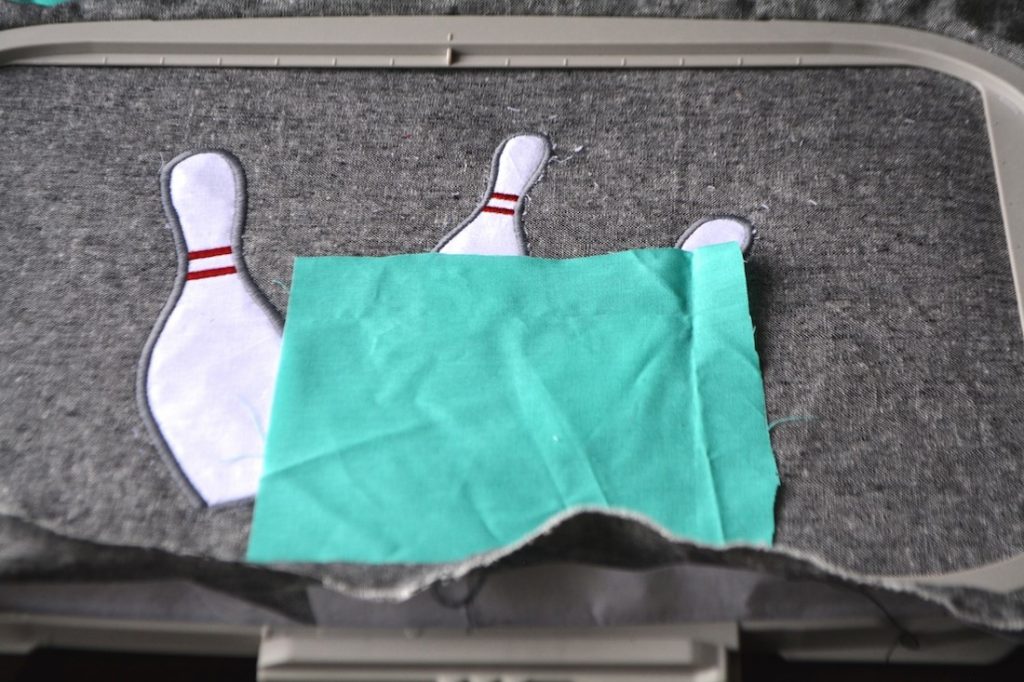
Remove the hoop from the machine. Switch to TEAL thread. Stitch an outline of the bowling ball. Apply the bowling ball fabric with fusible web so that it completely covers the area where the ball will be. My fabric scrap was about 5″ x 5″.
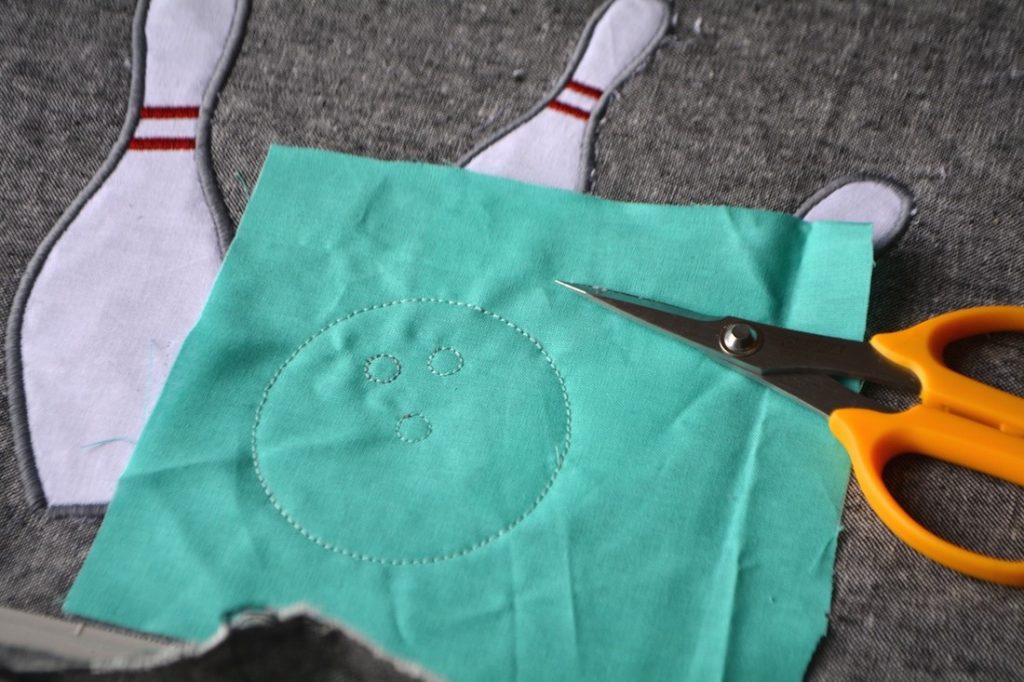
Stitch the running stitch of the bowling ball and the finger holes on top of the teal fabric.
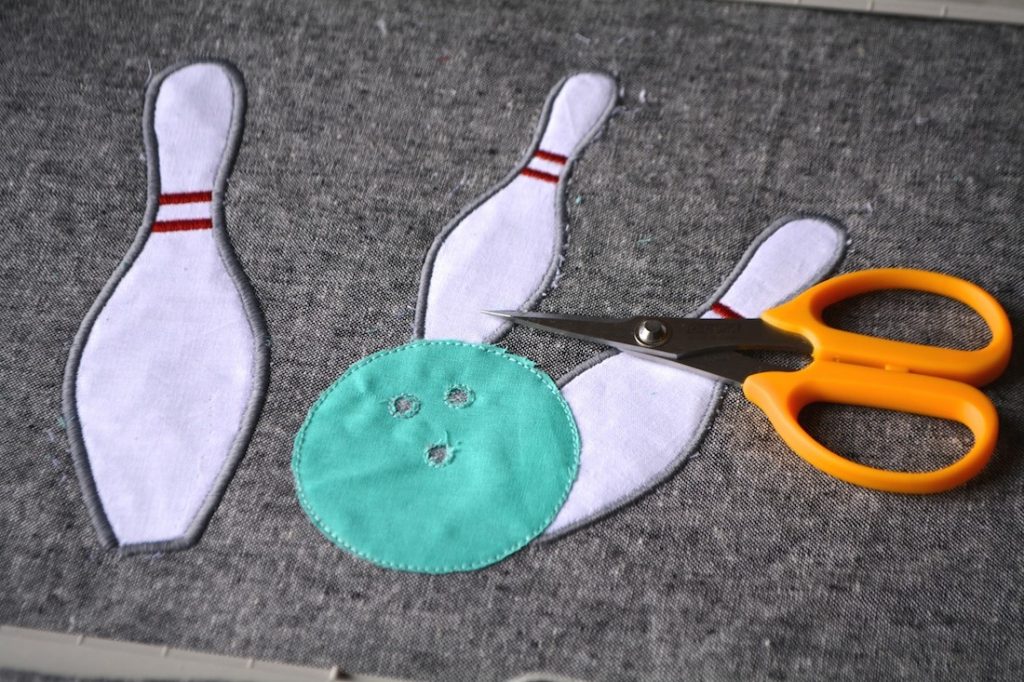
Remove the hoop from the machine. Move the hoop to a flat surface and carefully trim the excess fabric from around the ball and inside the small holes. A seam ripper or very pointy scissors may come in handy.
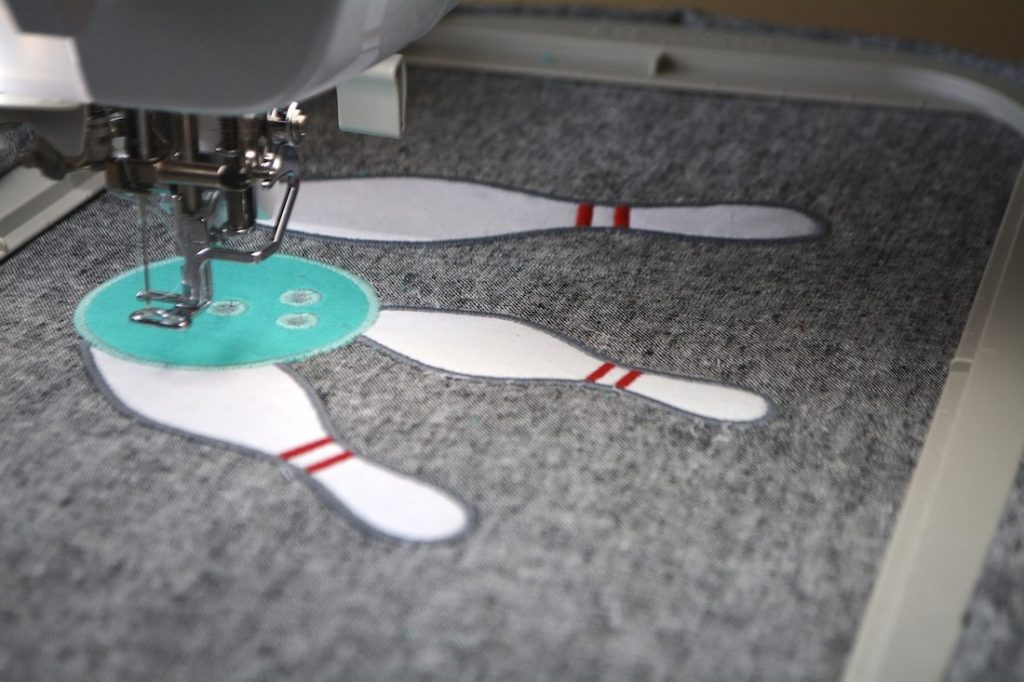
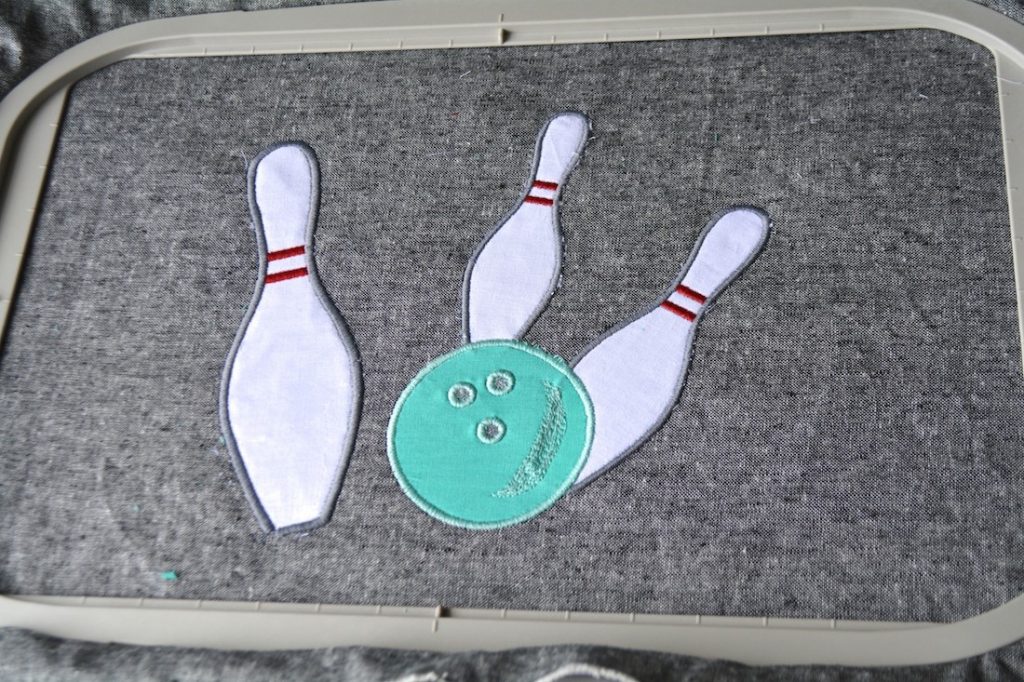
With the hoop back in the embroidery machine, stitch the final satin stitch around the bowling ball and finger holes.
On the back side of the fabric, trim the stabilizer 1/4″ from the edges of stitched design. If using tear-away stabilizer, simply tear it away.
Note: Cut-away stabilizer is considered by many embroiderers to be a better choice for long-term stability, especially if the finished item will be laundered or worn. Tear-away, wash-away or melt-away stabilizer may better suit your product, so do your research.
On the front side of the design, I chose to stitch freehand over the bowling ball to create a “shiny” spot. This was also to cover up an error of my first version of the pattern (in which the grey satin stitch underneath the ball showed through the bowling ball). I’ve adjusted the pattern since then, so this won’t happen to you! But I feel it’s important to show how I’ve fixed one of my errors, to encourage you in case you have a learning curve with machine applique. You don’t have to scrap the whole project. Maybe you can just stitch over it!
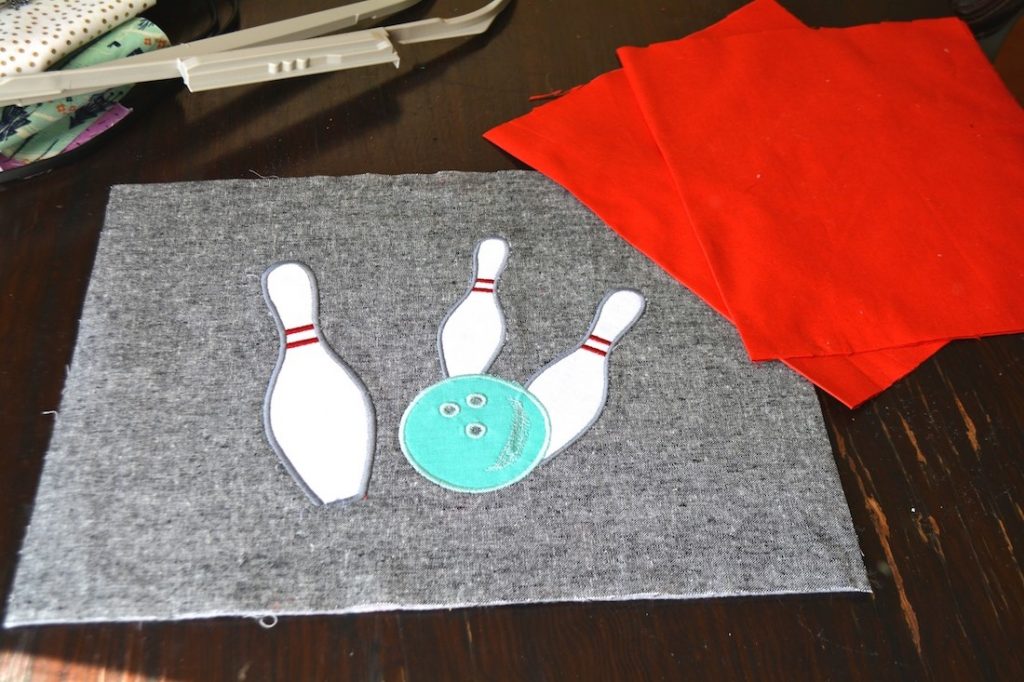
To complete the pillow, fuse the applique pillow front to fusible fleece. I trimmed to 14″ x 11″ but you can make it a bit larger if you’d prefer. I prepared two pieces of backing fabric 11″ x 18″ and pressed each in half as pictured.
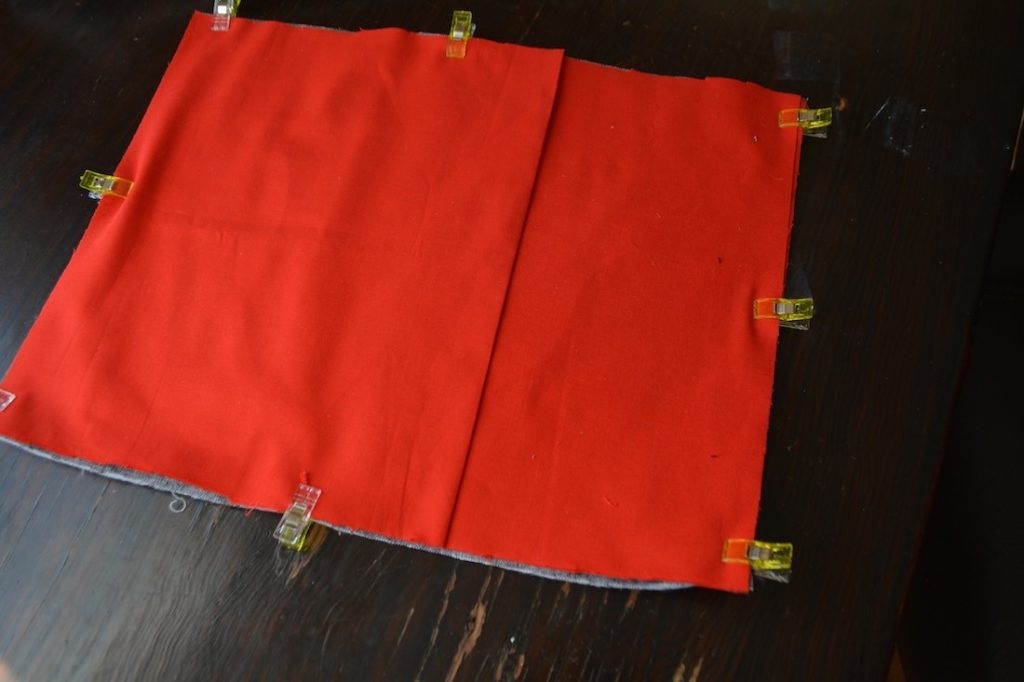
Clip the backing fabric to the right side of the pillow front, so that the folded edges overlap by a few inches. All the raw edges should be aligned around the perimeter. Stitch completely around the pillow cover through all layers, then turn it right side out. Poke out the corners and press. Make a pillow form to size from muslin fabric and fill it with pillow stuffing. For an alternate method to make an envelope pillow back.