Elizabeth’s Fabric Focus kicks off a week of Christmas in July on the blog! Print out your Advent Calendar PDF tutorial (and corresponding number templates) and get started; you’ll thank yourself on December 1st! Elizabeth from Oh, Fransson! shares a new project every month featuring some of our favorite collections in the shop. We have a really nice selection of holiday fabric right now, and Elizabeth’s Advent Calendar project is the perfect way to feature a variety of prints. This article will share you details of Christmas Advent Calendar
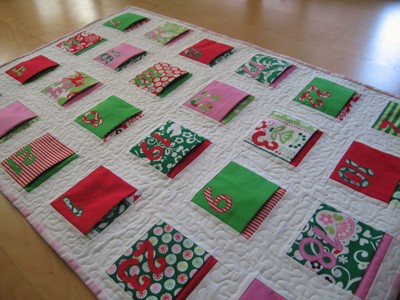
From Elizabeth: To celebrate Christmas in July, I made an advent calendar using Michael Miller’s wonderful Funky Christmas fabric. It’s made like a small quilt, but has pockets pieced into the quilt blocks. Even if you don’t need an advent calendar, you may want to check out the PDF tutorial to learn a fun way to add little pockets to your quilts!
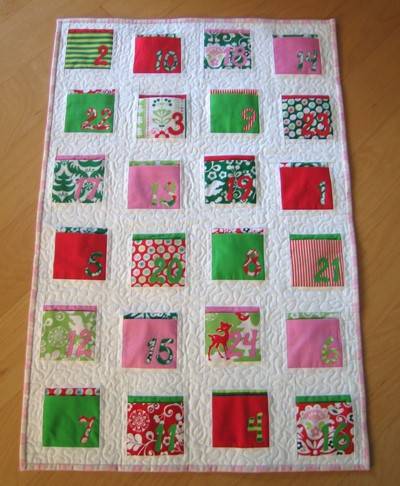
Advent Calendar
For the pockets and quilt back, I used 11 prints from Funky Christmas and a red and white Lecien stripe. I also used the Widestripe Pink from Tanya Whelan’s French Hatbox for the binding.
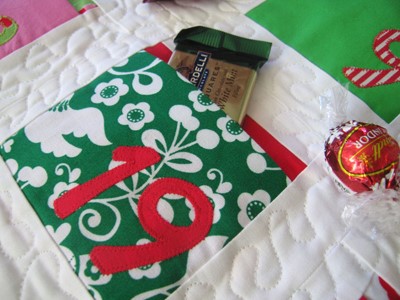
Because the Funky Christmas prints are so big and bright, I paired them with contrasting solids in red, green and pink. Each pocket is made from one print and one solid and each print/solid pair are used to make one print pocket lined with the solid and one solid pocket lined with the print. This may sound complicated, but it’s really just a matter of shuffling a bunch of 4.5″ squares on your work table. The PDF tutorial explains it all.
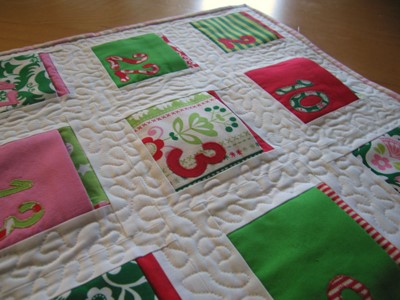
The tutorial doesn’t go into a lot of detail about techniques for machine applique or quilt making steps like machine quilting and binding. But, never fear! Sew, Mama, Sew already has more detailed tutorials for all of those steps:
- For more tips on machine applique, you can find my earlier tutorial.
- For more tips on quilt making steps, consult Alissa’s Doll Quilt Sew-Along posts about quilting and binding.
- I also have an archive of quilt making techniques on my own blog.
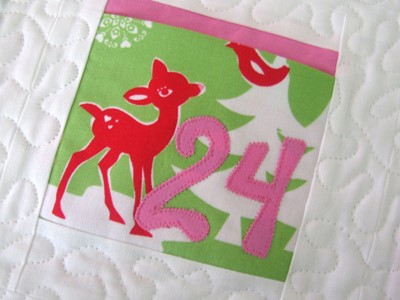
As an alternative to applique, the numbers could be added using embroidery or painted on using freezer paper stencils. (If you use these techniques, you can get away with one fewer 4.5″ square of each print and four fewer squares of each solid.)
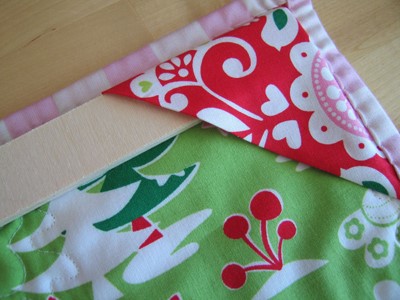
The back of the calendar has pockets in the upper corners into which you can slip a piece of dowel or plywood to make it easy to hang your calendar on the wall. Both dowels and plywood lengths are available in the woodworking section of most craft stores. Both can be trimmed to the proper length with a simple hand saw.
As always, we’d love to see your own advent calendars in the Sew,Mama,Sew! Photo Pool.
