Skirt Pattern
One Hot Skirt by Betsy Ross
Description
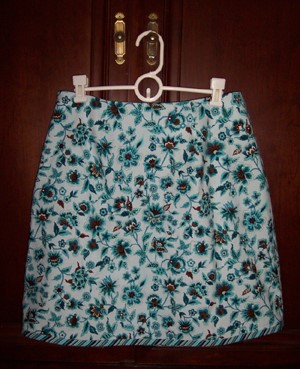
A simple, A-line skirt with front/back facings, darts, and side zipper.
Materials
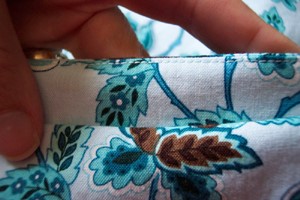
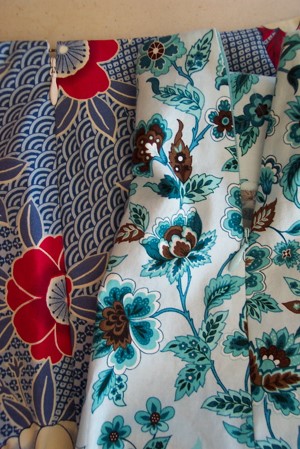
For the first skirt, I used a stretch woven picked up from a local manufacturer that periodically sells their fabrics (Canvasbacks). For the second skirt I used two quilting cottons bought from a local quilt shop (Dovely Quilts). I only needed 1.375 yards of 60″ fabric to make my knee length skirt. I needed 1.625 yards of 45″ wide fabric.
If you refold your fabric so that you only double the width of your skirt, you will have some nice largish pieces leftover that you can use for bags or any little crafty item.
Overall Design
This is a classic design. It is a simple skirt, yet not shapeless, and would be good for beginners as well as advanced seamstresses. The possibilities are endless when it comes to jazzing this skirt up. One could add a little ruffle to the bottom, a contrast band, a flounce, lace, tulle, etc. (Threads Magazine #124 has some good instructions for fancy skirt hems). Construction time is quick (I had this made up in an afternoon, including some re-fitting, and ‘help’ from my 2 year old).
Written Instructions
The instructions are excellent. A bit on the ‘chatty, have a cup of tea’ side, which isn’t my thing, but excellent, nonetheless. I really liked seeing the recommendation to interface the area where the zipper goes in. This gives a bit more stability to zipper, and I rarely see it in regular instructions. There are also nice little tidbits like to mark the front of the skirt from the back, so you don’t get confused (they easily look the same!).
Diagrams / Images
Hand drawn sketches.
Pattern Pieces
There are 4 pieces to this skirt: front, back, front facing, back facing, all cut on a fold. The pattern is printed in black on regular paper (not tissue), and tracing my size off was easy (I use Swedish Tracing Paper).
Overall Level of Difficulty
I’m going to say Advanced Beginner because of the lapped zipper. While I certainly think someone who is an absolute beginner could make this skirt, you might like to have a garment or two under your belt before this one.
Tips
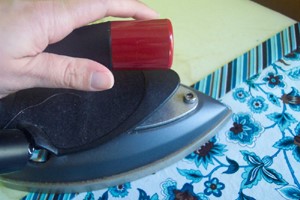
As always, prewash your fabrics and press as you sew. It really helps you to get a professional result. When attaching the facings to the zipper, I prick stitch them down, instead of slipstitching. This will prevent the facing from rolling and possibly getting caught in the zipper. I do this for linings as well, or any time I need to attach some fabric to a zipper.
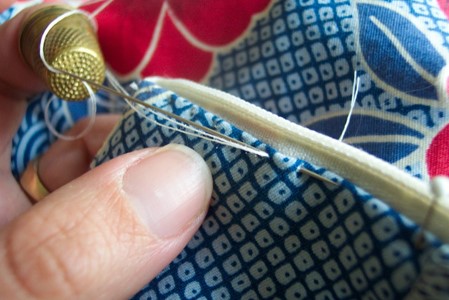
I prick stitch like this
It looks like this when finished
Also, if you don’t want any stitching showing on the outside of your skirt at the waist (recommended to hold down the facing) you can under stitch it. Trim and clip the seam, then roll the seam allowance toward the facing, edge stitching it in place:
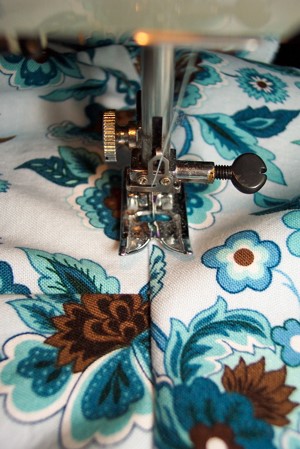
It’ll look like this when finished:
Modifications
I started off with a size E, as my waist measures 31″. After getting the first skirt made up, it was too big, and I also felt the darts were too short (they pooched out weird). I took the skirt in to a size D at the waist, and lengthened the darts 1.25 inches.
I also took out a bit of the flare (tapering down to a size B or C at the hem), as it looked better that way on me.
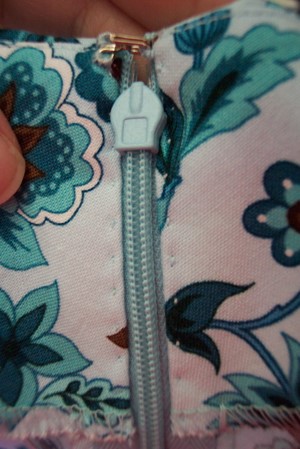
I shortened the skirt 3 inches (I’m 5’2″, and a skirt just below my knee looks dorky). I also inserted an invisible zipper instead of the lapped one in the directions. I like the look of invisible zips better. Some excellent instructions for inserting an invisible zip can be found here.
My skirt zips look like this:
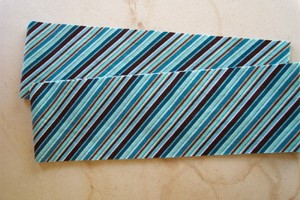
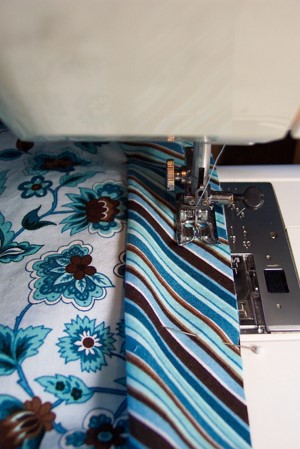
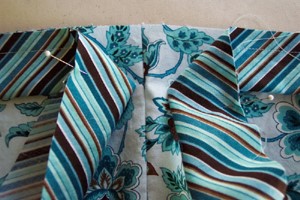
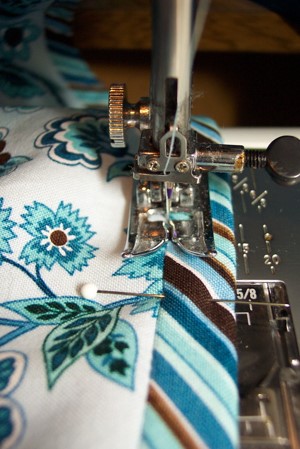
For my second skirt, I bound the hem with a contrast fabric. If you’ve ever bound a quilt, this technique will look familiar. I like to also use it on necklines, instead of facings (see my how to for this). This coordinate happens to be printed on the diagonal, so I cut straight grain strips. Bias cut strips would work as well.
First I cut my skirt to the finished length. Then you cut your strips 6 times the desired width of your finished binding, plus 1/4″. I wanted a 1/2″ binding, so I cut my strips 3.25″.
Next, stitch your binding to the Right side of the skirt hem, with your desired width as the seam allowance. I’m using 1/2″:
I start and stop a few inches from one side seam. Then I mark each end with the seamline (the pins), and stitch. Finger press the seam open:
Finish stitching the binding to the hem:
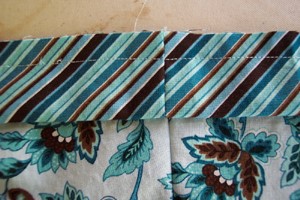
Press the binding away from the skirt:
Wrap the binding around the skirt, and pin from the right side:
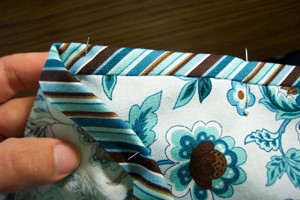
Now stitch-in-the-ditch, and you are done!
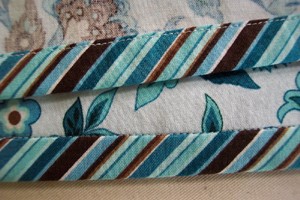
The finished hem, right and wrong sides:
Fabric Recommendations
This skirt will look fabulous in many fabrics. I chose a regular cotton and a stretch woven that is a bit heavier. I think it would look fantastic in chiffon, double or triple layered, with the topmost layer a half inch shorter than next, with a contrast rolled hem (if one has a serger… if not, a baby hem). Other fabrics recommended are linen and rayon. Pretty much any fabric with a bit of drape will work.
Conclusion
A very versatile pattern that makes up very quickly. Make a few today!