This is the final part of our Fat Quarter Doll Quilt Sew-Along project. Part 1 (cutting & piecing), Part 2 (embellishing & basting) and Part 3 (quilting) have all led you to today, when you’ll attach the binding to your quilt.
From Alissa: Welcome back to part 4, and the final step, of the doll quilt sew along. I hope that you’ve all had a good time making this little quilt! In this section we’ll make and attach the binding and then have a finished doll quilt.
Part 4: Binding your quilt
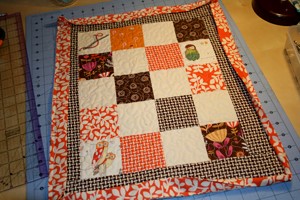
First, square up your quilt, trimming right along the edge of the quilt top.
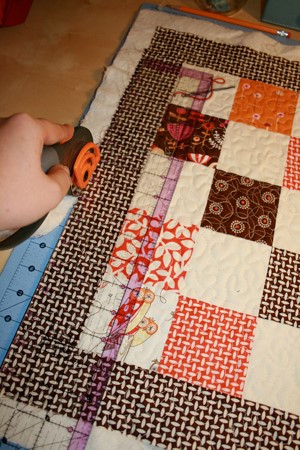
All squared away.

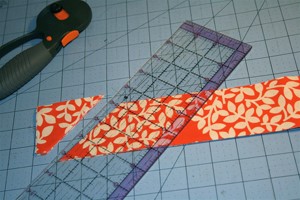
Next you will need to make your binding (unless you bought pre-made binding– in that case you can skip down to sewing on your binding.)
It is often recommended that you use your walking foot to sew it on, but on a project this small, a regular foot should work fine too.
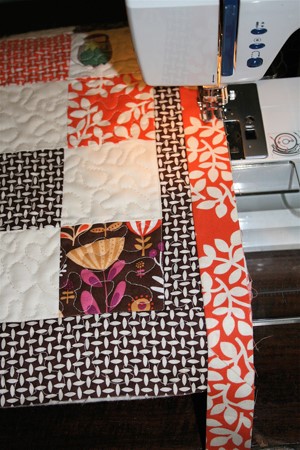
To finish attaching the binding, you’ll need to sew the two ends of the binding to each other. When you are done, your binding will look like this on your quilt.
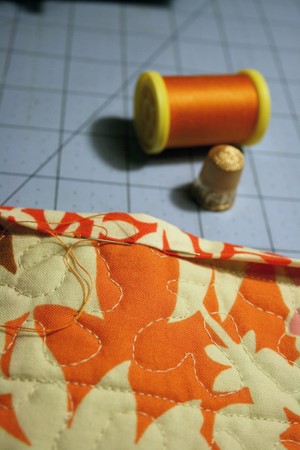
For your final step, you’ll spend a little quality time with the quilt while you hand stitch the binding down to the back of the quilt. Use a blind stitch and enjoy the fact that you are almost finished with your quilt!
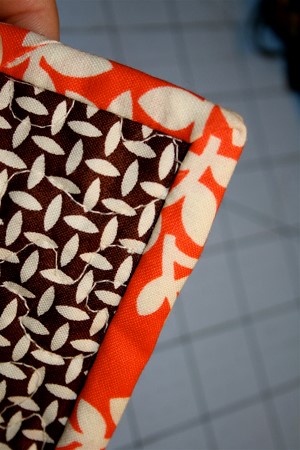
When you reach the corners, take your time to fold them well and make your pretty mitered corners look nice.
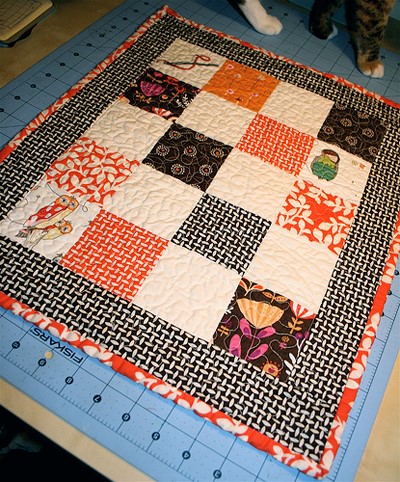
Congratulations! You have a finished doll quilt. If it was your first quilt, now you know how to complete all the steps and maybe a bigger one is in your future? If it was your 50th quilt, well, I hope you enjoyed making it as much as the other 49.
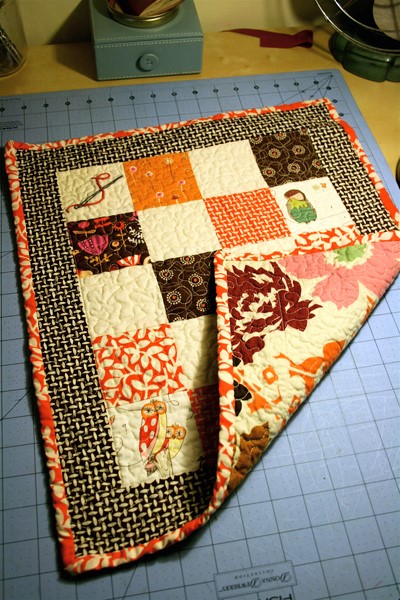
Finished quilt, with a peek at the back.
Thanks so much for sewing along with me!