Lara has a fat quarter project for you today: a Crochet Roll Tutorial. You can easily adapt this project for knitting needles, paintbrushes, crayons, etc. Make one for yourself and make a few for gifts too!
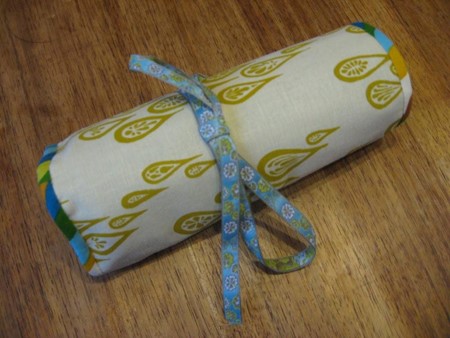
From Lara: I often have small crochet projects on the go that I transfer from handbag to handbag. This crochet project roll keeps all the bits and pieces that you need together.
Crochet Project Roll Tutorial
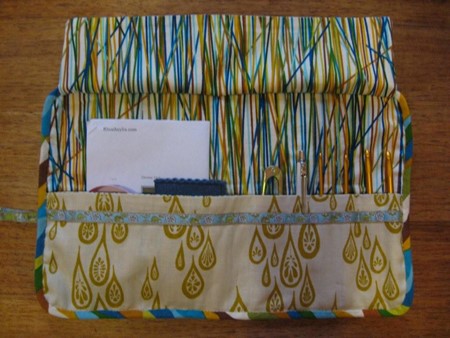
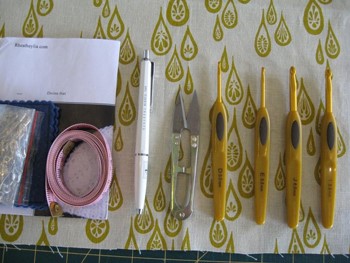
It fits four crochet hooks, a pair of snips or small scissors, a tape measure, safety pins (for row markers), a needle book for yarn needles, a pen, and has room for a pattern if it’s folded into four. Since making it I’ve found that it wraps nicely around a ball of yarn or work in progress.
You will need
- • two coordinating fat quarters
- • fusible wadding (eg Pellon) – 13” x 8”
- • 45” bias binding (purchased or you can make your own)
- • 26” ribbon, ric-rac or piping for pocket and flat trim (optional)
- • ribbon for closure
- • matching thread
I have used ¼ inch seams throughout, but this doesn’t have to be too precise.
Cut the following
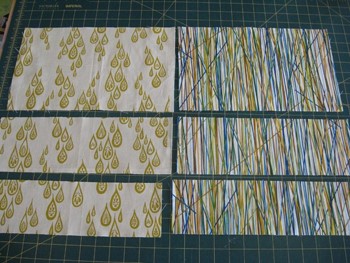
Main Fabric
- • one rectangle 13” x 8” for the outside
- • one rectangle 13” x 4 ¼ “ for the pocket
- • one rectangle 12” x 3” for the flap
Contrast Fabric
- • one rectangle 13” x 8” for the inside lining
- • one rectangle 13” x 4 ¼ “ for the pocket lining
- • one rectangle 12” x 3” for the flap lining
Fusible Wadding
• one rectangle 13” x 8”
Fuse the wadding to the back of the main outer piece of fabric. Set aside.
Prepare the flap. If you wish to use trim on the flap, apply it to the right side of the main fabric. Place the two flap pieces’ right sides together, and stitch around both short sides and one long side, leaving the other long side open. Trim corners, turn and press.
Prepare the pocket. If you wish to use trim on the pocket, apply it to the right side of the main fabric. Place the two pocket pieces’ right sides together, and stitch around the long side that will be the top of the pocket. Turn and press.
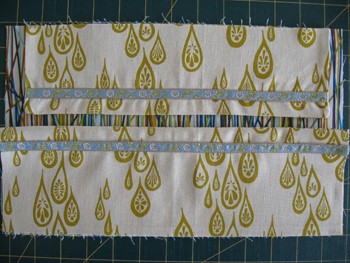
Placement of the pocket and flap: Place the lining piece down right side up, then place the flap piece on top of it with the raw edges together, centered on the top of the lining. Place the pocket piece centered on the bottom of the lining, with the raw edges lined up.
You can stay-stitch along the top of the flap piece to keep it in place, but don’t stay-stitch the pocket piece at this stage.6. Flip up the top piece of the pocket, leaving the pocket lining in place. You can see the wrong side of the fabric. You are now going to mark stitching lines for the position of the pockets.
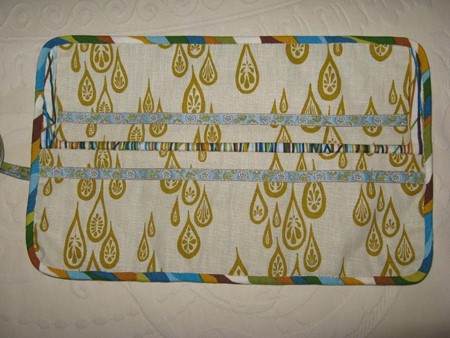
You can vary the position of these lines to suit the size of the hooks that you like to use and to suit whatever else you want to put in the roll. I have marked mine in pencil at the following distances: 1 inch from the right edge, then another four lines each 7/8 inch from the line before it, then another line 1 ½ inches from the one before it, leaving the left hand side pocket much bigger to fit the larger objects.
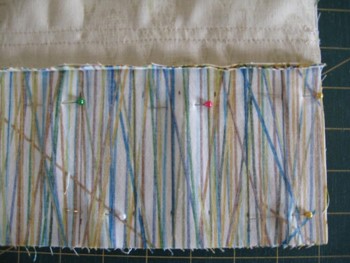
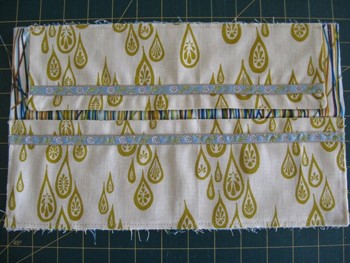
Stitch along each of these lines through two layers of fabric, keeping the top layer of the pocket free. When you’ve finished, flip the top layer back down over the pocket lining and press. Place the inside of the roll on top of the outside fabric, wrong sides together, and stay-stitch around the outside edges of the roll.
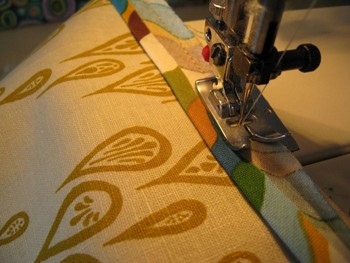
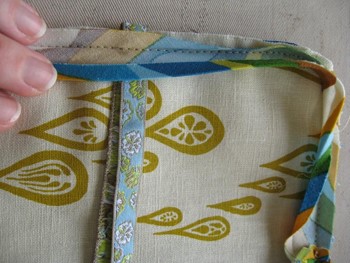
Bind the edges of the roll. Prepare around 45” of bias binding, or use ready-made. On the outside of the roll, line up the edge of the bias binding with the edge of the roll, and sew into place along the crease of the fold.
Make sure that you insert the ribbon ties that you will use to close the project roll under the bias binding when you are sewing it into place. I sewed it into the same side as the large pocket.
Curve the bias gently when you get to the corners – this will round the corners off slightly. Trim the corners off flush with the edge of the bias binding.
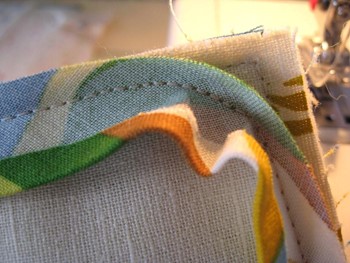
Turn the bias binding to the inside. The fold should just meet and/or cover the stitching. Hand-stitch in place over the stitching line.
Fill up the roll with your crochet essentials and you’re ready to go! This could easily be adapted to hold tools of other trades.