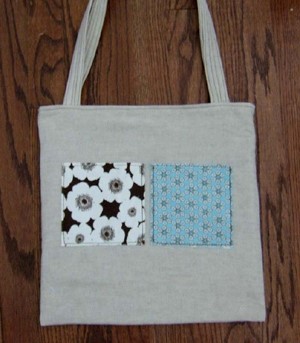
There are various ways to put a lining in a bag; I am going to try to describe two methods I use. The first method involves simply inserting the lining into the bag and finishing the raw edges with a binding. You could use this method with most any style of purse; the one I’m making is a gusseted purse with a rounded bottom.
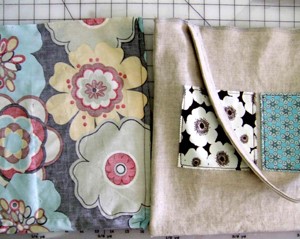
First cut out all your bag and lining pieces and interface as desired. The type of interfacing you use is a matter of personal preference and can vary depending on the style of bag you are making.
Unless you are making a very unstructured bag some sort or interfacing or interlining will make a stronger, better-looking bag. Ideally you want a bag that is sturdy without being “crunchy.” For the purse in this tutorial the outer bag is quilted and fusible fleece was used and the lining was interfaced with heavy-weight fusible.
For the binding you can use purchased binding or make your own. Making your own binding is very easy. If you will be binding around a curved edge you will need bias cut binding. For this project straight cut binding will be fine. For this purse I cut the strip for my binding long enough to go around the purse plus about four inches by three inches wide.
Fold the strip in half the long way and press. This next step is not necessary, but is oh so helpful. Apply ½ inch double sided fusible tape along the length of the binding strip, close to the folded edge. Let cool for a few seconds and remove paper backing. This tape will be a life saver later.
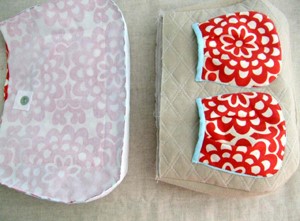
Assemble outer bag and lining.
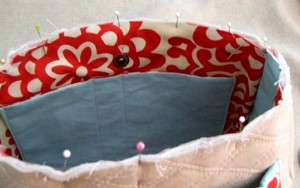
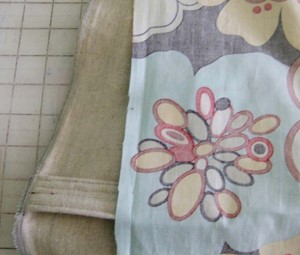
Insert lining into outer bag, wrong sides together. Match up the side seams and pin around the top raw edges.
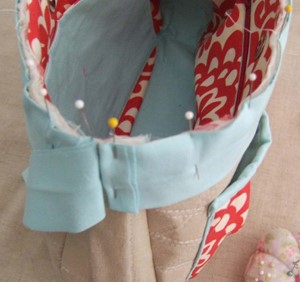
Stitch around the top of the bag about ¼ inch from the raw edge.
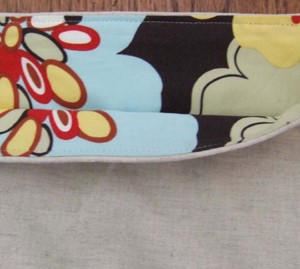
Now to put the binding on. Fold back the raw edge on one short end of the binding about 1 inch. Continue pinning the binding to the bag leaving the end loose.
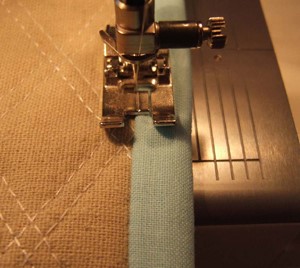
Begin stitching about a couple of inches away from the folded end using 3/8-inch seam allowance. Continue around the bag overlapping the binding at the end, cut off any excess. Fold the binding upward toward the top of the bag and back toward the lining.
Pull it nice and tight so that it covers the visible stitching on the lining. Now is when you’ll be glad you applied that fusible tape. Press the binding to the lining making sure to cover those stitches.
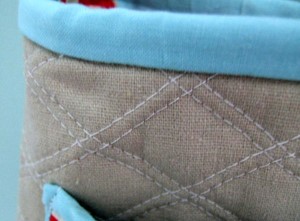
Now, if you enjoy hand sewing and are good at it, you may want to hand stitch the binding in place. Me, not so much. With the binding fused securely to the lining side, stitch it in place by stitching in the ditch on the outer bag side. Do this by stitching in the seam line where the binding and the outer bag meet.

Another little trick to make the stitches nearly invisible: use invisible thread.
2. Bag Lining Tutorial
The other method I use for inserting a lining in a bag does not use a binding. I will be making an unstructured tote, but the same techniques can be used for almost any style of bag.
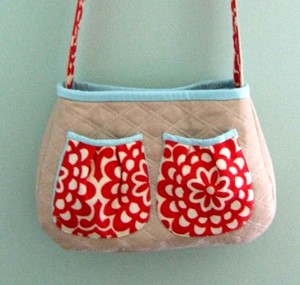
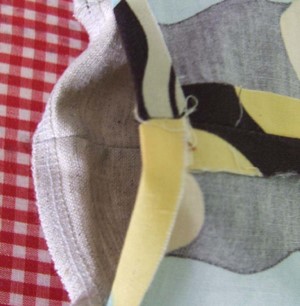
First assemble your bag and lining pieces. Attach straps to outer bag.
Place outer bag inside lining, right sides touching. Match side seams and pin around the top raw edge.
Stitch around the top of the bag using a ½ inch seam allowance. Leave a section open for turning. I leave the section on the side, between one front and back strap open. For an unstructured bag such as this one, a small opening is fine.
For a more structured bag or one with bamboo/plastic handles you want the opening to be big enough for the handle to get through. Press a fold in the lining and outer bag at the opening. Turn the outer bag right side out and push the lining in place.
Pin the opening closed and topstitch around the bag about ¼ inch from the edge.