Jennifer generously shares some great sewing tips in this Fat Quarter Handbag Tutorial.
This simple and sleek fat quarter handbag is one of my favorite bags that I make. You know those days that are so hectic that you just want to go to bed feeling like you at least accomplished one complete task during the day? With a two-year-old, I have a lot of those days!
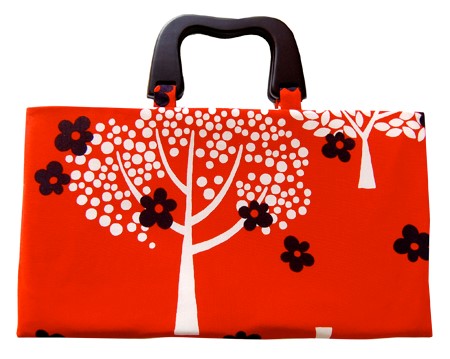
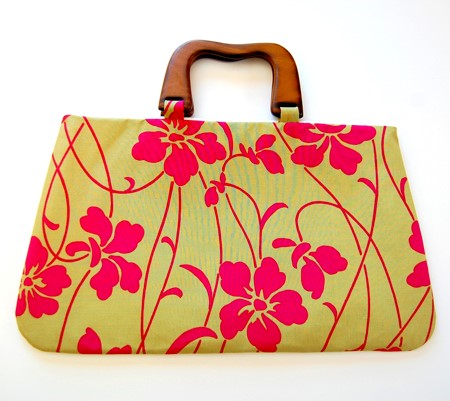
Fat Quarter Handbag Tutorial
This bag is a perfect way to complete an entire (and entirely beautiful!) project even if you don’t have a lot of time. With relatively few materials, the bag can be fairly inexpensive, as well.
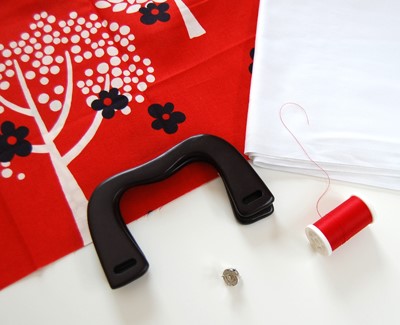
For the basic bag, you need only a fat quarter of fabric in a print you love. Add in some coordinating solid fabric for the lining, a pair of purse handles, some thread, some interfacing for stiffness, and a magnetic snap, and you have a high-style bag on a low budget.
Basic bag construction
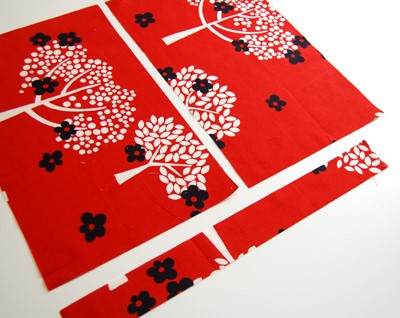
- With a straight edge, cut a two-inch strip off one edge of your fat quarter – this will be reserved for loops for your purse handles. Cut your remaining fabric in half to make the front and back panels of your bag. It usually doesn’t matter which direction you cut your fat quarter – experiment to see which way you prefer. Sometimes the print will be facing in one direction and that will determine your cut, but other times you can decide if you want your bag wider or longer.
- Once your cuts are made, you can change the size of your bag, if you would like. Want it shorter or thinner? Cut away!
- Cut two of the same sized pieces from your solid fabric for the lining of your bag, and cut four of these pieces from a stiff fusible interfacing.
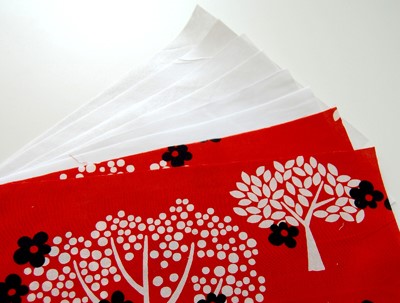
- Iron the interfacing onto the back of each piece of fabric and lining. It adds some needed stiffness to your bag.
- Use the strip you cut off the edge of the fabric to make loops for your handles: the width of your particular loops will be determined by the size of the holes in your particular handles. Sew the strip with right sides together to make your desired width, turn the strip right side out, and press. Cut the strip in half and in half again so that you now have four. Loop them through your handles.
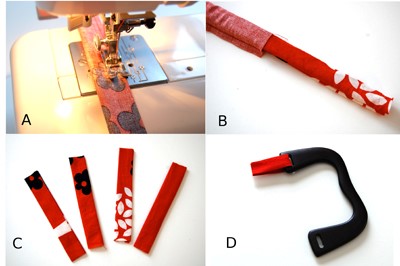
- Pin each handle, right sides together, onto each printed panel of your bag (make sure they are centered!). You will want to adjust their height depending on your personal preference of how much you want them to stick out of the bag, your seam allowance (make sure you leave enough room for your zipper foot to get by!), and your particular style of handle.
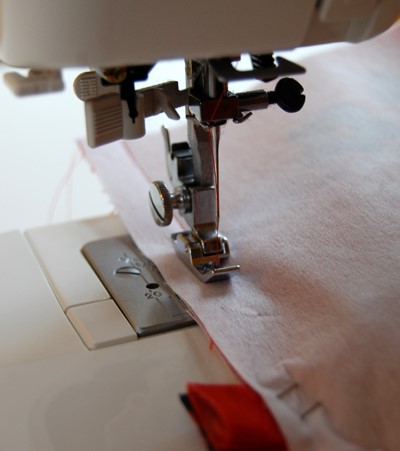
- Pin your lining fabric, right sides together, on top of your printed panel and handle. Sew this seam two, three, or maybe even four times. Your handles are a big stress point on the bag since they will be pulled so much – the stronger you make this seam, the better!
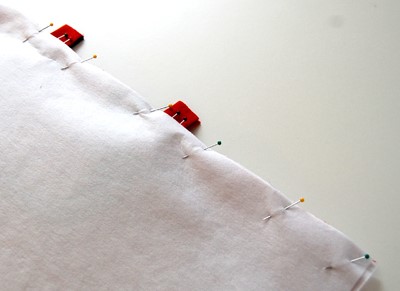
Tip: Use a zipper foot for this step, if you have one. It will allow you to get closer to your handles when sewing the seam. The larger foot tends to bump into the handles more and interrupt your straight line. Repeat this step with the other panel, as well.
- Trim this seam to reduce bulk.
- Add a snap to your bag, if you wish, following the manufacturer’s instructions.
- With right sides together, pin your linings together and your printed panels together. Sew along all the edges of your bag, but leave a gap of about 4-5 inches in the bottom of the linings so you can turn your bag later.
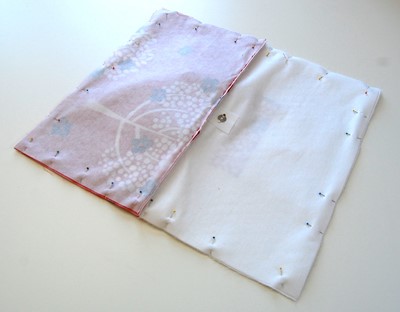
- Trim your seams to reduce bulk.
- Now for my favorite part: turn your bag right-side out and see what you created!
Sew the opening in the bottom of the bag by hand, tuck your lining into the bag, and press for a finished look. Ta da! Isn’t it beautiful?
Variations
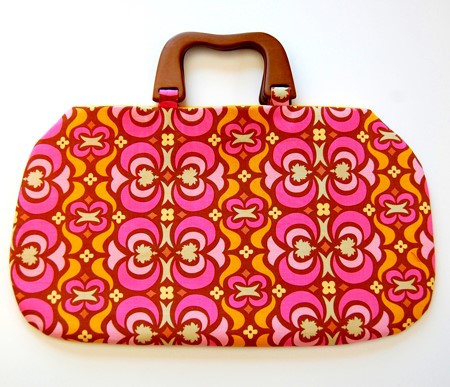
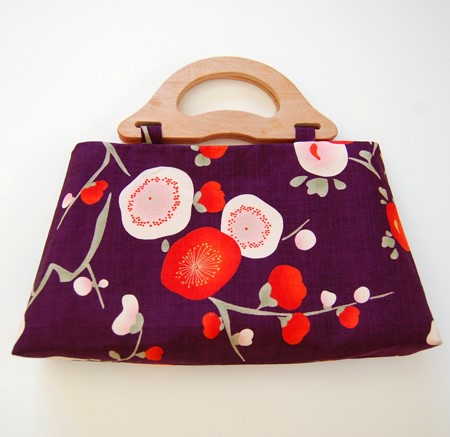
The beauty of this bag is that if you use a fat quarter that you adore, you will automatically adore your bag! Its simple elegance allows your fabric to stand out. But it is also so easy to use the basic concept of the bag and modify it for some completely different, equally gorgeous, looks:
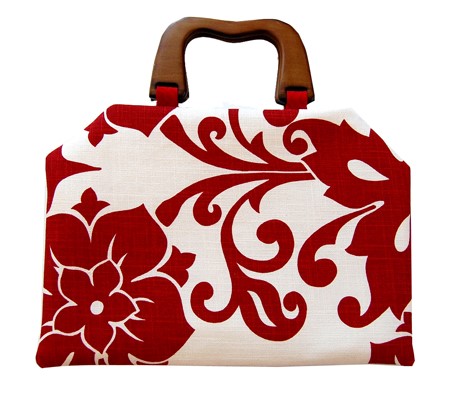
Changing the bag’s shape is a simple, but effective way to get a completely new design. Instead of a rectangle, you can make your bag triangular. You can round the edges. You can even make your bag an oval shape.
Tip: fold your fabric panel in half vertically so that what you cut on one side will be identical to what you cut on the other side. Then your bag will be even. Use this panel as a pattern to cut your other panel, your linings, and your interfacing.
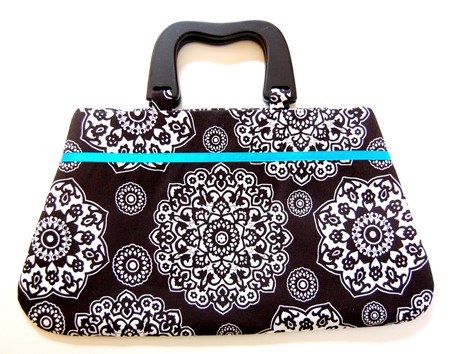
• You can sew a piece of coordinating ribbon onto the bag as a focal point. Or, I like to add a contrasting ribbon for a funkier look. Here’s a tip: use a thin strip of fusible web (like Heat’n Bond) to iron your ribbon where you want it first. Then, when you sew it on, you will not have to worry about keeping it straight and sewing at the same time.

• Add a felt flower embellishment to one side of the bag. I always use 100% wool felt. You can sew the flower on by hand, or machine sew the edges for a different look.
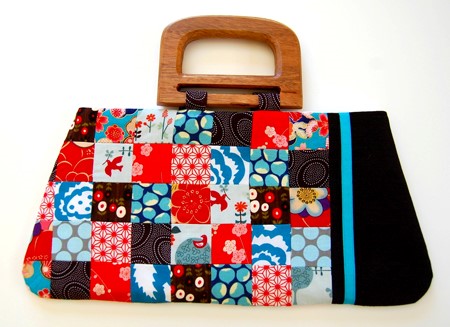
• If you’re a quilter, you might like to cut different fat quarters into squares and make a patchwork for your main panel. I used 12 different fat quarters for this bag above.
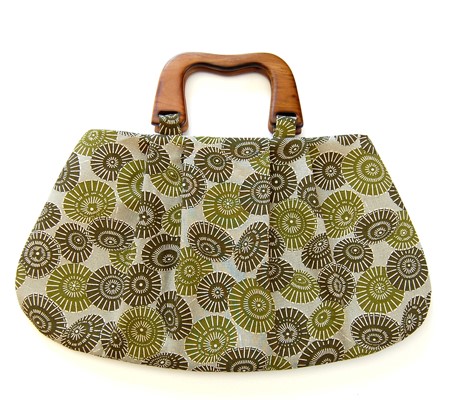
• I love the look of a pleated handbag! Right after you cut your main panels, you can fold pleats into them with your hands, and then just pin the pleats in place. I like to be symmetric – if I make a 1” fold on one side, I like to make another 1” fold on the other side. But you can experiment! Keep folding until you like the look of the bag! Once you have the bag the way you like it, you can press the pleats lightly for a little added stability when working with your bag (but keep the pins in so the pleats don’t move).
To cut your lining pieces and interfacing pieces, just lay the pleated piece of fabric on top of your lining and interfacing and cut around the new outline – that way, your lining can still be flat but also fit the shape of the bag neatly. Now just treat the bag as you normally would– as you sew all your seams, you will also sew your pleats into place!
• Give your bag a flat bottom. It’s a cute look, and it gives you extra storage space, too.

You will do this step after you have sewn around all the edges of your bag, but right before you turn your bag right side out. Take a straight edge and cut out a square of fabric from each corner (usually 1.5” to 2.5” wide– depending on your personal style).
Pinch the corners so that the sewn seams meet in the middle. Sew across this edge several times (again, there will be a lot of stress at this point, so you want to make sure it is secure). Repeat this in all four corners. When you turn your bag right side out, you will now have a flat bottom!
Here’s another secret tip
cloth napkins are very similar to fat quarters! I always check out the housewares section anytime I go shopping. One napkin can make a very cute purse!
The possibilities for these bags are endless! They are one of my favorite things to sew.
These little bags are gorgeous! And so quick and easy too. Thanks for sharing!