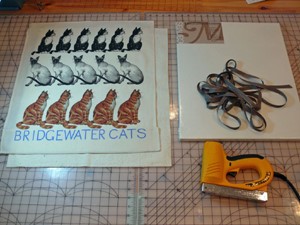
Supplies Required
• 1 stretched artist’s canvas, any size (available at craft stores or online)
• 1 piece of background fabric, cut to 2-3” wider than canvas on every side
• 1 piece of lightweight batting, cut to same size as background fabric
• Ribbon, ¼” to ½” wide (length depends on selected canvas size and preferred number of “trellis” strips
• Staple gun
Fabric bulletin boards are an opportunity to showcase not only the mementos they display, but also favorite fabric and ribbons. You could cover a board with novelty fabric, a piece of vintage embroidery (perhaps from a pillowcase or tablecloth), home-dec fabric that coordinates with other linens in the room, or even a pieced patchwork background. Also, linen or burlap would make a nice neutral base for novelty ribbons, printed linen tapes, or festive ric-rac.
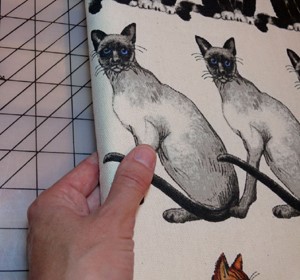
So the first step is to select your background fabric and ribbon. For this tutorial, I’m using a tea towel I’ve been saving for a special project, and some gray grosgrain. I altered the tea towel slightly (removed a strip of cats and re-seamed) to make the size compatible with a 16” x 20” stretched canvas.
Next, iron the fabric to remove any creases. Place the batting on top of the canvas, and the fabric on top of the batting. Smooth the fabric/batting layer taut and position as desired. (In this case I want to make sure the towel’s cats and text are centered vertically and horizontally.) Holding the fabric and batting around the edges, turn the project over.
Staple each fabric/batting edge in the center, then turn the board over and make sure you’re happy with the position of the fabric. If not, remove stapes and redo.
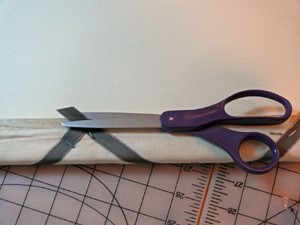
Staple gun in action.
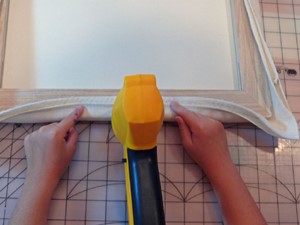
First staples.
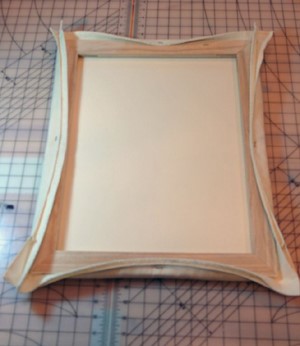
Then staple the rest of the edges and the corners
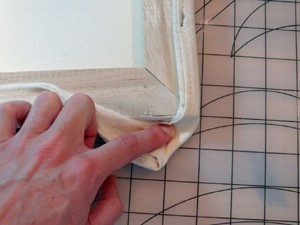
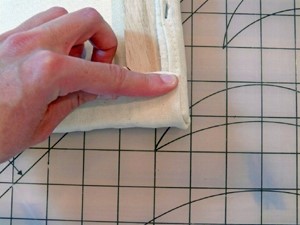
Tucking corners in as neatly as possible.
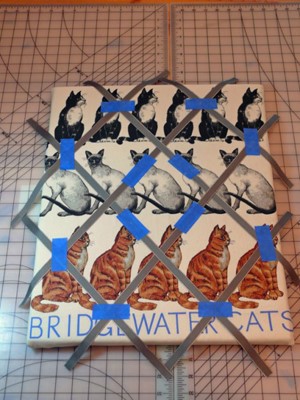
Turn the board over. Determine whether you prefer to place the ribbon diagonally or horizontally, and cut strips to fit (plus 2”-3” extra at each end). I like to “weave” mine as I would with a pie crust lattice. Once you’re pleased with their positions, use bits of masking or painter’s tape to hold them in place.
Carefully turn the board over. Following the angles of the ribbon pieces, wrap them around the edges, pulling taut, and staple into place.
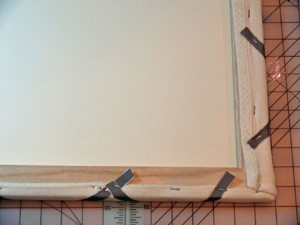
Trim any long ends.
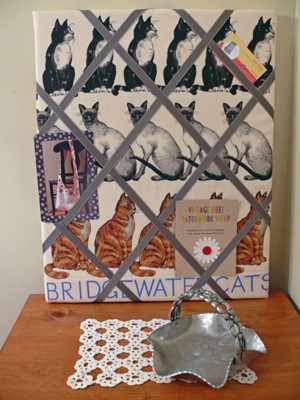
Turn the board back over, remove the tape, and hang or display the finished bulletin board as desired.
Other Fabric Bulletin Board Ideas
You can also use fabric to cover cork or foam-core boards. No ribbon is needed for these; you can use regular push pins to display mementos (or make your own push pins with vintage buttons, tacks, and a glue gun). A huge fabric yo-yo would be a charming cover for a circular cork board (you’d simply insert the cork inside the yo-yo before gathering the fabric).
If you prefer magnets, paint a piece of plywood with magnetic paint (at least three coats are recommended), then cover the board with a piece of lightweight fabric, using the stapling method described above. Rare-earth or sheet magnets are said to work best with magnetic paint. Google “magnetic paint” or visit your local home-improvement store to find these supplies.