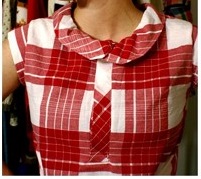
Kayleen makes absolutely beautiful, classic clothing. She specializes in unique clothing for children but also makes wonderful clothes for herself, in addition to bags and more. A fun collar is a great way to add variety to a favorite top pattern.
Creating a pattern for your collar
This particular collar looks best when attached to a blouse or dress that contains a placket.
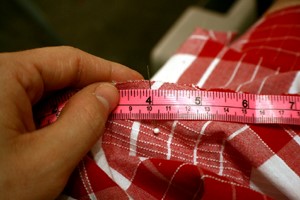
Step 1
After you have the basic neckline of your piece constructed, you’ll need to measure from one end of the placket to the other. *Note: You’ll get a more accurate measurement if you stand your measuring tape up and let it curve.

Step 2
Add the neckline amount + 4 inches + seam allowances = your collar length. (example: 25in. + 4in. + 5/8in(2) = 30 1/4in.)
Trace and cut out the pattern for your collar with a 3in. width. (the example’s final measurement would be 30 1/4in. X 3in.)
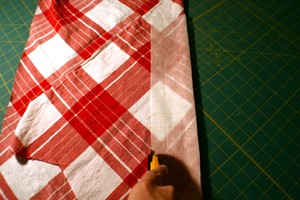
Step 3
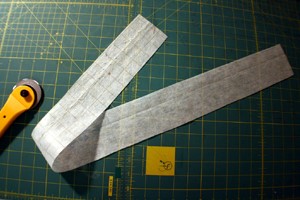
Place the collar’s pattern on the fold of the fabric’s bias and cut out. Cut out the collar’s interfacing. Constructing the collar
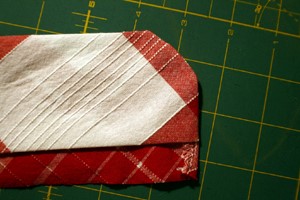
Step 4
Apply interfacing to one half of the collar. This will be the topside and the other half of the collar will be the underside. Turn down the topside’s edge 5/8 of an inch. Press.
Step 5
Fold collar in half where the interfacing ends. Press.

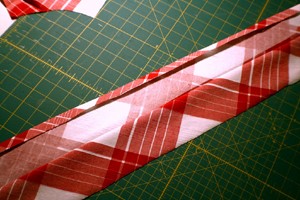
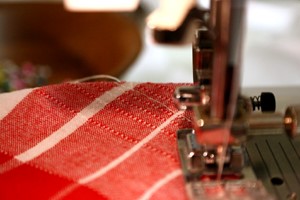
Step 6
With right sides together, sew the ends of the collar closed. Start with a 5/8 in seam and curve the fabric as you get to the end to create a rounded corner. Trim seam allowance, turn right side out and press.
Attaching the collar
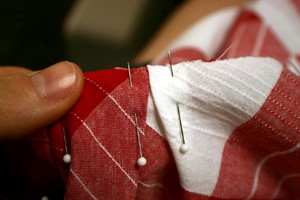
Step 7
Mark with a pin 3-4 inches from the shoulder seam to the front on both sides of the garment and mark the very middle of the back.
Step 8
Pin the collar’s underside to the garment, right sides together. Create a ½in. pleat at the 4in. mark and a 1in. pleat at the middle of the back.
Baste and sew. Trim and press seam allowance towards collar.
Step 9
Pin the topside of collar in place, creating pleats on top of underside’s pleats. Baste and stitch in the ditch, making sure the topside catches.

All Done!