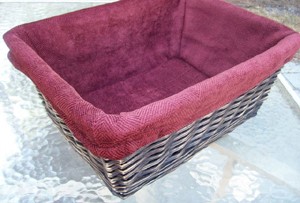
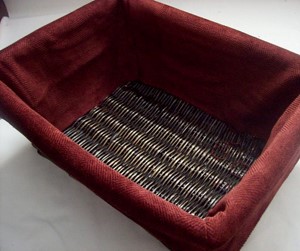
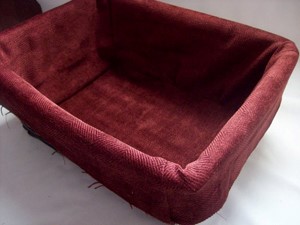
Kristine shows us how to make fabric liners for storage baskets. Now we can organize in style, right?
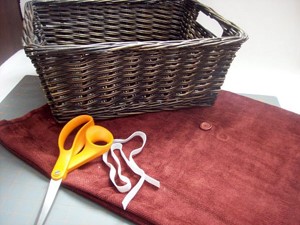
Materials Requirement
- • Fabric of your choice. The amount of fabric depends on the size of your basket. A small basket will probably use about ½ yard, and a larger basket about ¾ yard
- • 12 inches of elastic ( ½” width)
- • Storage basket
- • Scissors or rotary cutter, and measuring tape
Make Fabric Storage Basket Liner
One way you can make this project a bit more environmentally-friendly is to find your storage baskets at thrift/second-hand stores. Most second-hand stores have a unique collection of all sizes of storage baskets. This particular tutorial is for a rectangle-shaped basket, so you may want to look for that shape if this is your first attempt at this type of project.
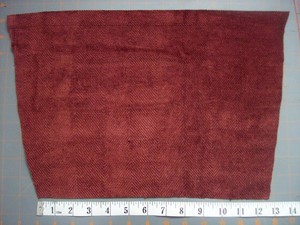
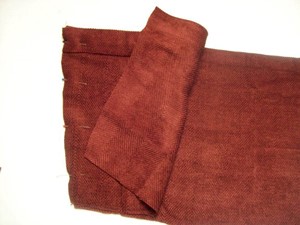
For this particular project I cut up a valance found at my local Goodwill. I chose this valance because the maroon chenille fabric it was made from suited this project very well. Other fabrics that would work well in this project include: home decorator weight fabrics, good-quality cotton quilting fabric, or a bottom weight corduroy or twill.
½” seam allowances, unless specified otherwise
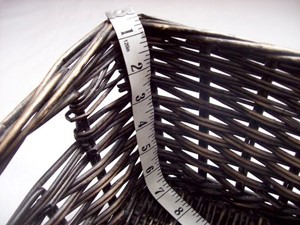
Measuring your basket
Since most storage baskets are rectangle, measure long side first, then short side on the top of the basket. (If your basket is a square, you will only have one measurement.)

Measure height on the inside of the basket.
Measure the inside bottom of the basket (these measurements will be smaller than top measurements).
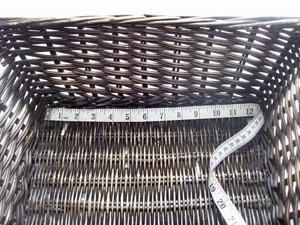
Now add ½” to all measurements, except for the height, to which you’ll add 4” for wrapping around the basket edges.
Example–My basket measurements:
Long side: 16” (+ ½”) = 16 ½” cut length
Short side: 12” (+ ½”) = 12 ½” cut length
Height: 6” (+ 4”) = 10” cut height
Inside piece: 12” (+ ½”) x 9” (+ ½”) = 12 ½” x 9 ½” cut inside rectangle
Cutting the pieces
If your storage basket looks like the one I have here, the side pieces need to be cut into an upside-down trapezoid shape. (You didn’t know you had to remember geometry for this tutorial? A trapezoid looks like a pyramid with the top cut off).
From fabric, cut a rectangle long side cut length x cut height (16 ½” x 10”).

Fold rectangle in half (10” sides meet on the right). Divide the longer measurement from the inside rectangle in half (12 ½” in half = 6 ¼”). Find this measurement on the bottom of the folded fabric and begin gradually cutting in an angle until you meet the top.

Unfold your piece and you should have an upside-down trapezoid. (16 ½” x 12 ½” x 10”)
Use this folded piece as a pattern to cut another identical piece. Then follow these four steps for cutting the shorter side pieces of the basket. Also cut a piece the size of the inside rectangle. (12 ½” x 9 ½”)

You should now have five pieces cut
• 2 large upside-down trapezoids (For the rest of the tutorial, these pieces will be called A & B—it might be helpful to label them with chalk on the wrong side)
• 2 smaller upside-down trapezoids (Pieces C & D)
• 1 rectangle (Piece E)

Sewing the Cover
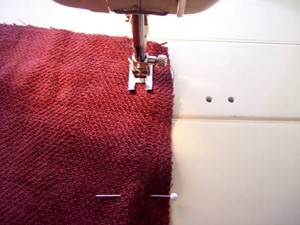
Pin piece C to piece A on angled side, right sides together.
Stitch. Then pin piece D to the other side of piece A, piece B to the other side of piece D, and the other side of piece B to the remaining side of piece C (This seam should close it up). Make sure all right sides are together, wrong sides are out. Stitch all remaining seams.
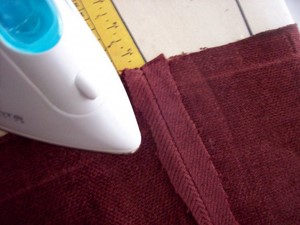
Press all seams open.
Try the liner on your basket, making sure all four corner seams match up to the corners of the basket.
Pin each of the four corners of piece E to four corner seams of liner. The point of each rectangle corner should be right in the middle of the pressed seam.
Make sure that the long and short sides of the rectangle are matched up to the long and short sides of the liner.

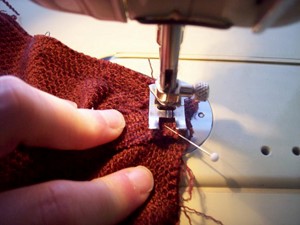
Begin sewing one inch before a corner. When you come to each corner, leave your needle in the fabric and pivot the whole piece around the corner, making sure the bottom fabric comes with you in the pivot.
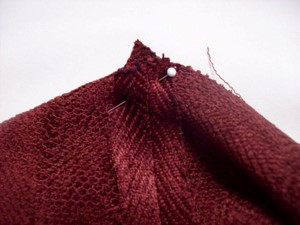
You may find that when you match up the corners you have a bit of extra fabric in between. This doesn’t always happen, but can be frustrating if it does, so here is a simple solution. Ease in this extra fabric with a couple of small tucks, but whatever you do—DON’T adjust the corners. Those need to stay put, but a couple of tucks in between the corners will barely be noticed.
Try on your liner again to make sure it fits. If you are satisfied with the fit, sew around the bottom again to reinforce the seam. Press seams open. If desired, you can clean up all the seams with an overlock or zigzag stitch.
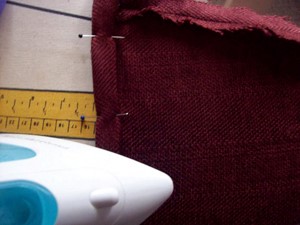
Put liner on basket again, pressing the corners of the liner into the corners of the basket. On the outside of the basket, measure 3” down from the top and cut off any excess all the way around.
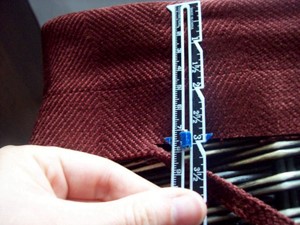
Press & pin ¾ inch double hem all the way around the top of the liner. Before sewing, try it on to make sure it hangs 1 ½ – 2 inches over side of basket.
Stitch top seam.

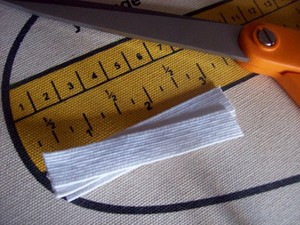
Cut elastic into four 3” pieces.
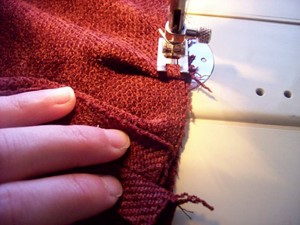
On the top of the liner, position one piece of elastic 2 ½” from center of corner seam. Sew a few anchoring stitches in elastic.
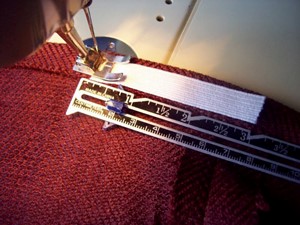
Begin sewing elastic, stretching as you sew. The bottom of the elastic piece should finish about 2 ½” from the opposite side of the seam. (Basically, you have stretched 3” of elastic into 5”) Sew up and down both sides of elastic stretching the whole way. When you are finished sewing, let go–it should bunch up. Repeat with other three corners.
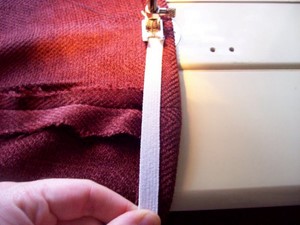
Some basket liners have casings for the elastic, but I found that to be unnecessary, as the elastic doesn’t show once the liner is on the basket. So, don’t worry about the elastic being exposed. Just sew it as close to the inside edge as possible so it doesn’t hang off the sides.

You’re done! Put the liner on your basket and admire your beautiful work. These basket liners are a great way to add some color and variety to your storage spaces. They can also serve as a protection for the things you are storing in the baskets.