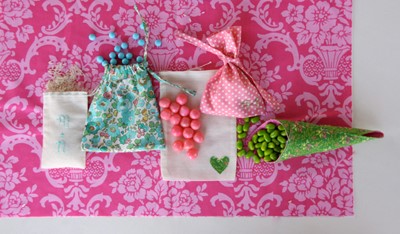
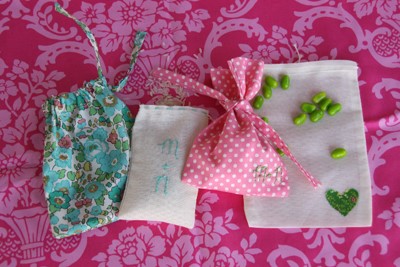
You’ll find instructions for Fabric Favor Cones, Favor Bags (two versions) and Muslin ‘Tea’ (or Rice) Bags. We love the cheery colors and how all of the pieces can work together (or stand-alone beautifully!). Thank you, Jessie!
There are so many amazing things you can make with fabric to truly customize your wedding theme. Since you will typically need a large quantity of wedding favors, I wanted to keep these really simple for you to make in multiples.
Sew Party Favors
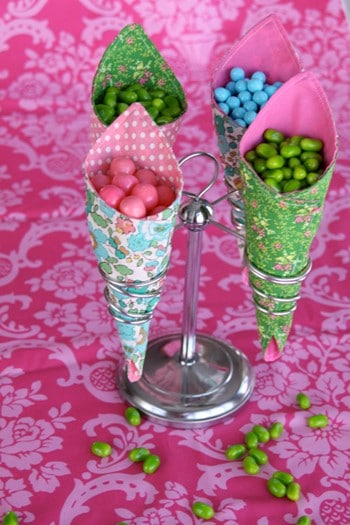
Fabric Favor Cones
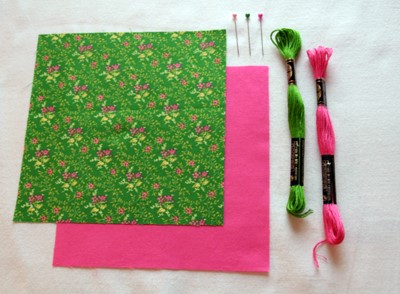
For each cone you will need:
- One 6.5” square of outer fabric
- One 6.5” square of lining fabric
- Embroidery floss in a coordinating color
With right sides together, sew around the perimeter of the square (1/4” seam allowance), leaving two inches or so for turning out.
Clip all four corners, and turn square right side out.
Turn under the area that you left open, and press.
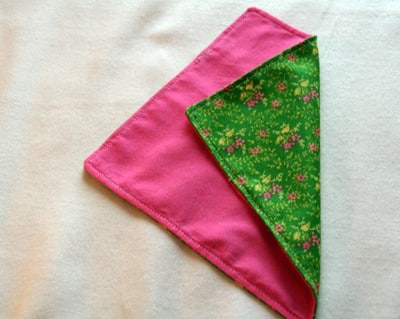
Top stitch all the way around your square.
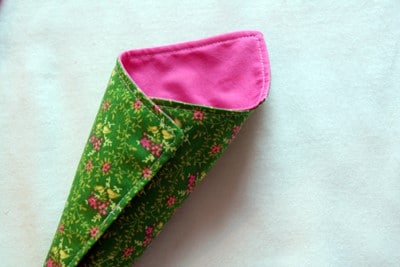
Lay the square flat, wrong side up, at a 90 degree angle, so it looks like a diamond.
Grab the right corner of the diamond, and fold it inward.
Now fold the left corner on top of the fold – adjust to achieve the look you want.
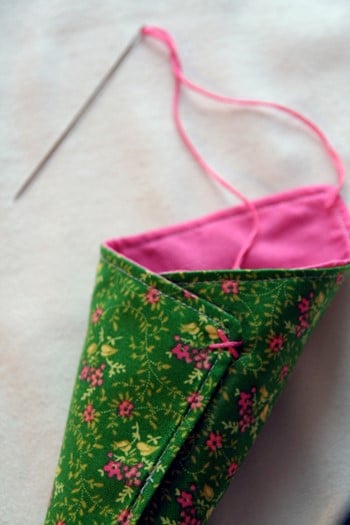
Here I just pinch the folds together and make a couple of little stitches with embroidery floss to hold it in place.
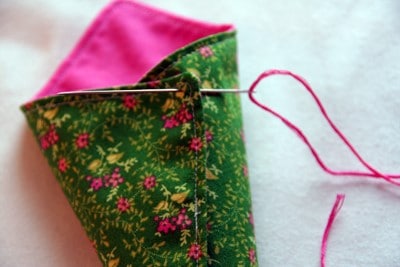
Note: Depending on what the favor cone will be holding, you may want to add a little more strength to the closure. If you do, you could continue to stitch further down the front, or use a couple drops of fabric glue inside the front ‘flap’. I didn’t find it necessary to use anything more to hold the candies pictured.
Favor Bags
These sweet little favor bags can be customized in so many different ways to coordinate with your wedding theme.
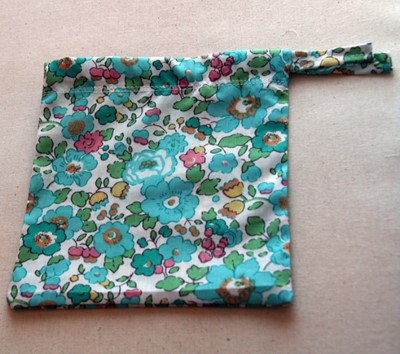
For the floral drawstring bag:
- One piece of fabric measuring 14” wide by 7.5” tall
Lay the fabric flat, and cut one piece 1.5” by 14” and two pieces 7” by 6”
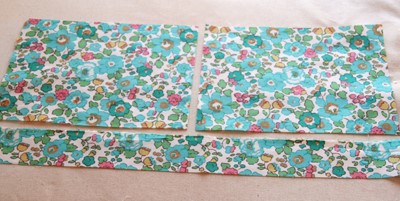
Turn the rectangles 90 degrees, so that the pieces are 7” tall and 6” wide.
If you‘d like to add any embellishments, it’s good to do that now, making sure to allow for a 3/8” seam allowance.
Pin the pieces of fabric right sides together. Mark the space at ¾ down to 1.5” down on the right edge; you will leave that section open.
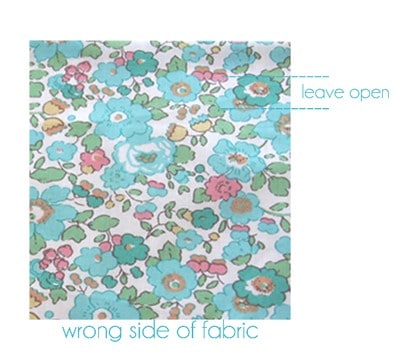
Begin sewing on the right side, making sure to stop ¾ inch down and backstitch. Resume stitch ¾”’ below that, and continue around until you reach the upper left corner.
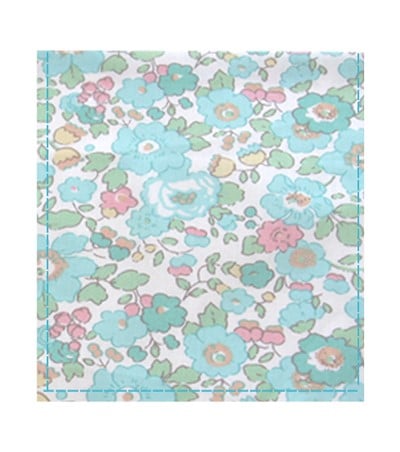
Fold top edge down ¾” toward the wrong side and stitch close to the raw edge (this is the casing for the drawstring).
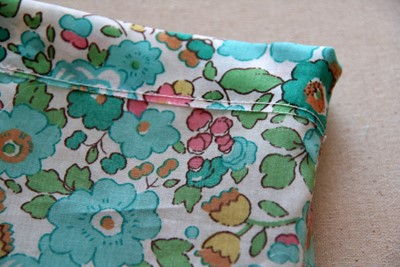
Turn bag right side out.
Make the fabric drawstring:
Fold short ends in ½ inches and press.
Fold long ends in half and press
Fold each top and bottom raw edge to meet the crease in the middle.
Fold again and press so that you have a ½ inch drawstring. Top stitch.
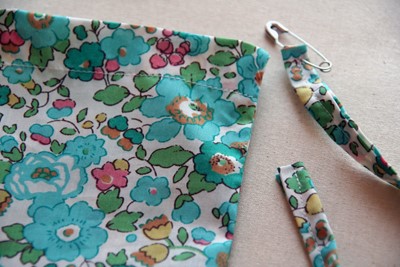
Attach a safety pin to one end of the fabric, and thread it through the opening in the bag until it comes all the way around. Remove the pin.
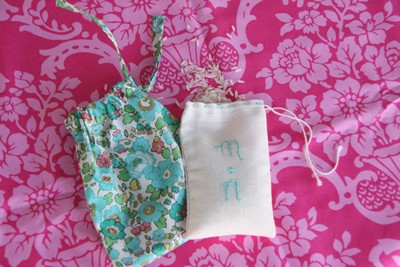
For the little pink bag:
You will make this just like the drawstring bag, except you won’t thread the drawstring through the bag.
Materials:
- One piece of fabric measuring 14” wide by 4.5” tall
Lay the fabric flat, and cut one piece 1.5” by 14” (omit this piece if you want to tie the bag with coordinating ribbon or a raw strip of fabric instead) and two pieces 7” by 4.5”.
Turn the rectangles so that the long sides are vertical.
If you‘d like to add any embellishments, it’s good to do that now, making sure to allow for a 3/8” seam allowance.
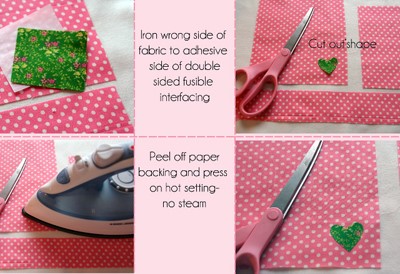
To add an appliqué: Choose a piece of contrasting fabric. Iron the wrong side of the fabric to the adhesive side of double sided fusible interfacing, such as Wunder Under. Draw your design on the paper side of the interfacing, and cut out. Peel off the paper backing, and iron your appliqué into position.
To embroider your initials: Lightly trace your pattern with a pencil on the right side of the fabric. Use a simple backstitch to embroider your design.
Pin the pieces of fabric right sides together.
Begin sewing on the right side, and continue around until you reach the upper left corner.
Fold top edge down ¾ “and stitch close to the raw edge
Turn bag right side out.
Make the fabric tie:
Fold short ends in ½ inches and press.
Fold long ends in half and press
Fold each top and bottom raw edge to meet the crease in the middle.
Fold again and press so that you have a ½ inch tie. Top stitch.
After you’ve filled your bag with goodies, simply place the tie around the bag and knot.
Muslin ‘Tea’ (or Rice) Bag:
Materials:
- One piece of muslin measuring 3” by 9.5 inches
- one 14” strand of heavy duty cotton floss or embroidery floss
Fold the large piece of fabric in half so that it measures 3” wide by 4.25” tall. Press so that you know where the bottom of your bag is. If you’d like to embellish the bag with applique or embroidery, do it now, making sure to leave at least a ¼” seam allowance all the way around.
With a ¼” allowance, sew down the right side, across the bottom, and back up the left side.
Fold the top edge under ½” toward the wrong side. Press and stitch close to the raw edge. Turn out.
Thread a needle with the floss. Beginning near the upper right side seam, poke the needle through and guide it through the channel created with the seam allowance at the top of the bag. When you get all the way around, poke the needle back out, and leave a long tail of thread on each end – these are your simple ties.
Repeat, repeat, repeat – I’m sure you have a lot of favors to make!
