
What you need
- • Fabric for the patchwork front: seven different coordinating prints, each cut into 4.5” squares.
- • Fabric for the inside, cut into a rectangle measuring 16” x 28”.
- • Grosgrain ribbon (or other ribbon suitable for ties, such as twill tape.) cut into eight lengths of 12”.
Notes: Seam allowance is about 1/4-1/2” (I used the 3/8” mark, which happens to be the side of my regular foot.) It’s not so crucial to follow the seam allowance perfectly, so somewhere in there is fine!
What you do
- Measure your sewing machine. Mine is approximately 15” wide, 7 inches from front to back, and 11” tall. This pattern reflects the size of my machine (pretty standard) but you can change the size of the cover with a bit of simple math. I multiplied the height of my machine by 2, then added the depth to get the measurements for my cover. (11” x 2 + 7” = 29”)
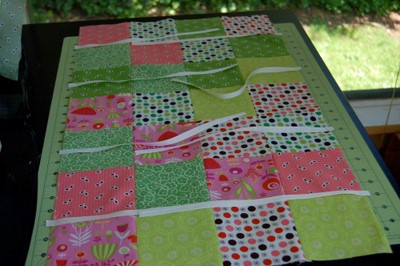
- Lay out your fabric squares in a patchwork pattern of four rows of seven. I chose to place them randomly, with no touching patterns. You could easily make a more structured layout if that’s more your thing.
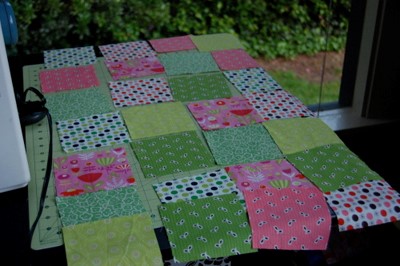
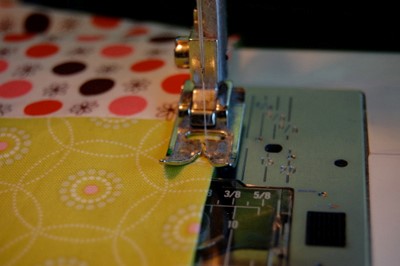
- Sew your squares together into four strips of seven squares. I found it easiest to start in the bottom left corner, and work my way up the row, setting that strip aside, then starting with the bottom square of the next row, and so on.
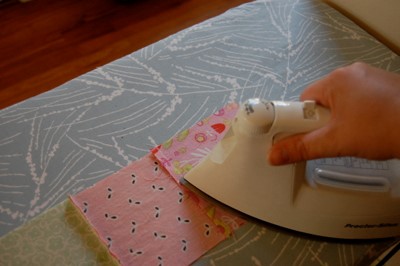
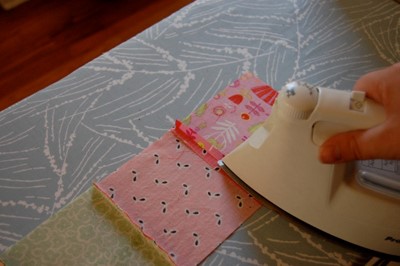
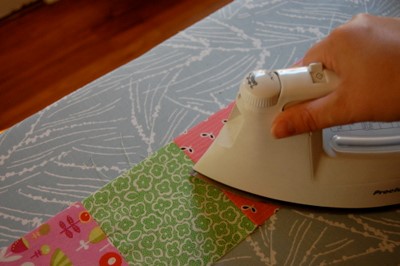
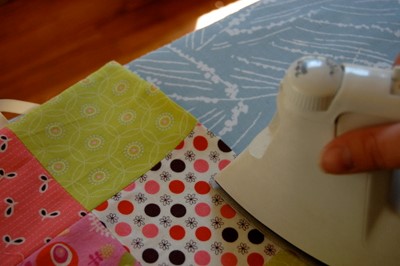
- When you have completed all four rows, you need to press the seams open. I like to start by first pressing each seam to one side to lock the stitches, then opening the seam and pressing it:
Sew the four rows together. Start with the first two rows, then sew the next two rows together. Finally, sew both halves together. In order to have perfectly matching squares, it’s a good idea to pin the rows together first. My favorite method is to first place a pin on either side of each seam, then a pin in the middle of each square. It keeps the fabric from sliding too much as you work down the row. But sometimes it’s fun to fly by the seat of your pants, so if that’s the way you roll, don’t worry about pinning!
- Press all seams open (just like step 3,) then iron the front of the patchwork rectangle.
- You should have a piece that measures approximately 16” by 28.” Make sure your patchwork piece and inside piece are the same.
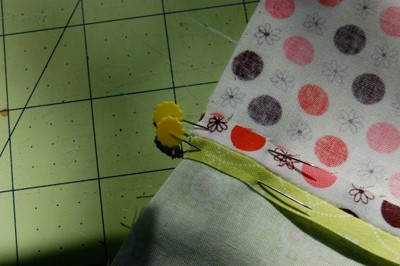
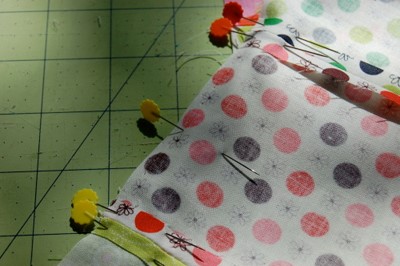
- At this point, you need to add your ties. In order to find the right placement for the ribbons, I laid the patchwork piece over the machine and arranged it how it would be when it was finished, then simply eyeballed where I thought the ribbons should go. Each ribbon should be perpendicular to the edge of the cover, with each piece extending about 1/4” over the edge.
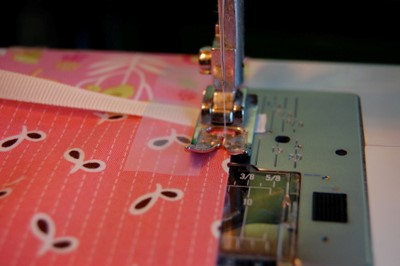
I used scotch tape to hold the ribbons in place—since they are so narrow—then sewed very close to the edges. You should end up with four ties on each long edge of the patchwork piece, with eight ties total.
- Next, place the patchwork piece right side up on a flat surface. Make sure all your ties are arranged towards the center of the piece, then lay the inside piece—right side down—on top of the patchwork piece, sandwiching the ribbons inside. Pin in place.
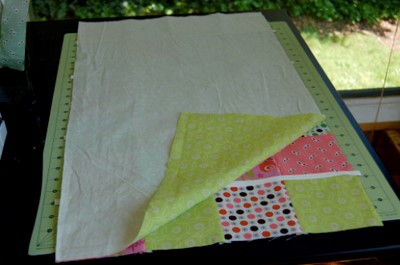
- Sew around the entire piece, about 1/4” from the edge, leaving a 2”-3” gap on one of the shorter sides.
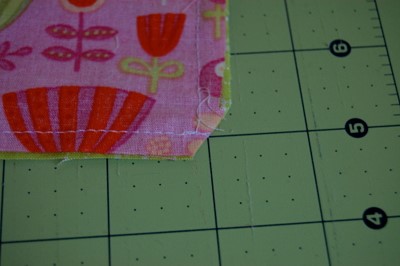
- Trim all four corners on a diagonal, just short of the corner where the seams meet.
- Turn the entire piece right side out, using the gap you left on one of the sides. You can use the blunt end of a chopstick or pen, or just your fingers, to push the corners out so they lay nicely.

- Iron the entire piece, making sure your edges are nice and straight. Pay special attention to gap you left—arranging the fabric so that it lies flat and even with the rest of the edges.
- Topstitch around the entire piece, as close to the edge as possible.
- Place on top of your machine and tie into place. Voila!
