Today to show how to sew cards and envelopes. These techniques would be perfect for a wedding, shower or really any other party invitation.
How Sewing Cards and Envelopes
The simple combination of linen and red together is a firm favorite and that I love to use recycled materials in my work. So, what better than using recycled materials and your sewing machine to make cards and envelopes too.
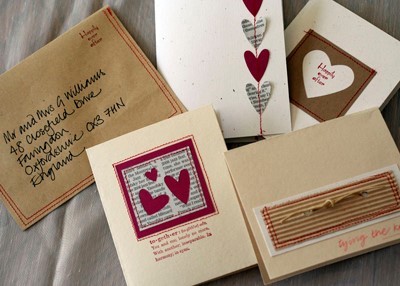
Here are some examples I’ve made of wedding invitations and envelopes using designs that are simple, easy to replicate and most importantly fast to assemble.
These ideas can easily be adapted for other occasions and I regularly sew up a batch of blank cards and envelopes for last minute birthdays and thank you notes.
Supplies Needed
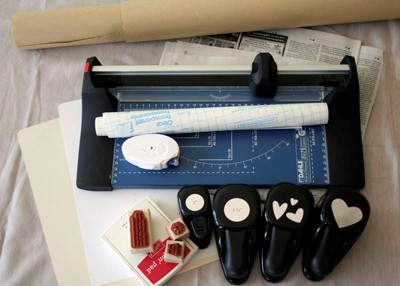
For the card: paper trimmer, card stock, newspaper, recycled paper, punches, sewing machine and contrasting thread, stamps and ink and scrapbooking double sided tape. Note: punches speed things up a little if you’re making lots of cards, but you can just as easily cut your paper using scissors.
For the envelope: kraft paper, clear contact paper, 1 inch and 1.5-inch circle punches, stamps and ink.
To make a card
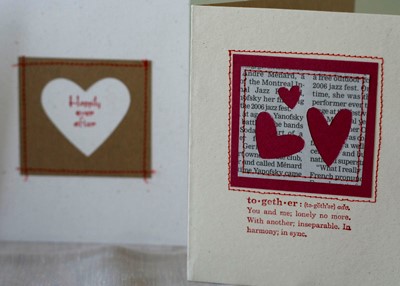
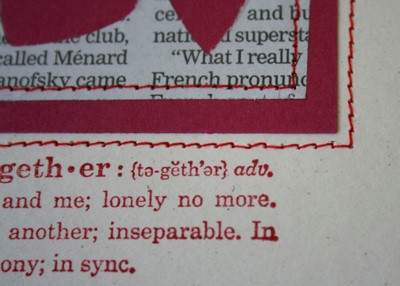
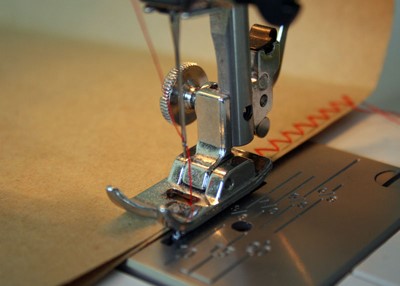
Using your paper trimmer, cut your card stock to the desired size and fold in half to make your card. Punch shapes in the card stock or newspaper to achieve a design that you like, add decorative stamps where desired and secure onto your card with scrapbooking tape before sewing on your machine. I prefer the look of simple clean lines, especially if I have to make a large quantity!
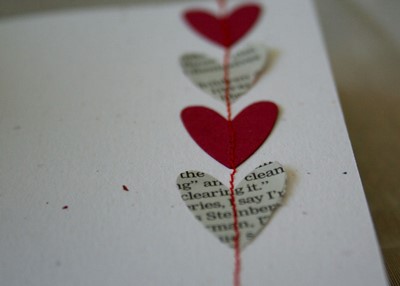
If you’ve never sewn on card before, it really is as simple as sewing on fabric. Backstitch at the beginning and end of your sewing to secure your stitches, trim the threads and make sure your stitch size is not too big. It’s worth practicing a bit on scrap card before you start to make sure your machine tension is fine.
To make an envelope
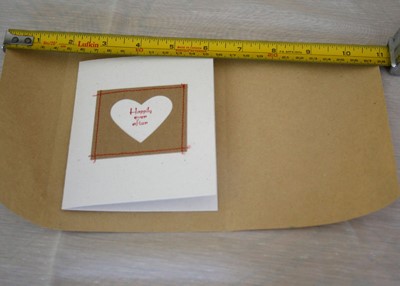
First you need to measure the size of your card. My card measurements are 10.5cm wide by 12.5cm long. To the width of the card add at least 2 centimeters and to the length multiply by approximately 2 and add 3 to 4 centimeters for the closing flap – these are the dimensions you need to cut your kraft paper. I cut mine to 12 cm wide by 28cm long.
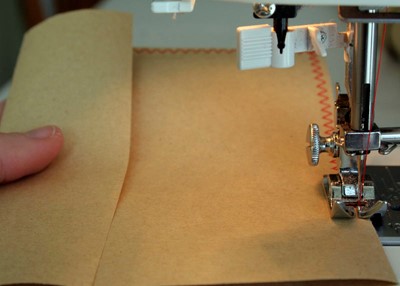
Placing the card in the kraft paper as a guide, make two folds. Once to form the bottom of the envelope and then fold again for the top flap.
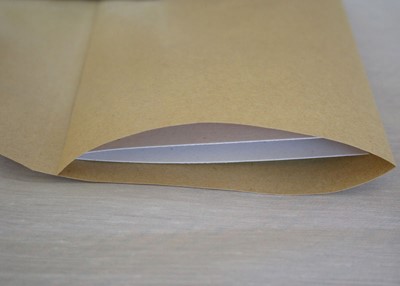
With the back of the envelope facing upwards sew around the 3 bottom edges of the paper, starting from the right-hand side, don’t forget to backstitch at the start and end for extra security. I don’t have fancy stitches on my machine, but this would be a good opportunity to experiment!

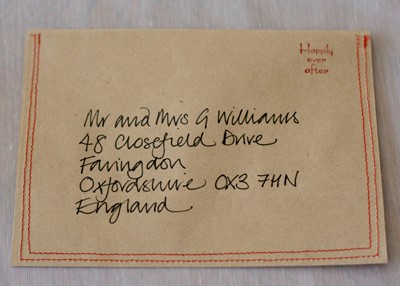
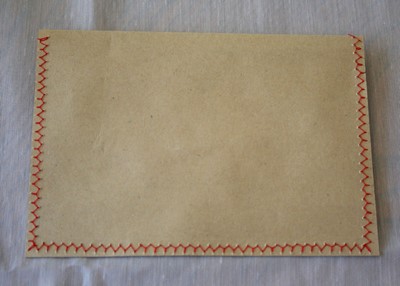
Here’s what your envelope should look like now:
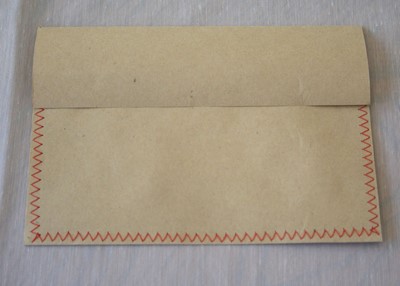
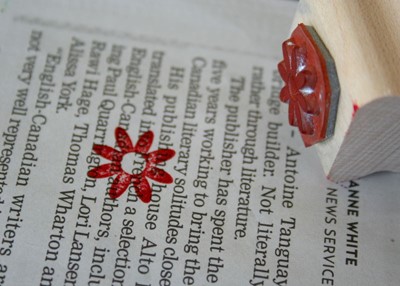
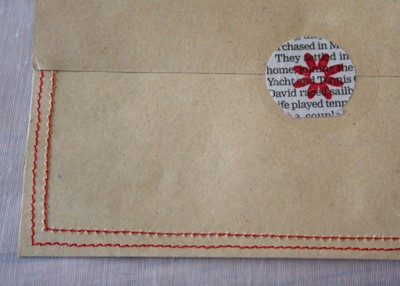
When you’re ready to close the envelope, use scrapbooking tape for a secure seal. For an extra flourishing touch, I like to add a decorative seal. To make a seal, stamp your chosen design onto newspaper and punch it out using a 1-inch circle punch.
Then, using a slightly larger circle punch (mine is 1.5 inches) punch a circle from your contact paper.

Peel off the backing from the contact paper and carefully place the newspaper circle into the middle and stick it over the flap
There you have it!