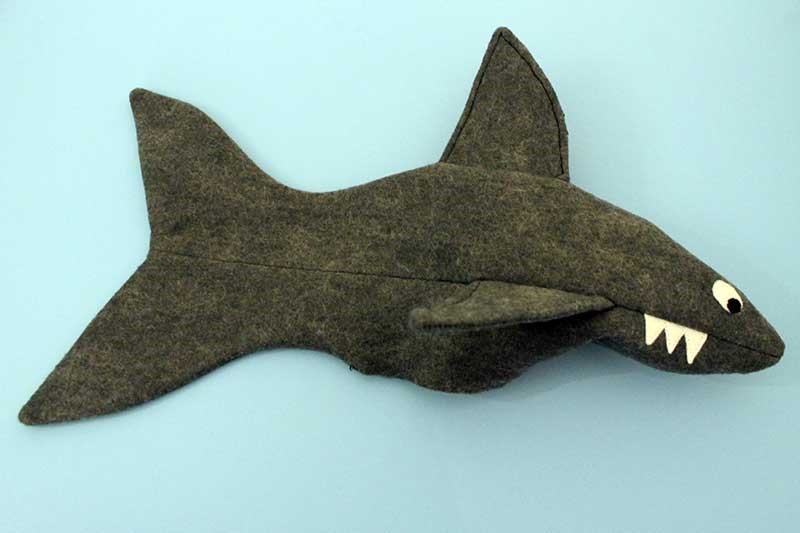
Kathy Green is sharing a pattern for creating a fun, felt shark softie with the option for creating contrasting fins from quilting cotton. Don’t miss her “tiger shark” below!
Shark Softie Tutorial
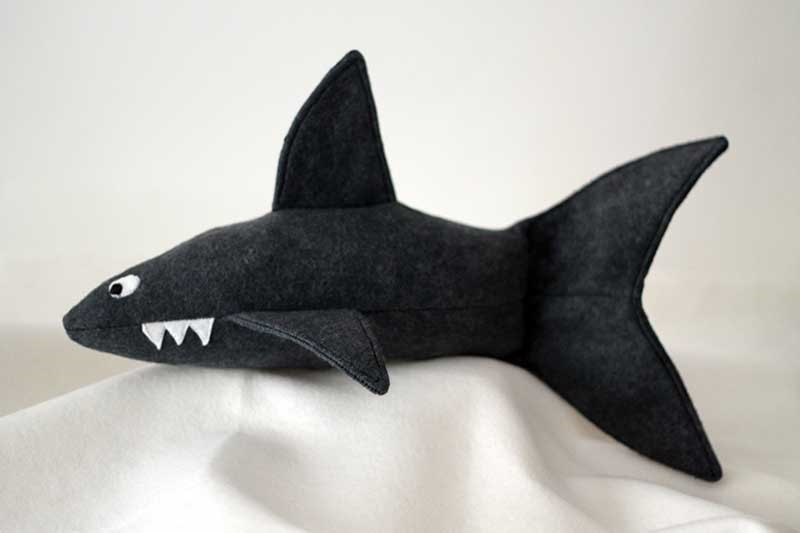
I designed this shark for my 5-year-old grandson Jack when I was making mermaids for my four granddaughters. I didn’t want to leave the boy out of the fun! And then, of course, the girls wanted sharks, too, so I started using quilting cotton for the fins to personalize them a bit.
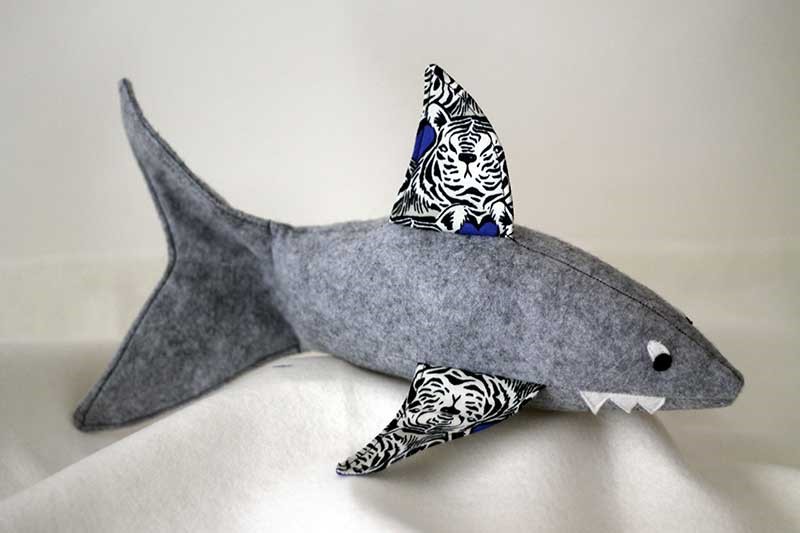
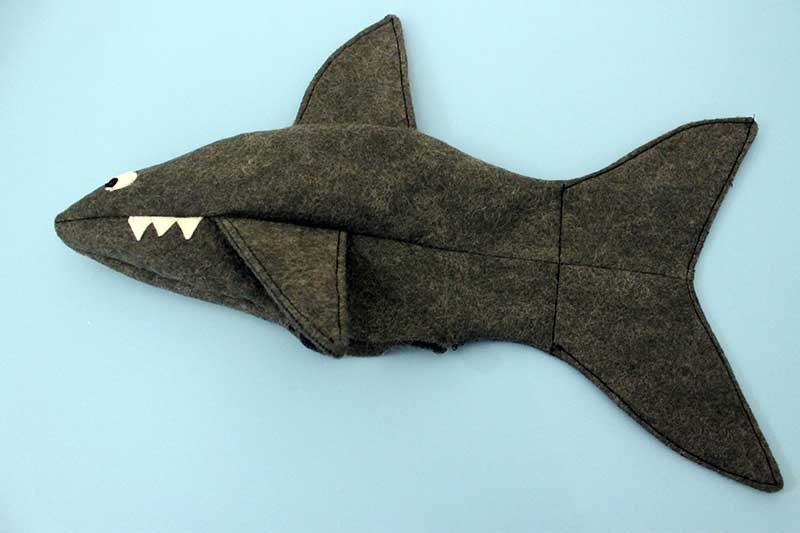
This one is obviously a Tiger Shark!
Download free Pattern
Materials
- 20” x 20” piece of wool-blend felt (Or 14” x 17” wool-blend felt and 25” x 6” piece of quilting cotton, if you would like contrasting fins)
- Scraps of white and black wool-blend felt
- Heavyweight fusible interfacing (I used Peltex 71F)
- Premium Fiberfill
- Fabric glue
Before You Begin
All seams are ¼” unless otherwise stated.
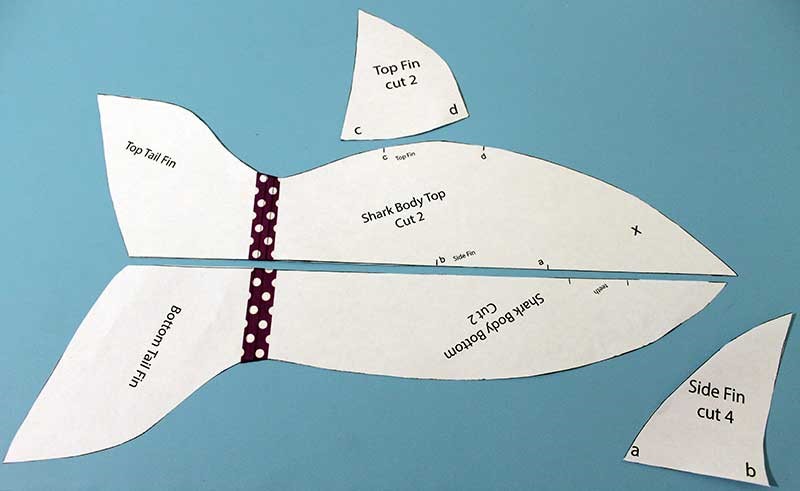
Tape the pattern together on the lines as indicated.

Cut two of the top and two of the bottom.
Four of the side fins and two of the top fins should be removed.
Cut two eyes from white felt (about ½” long and ½” wide) and two pupils from black felt.
Cut one piece of white felt about 3” x 1”. Cut six or seven jagged teeth shapes.
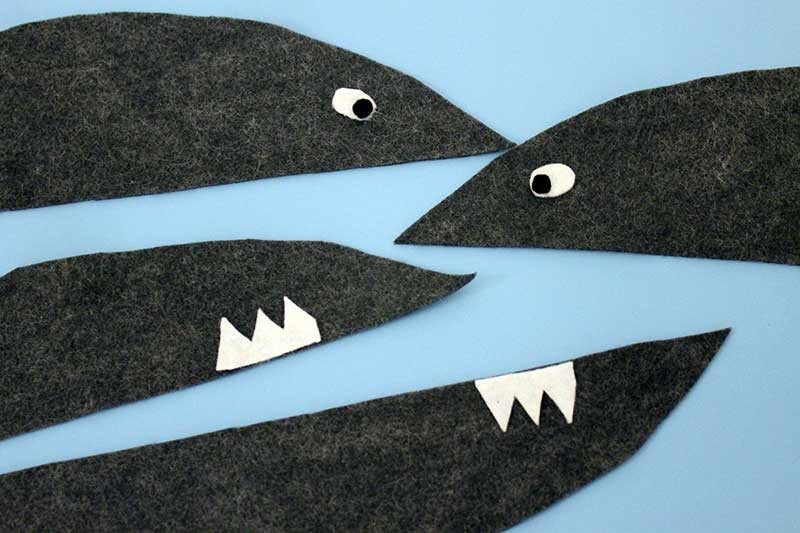
Glue the eyes onto the X mark with fabric glue.
Cut the teeth shape in half and glue it on the bottom shark piece at the “tooth” marker.
Let the glue dry, then machine stitch with coordinating thread.
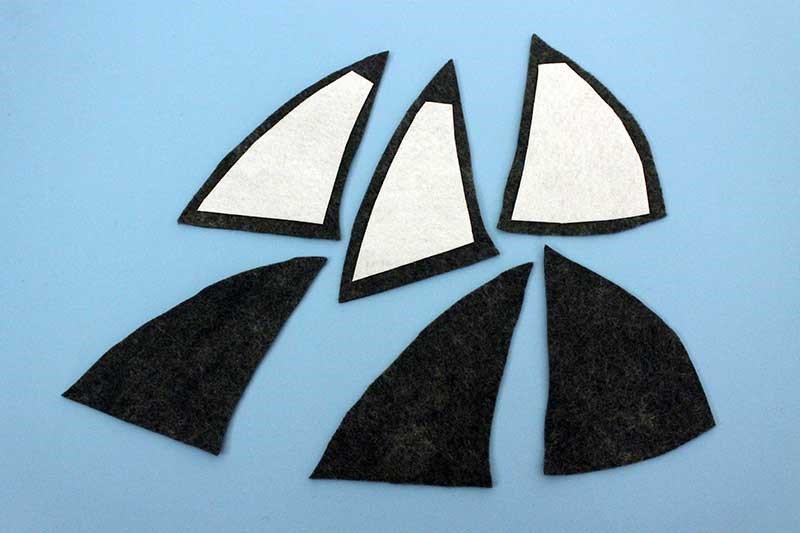
Cut the heavyweight fusible interfacing 14″ smaller than the fins, one for each fin, using the fin patterns. Then, to save space, snip the tip off.
Following the manufacturer’s directions, iron the interfacing onto the wrong side of the fins.
Sew the fins wrong sides together on two sides. Leave the bottom open. Clip the top corner close to the stitching, trim the seam allowance, and clip the curves.
Turn right side out and press.
Top-stitch all three sides of each fin.
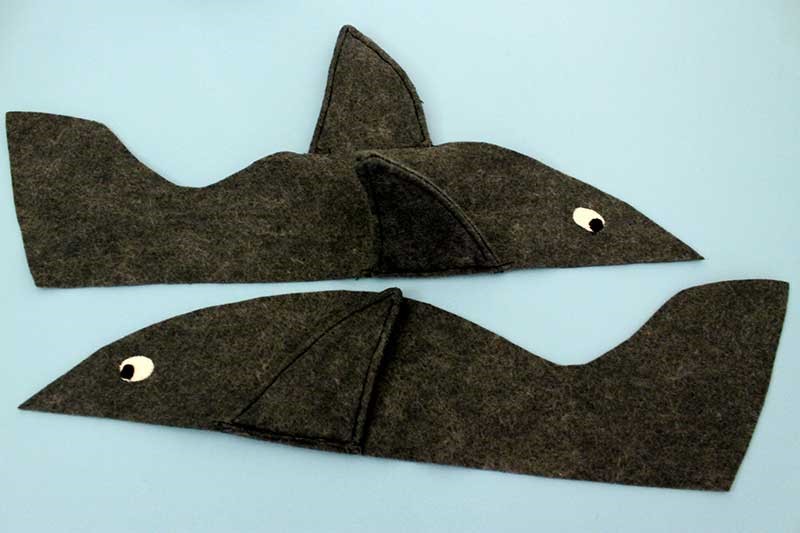
Stitch the shark’s fins where instructed on the pattern on the top of the shark (top fin and side fin on one side, side fin on the other.) Ensure that the fins are oriented backwards.
Stitch the top to the bottom, right sides together. Check the seams and stitch again. I usually double sew all of my seams because I know these softies will get a lot of love from little children.

Stitch the two sides together, right sides together. Make sure the fins stay inside the shark and don’t catch in the seams. Leave a 4” gap on the stomach for turning—not too close to the tail. Check the seams, then stitch again.
Clip the corners and curves. Trim the seam allowance on the tail and nose points to eliminate bulkiness.
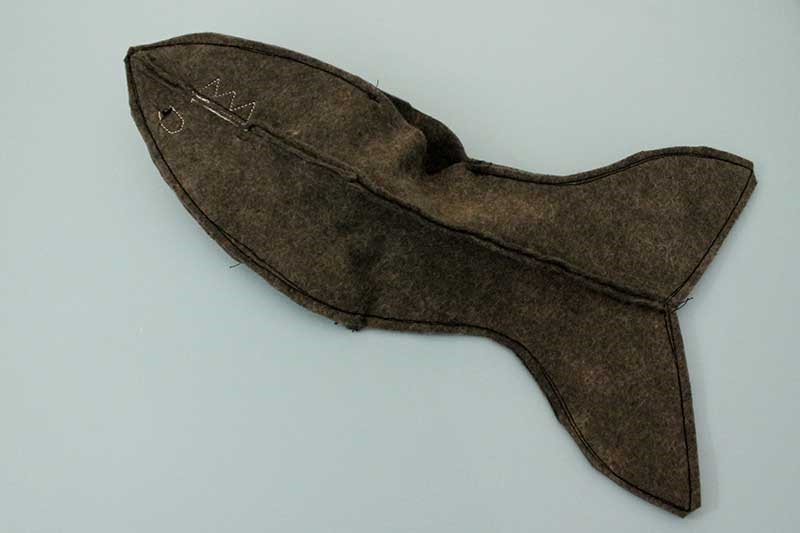
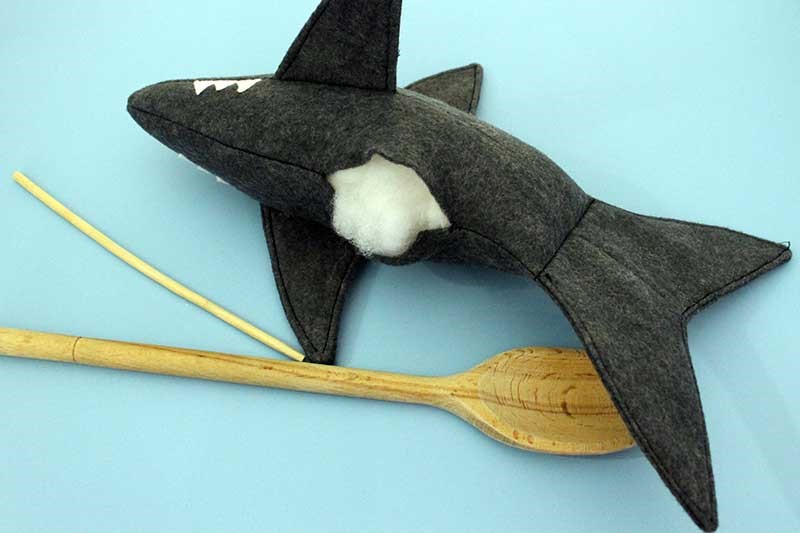
Turn right side out through the gap. Poke all the points out.
Press the tail fin really well. Draw a line where the tail begins to slant upward. (Right where the pattern is taped together.) Stitch on the line then top stitch the tail fin.
Stuff the space and close it with a ladder stitch.
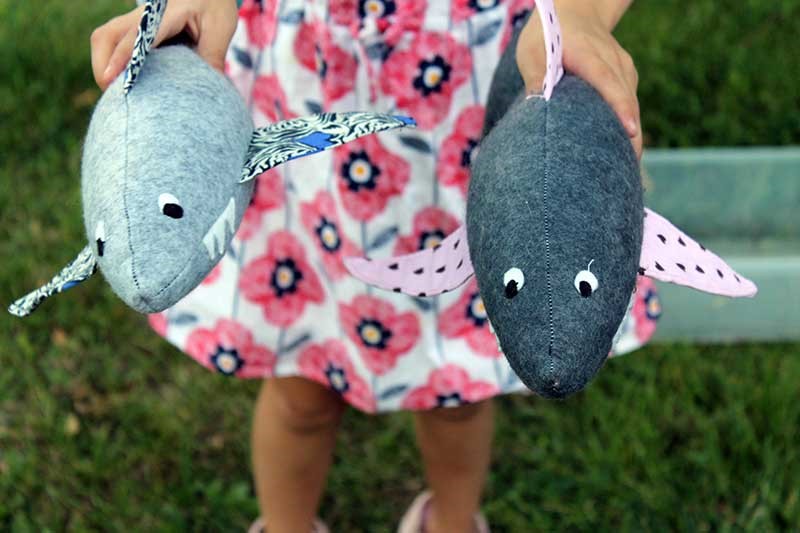
Shark frenzy!