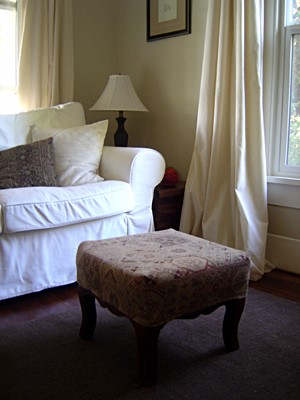
Here is the great option for your stools. A stool is a great way to begin learning how to make slipcovers.
Slipcovers for Stools
Materials Requirement
• Stool base
• Wood to cover top of stool base
• Foam to cover top of stool base
• Batting
• Staple gun
• Muslin or other cheap, light, easy-to-sew fabric
• Fabric
To calculate batting/muslin/fabric needs (with my highly technical approach) I figure the area of the top of the stool, then double that total. For example, if your stool top will be 1′ x 1′ I’d buy fabric to cover at least 2′ by 2′. I always tack a little onto that too, just to be safe.
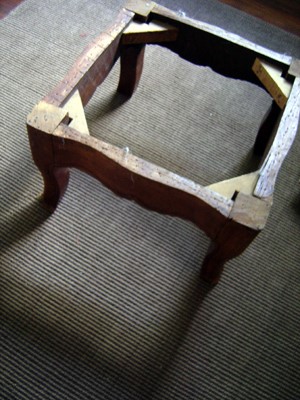
Start with a stool base. This is an old family stool, but these same techniques would work on the stool we used yesterday too.
Step One
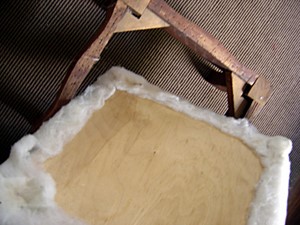
Prepare a piece of wood that covers the top of your stool. Big home improvement stores will often cut your wood for free if you ask. Buy and cut foam to fit the wood (the store where you buy the foam will often cut it for free too).
Step Two
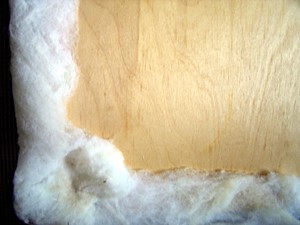
Cover the foam with some light batting, using a staple gun to hold the batting in place on the wood. You can skip this part and just use a spray adhesive to get your foam to stick to the wood, but I like the softer corners/edges created when you use the batting.
Step Three
Drape your muslin over the stool so the bottom edge of the fabric on all four sides of the stool is parallel to the ground. Make the fabric hang an inch beyond where you want your final slipcover to fall. Your fabric will bunch out on the corners.
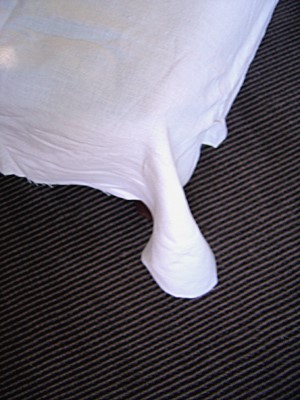
Step Four
Pin the corners so you get the level of “snug” you want for your slipcover.
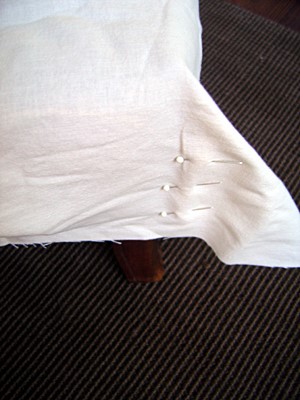
Step Five
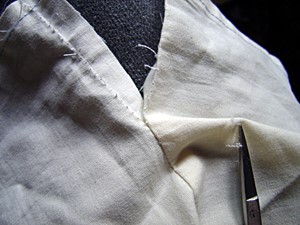
Sew down the corner where I’m pointing. Use a long stitch because you’ll take these stitches out soon. You might want to draw a line like Sarah did for her appliance cover (step two under “Create Box Corners”) but you could also just wing it, removing the pins as you sew. It helps to sew three corners, then place the muslin slipcover back on the stool to see if you need to re-pin the final corner.
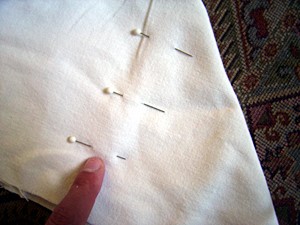
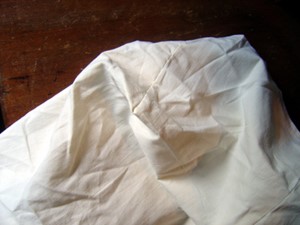
It may look like a mess at this point, but don’t worry. Place the slipcover on the stool and make any adjustments you need for a perfect fit. If you want it tighter, sew parallel to your first line away from the point. If you want it looser, sew parallel to your first line closer to the point. Don’t trim the points/triangles away until you’re happy with the fit.
Step Six
Trim the triangles off, then take out your stitches.
Step Seven
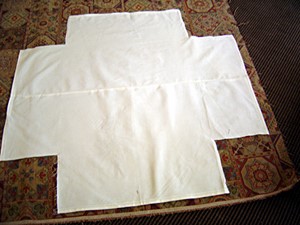
Lay the muslin piece (which is now your pattern!) on your good fabric, nice side of the good fabric up and pattern on top. Cut the good fabric (pin first if necessary).
Step Eight
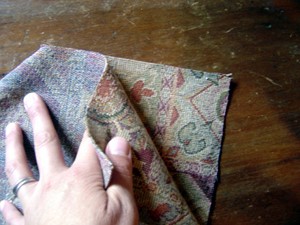
Fold the small sides together and sew each corner, nice side of fabric facing nice side of fabric. Remember to shorten your stitch length.
Step Nine
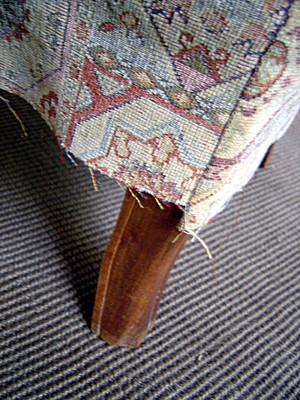
Don’t clip your corners and don’t trim anything yet. Turn your slipcover right side out and try it on your stool. Adjust the fit as necessary, just like you did for the muslin piece. See how the bottom edges don’t match up on my slipcover yet? That’s OK!
Step Ten
When you have a good fit turn the slipcover so you see the wrong side of the fabric. Trim excess fabric away from the seam and clip the little fold at the top of each corner (but don’t clip too close to the corner or you’ll eventually end up with a hole).
Step Eleven
Place the slipcover on the stool as you will when it’s all done, and fold up the hem to the inside, making sure it’s even on all four sides. I didn’t do a double fold to hide the edge of the fabric because I didn’t want a bulky seam and nobody will see this, ever! Pin and then sew the hem. Trim excess fabric. If you follow my one fold approach be sure to leave a little extra fabric by the seam to accommodate any unraveling threads.
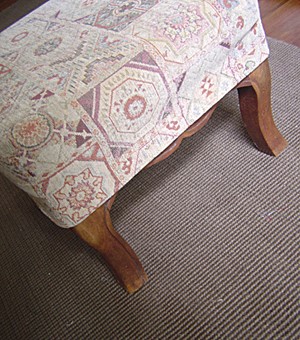
Just a few easy steps and you’re done, right?! Keep (and label, if your memory is anything like mine) the muslin pattern so you can switch up your stool covers on a whim.
