Today Autum brings us another satisfying, easy project to add a little something extra to your kitchen. Enjoy!
By making your own kitchen floor mat, you choose the size and colors, instead of being limited to what’s available in the stores. It’s quick and inexpensive, especially if you use fabric from your stash. I suggest pre-washing your fabric for this project, so that your mat will keep its shape.
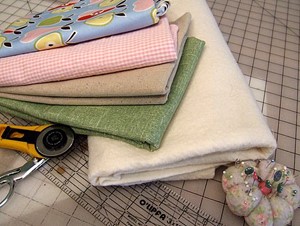
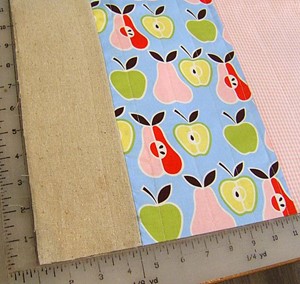
Begin by selecting the fabric for your mat. I used quilting weight cotton and linen for the front, a heavier, home dec weight fabric for the back and lined it with cotton quilt batting. This mat is done in simple patchwork strips, but it doesn’t have to be limited to that. You could get as intricate as you like.
Again, the beauty of making your own mat, you get to be the designer. Determine the size you would like your mat and cut a piece of cotton batting slightly larger. You could also use fleece or polyester batting if that’s what you have on hand.
To prevent slipping and sliding all over your kitchen, you may want to put some type of non-skid rug pad underneath. To make a mat for your bathroom you could do the same but back it with a towel.
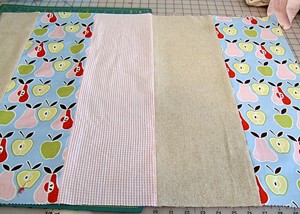
For the patchwork front, I tore strips of fabric in varying widths and laid them out on the batting. You don’t have to tear your strips; I find it quicker and easier and more fun than cutting when working with cotton.
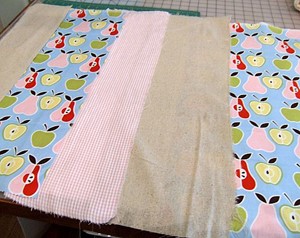
Once you have the patchwork in a layout that is pleasing to you, sew the strips together and press all your seams.
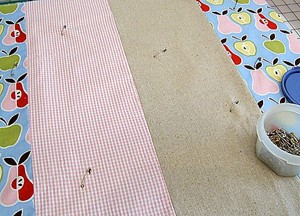
To prepare the patchwork for quilting, safety pin baste the patchwork and batting together, just like you would a quilt.
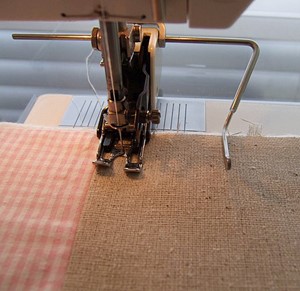
Machine quilt vertical lines 1.5 to 2 inches apart, beginning at the center and working your way out. I used the guide on my walking foot, if you don’t have a guide, mark your lines first with a water soluble fabric marking pen. You could do free motion quilting here instead or horizontal lines instead of vertical, or really go wild and do both. It’s completely up to you, because who’s the designer? You’re the designer!
Square up your quilted patchwork, to the dimensions you’ve chosen for your finished mat.
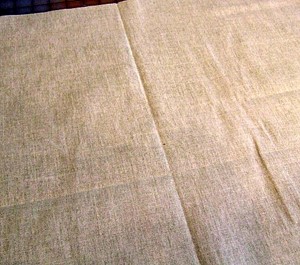
Cut the backing fabric five inches longer and five inches wider than the patchwork front.
To center your patchwork on the backing fabric, fold the backing fabric in half horizontally and vertically so that you have visible fold lines. Do the same with the patchwork. Line the center lines of the patchwork with the center lines of your backing fabric and pin in place (wrong sides together).
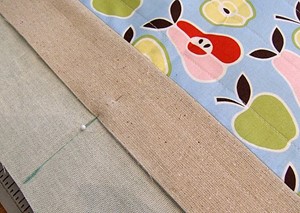
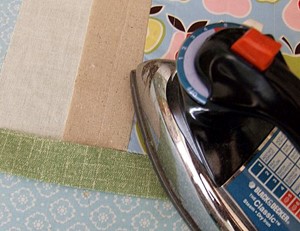
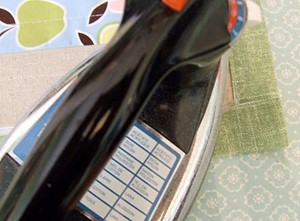
Beginning with either the top or bottom, turn the backing fabric up just shy of meeting the patchwork (about 1/8 inch). Press. Fold again and press.
The pressing is very important to get a smooth finished border. Don’t skip.
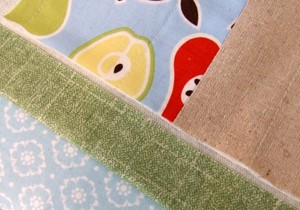
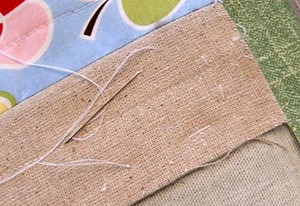
Stitch in place about just inside the edge of the border. Press again. At this point I could see that my patchwork wanted to shift as I folded the other side of the backing. To prevent this, I tacked it in place with a few hand basting stitches. Once you feel like it’s secure fold the opposite side the same way. I used lots of pins because I didn’t want any shifting causing my border to be all wonky. Stitch and press.
Repeat with the sides.
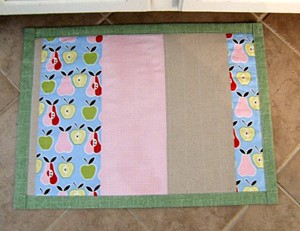
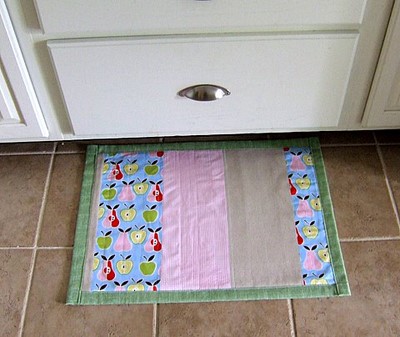
A finished floor mat