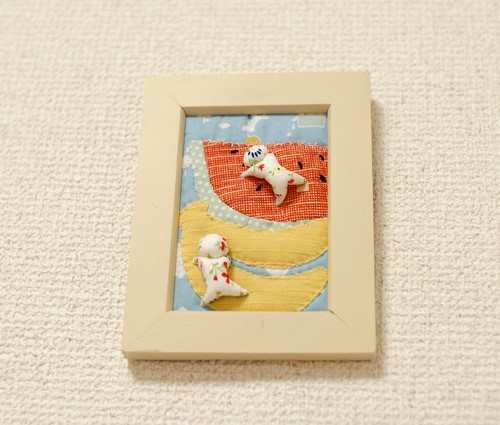
Today Mai from Mairuru shows you how to make a traditional Japanese figure with a great framing process too.
My friend gave me an idea to make a frame with my Sarubobo plushes. So I’d like to write here the process of making a frame.
To make it you need
- • a frame
- • fabrics
- • batting (of the size of the frame)
- • adhesive interlining (to make the applique)
- • embroidery thread (if you want to embroidery)
- • stuffing (for plush)
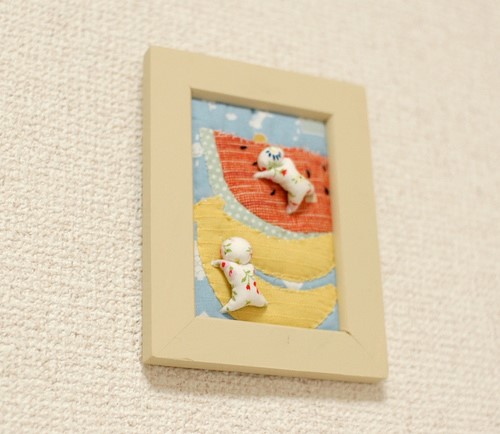
Sarubobo is a Japanese amulet, a baby monkey plush.
I used this frame. At first, I sized it and sketched. I’ll put two sarubobo plush on it, and I applique the fruits.
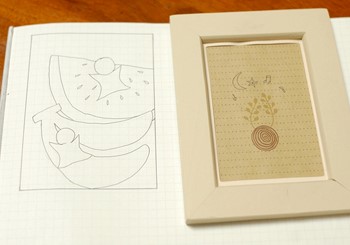
I copied the design in another piece of paper, and cut the pattern of fruits.
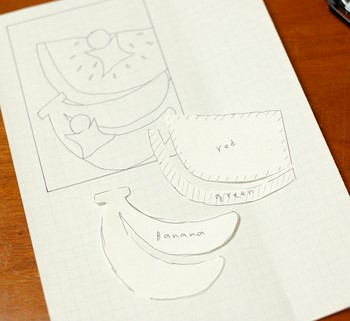
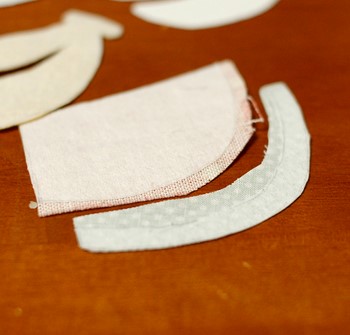
Then cut the adhesive interlining as the patterns. Please note that you should put the pattern of the wrong side upper, not to make it reverse. Iron them on the fabrics. Cut as the pattern line.
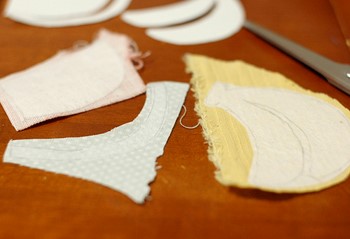
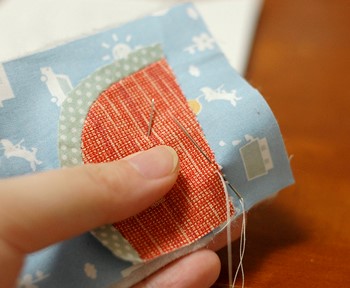
If you want to make something like the watermelon, please put 5mm allowance for the joint side, like the picture (the underside of the red, and the upper side of the green).
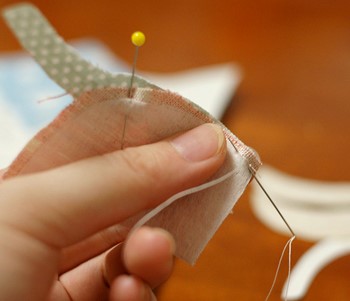
Then sew the pieces of watermelon together. I marked the center of the pattern and put a pin on the mark.
Open the allowance…
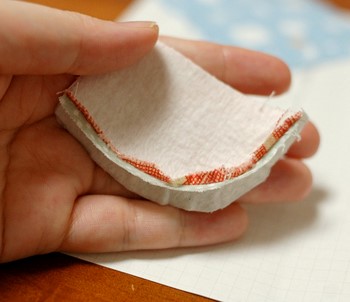
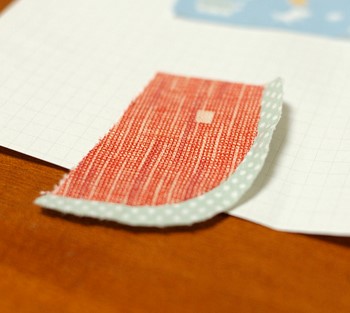
And iron it.
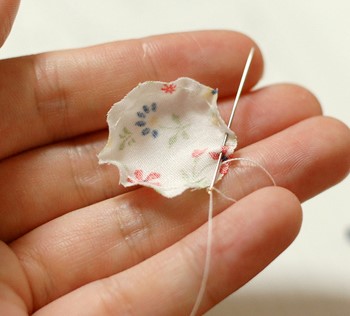
Then, sew the fruits on the back fabric. I put a low profile batting on it to give warm impression.
Sew the batting too.
Sew the edge line using blind stitch.

Then, make sarubobo plushes:
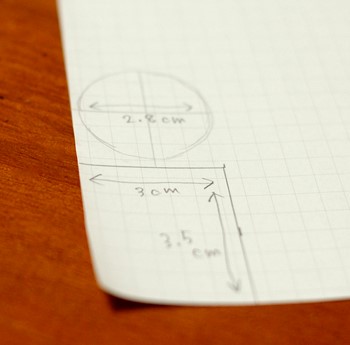
For this tiny frame, I make the pattern like the picture. For the head, 2.8 cm diameter circle, and for the body, 3 cm x 3.5 cm rectangle(includes allowances).
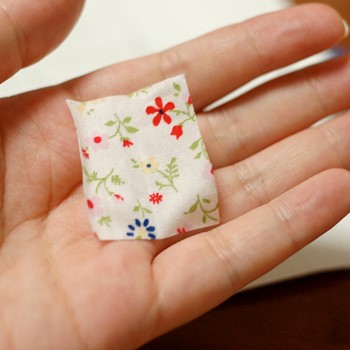
This piece becomes the body.
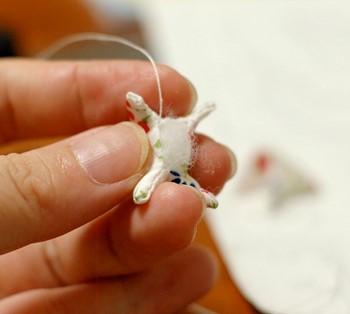
Each corner becomes the leg or the hand.
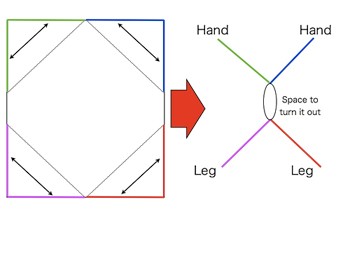
Fold the piece in bias making a hand, and sew the edge line.
Don’t cut the thread and sew to the other side.
You made two hands now.
Do the same thing on the other side.
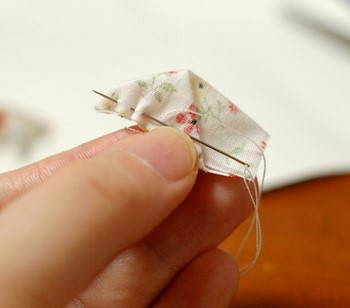
Turn it out. I use the needle to pull the corners of hands and legs. Then put the stuffing with thin stick (I used hair pin), and close the center space.
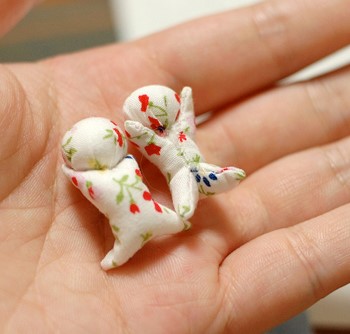
You made the body.
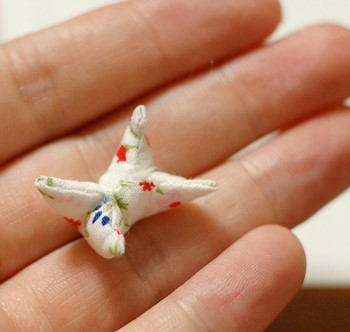
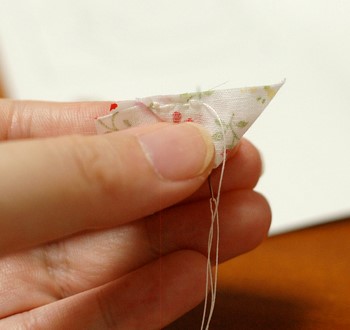
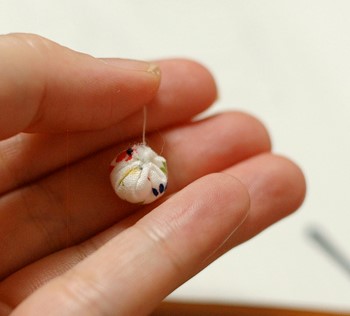
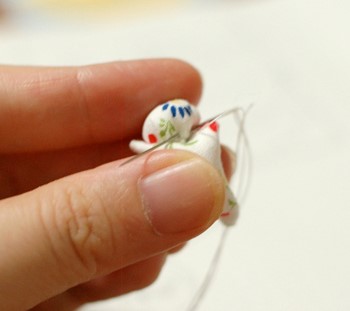
Then, make the head with the circle piece. Sew the edge line.
Put the stuffing on the center and pull the string. Make a ball. This is a head.
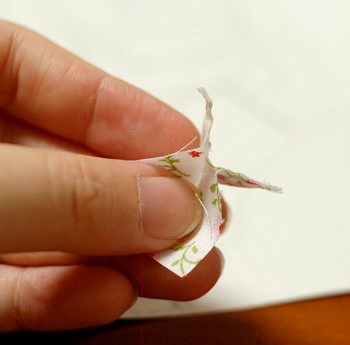
Put the head on the body and sew them together.
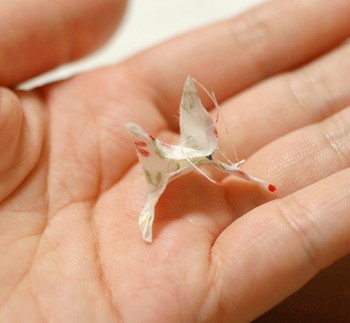
I made two sarubobo.
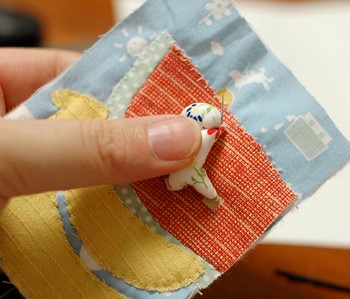
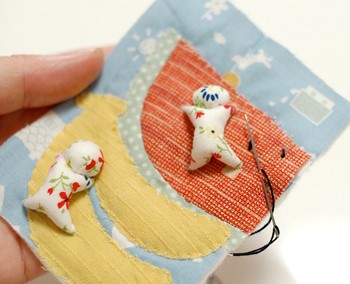
Put it on the fruit, and sew the four corner of their hands and legs.
At last I hand embroidered the seeds of the watermelon.
I made also the one climbing an apple tree.
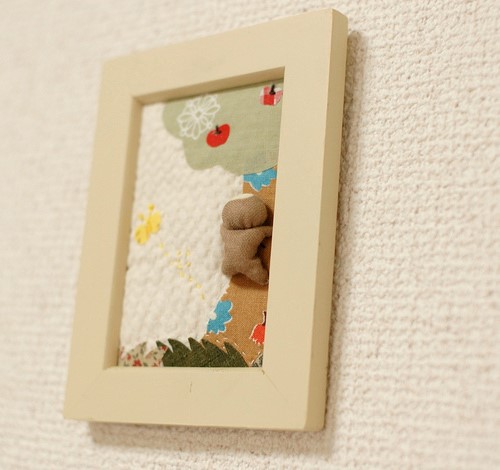
For this frame, I used the fusible web to put applique, so I didn’t sew it. It’s easier than using adhesive interlining, but the applique fabric becomes hard to embroidery. So I prefer using adhesive interlining.
Thank you for reading such a long article.
Enjoy sewing!