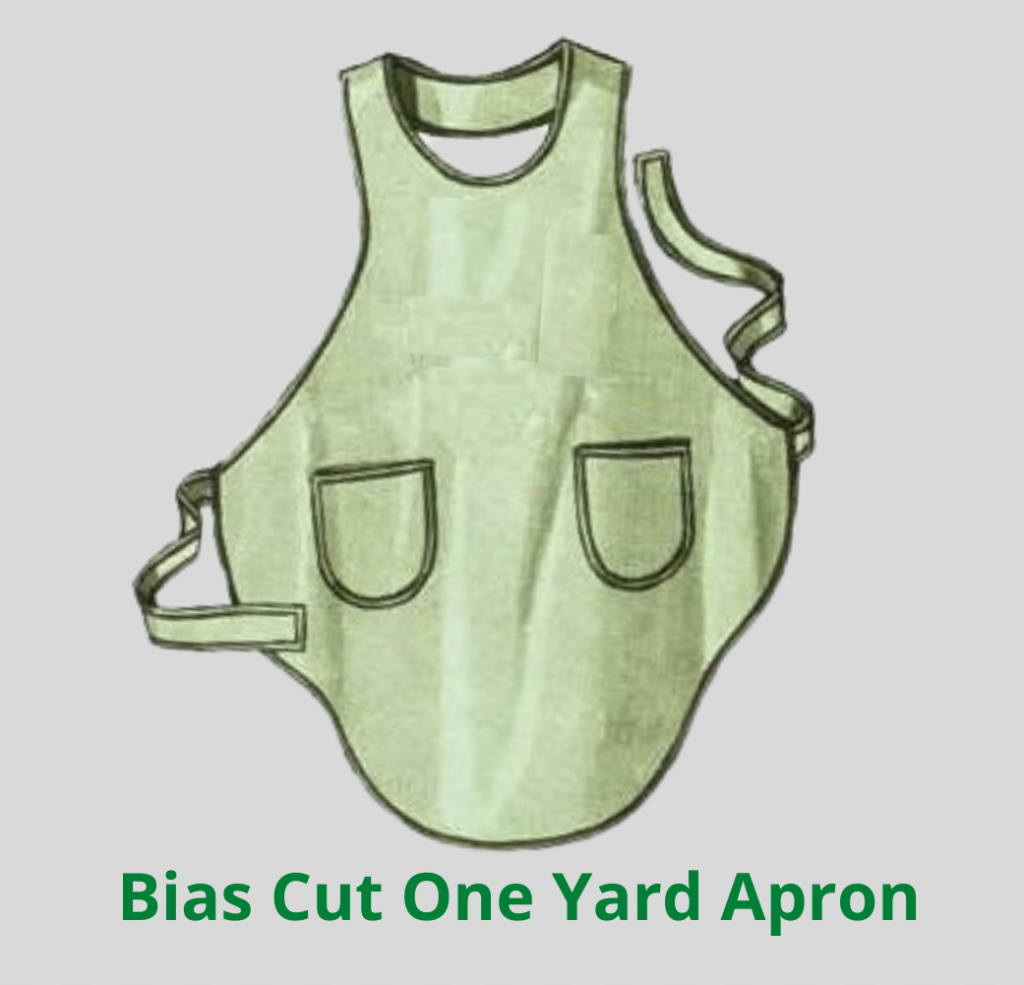
Flapper style bias cut apron with reversible option in one adult size and one child size.

Materials
Main Fabric: 1 yard
Contrast Fabric (optional): 1 yard
Finishing: 7 1/2 yds. Bias trim or 1/4 to 1/3 yard fabric to make bias tape
Overall Design and Fit
I made the single layer apron with bias trim edging. This is a very fashionable and beautiful apron with good drape. The pattern is very difficult to size before it is cut because of the bias cut. I ended up giving it to my friend who is 5’11” and if fits her very well (as you can see in the pictures!). I am only 5’1″ and the apron did not fit me.
The only place to size the pattern is in the neck area, which I did do after I had cut the pattern. This did not help enough and the only other instruction on sizing it down was to fold the apron at the waist and tie it as such. This made the apron all bunchy, so I gave up and tried it on a much taller person.
Additionally, the pattern mentions that if your waist is smaller than 30″ you may not need the ties at all and might prefer using a button to secure the apron instead. I am pregnant and my waist is 36″ at the moment and I still didn’t need the ties (it was far to big around the middle).
My favorite part of the apron is how it looks from the back. It is very stylish! I also like how the bias trim stands out and really outlines the apron.
Written Instructions
The written instructions in this pattern are lean. The majority of the instructions are for putting on the pockets. However, it is a very simple pattern. The apron itself is only one piece of fabric plus the ties and the pockets. I followed the instructions exactly and was not happy with the results. I would have finished the edges of the ties and the apron separately and then attached the ties. The pattern instructs you to attach the ties first and then finish the edges.
Diagrams / Images
There are no diagrams for this pattern except a cutting layout and the finished picture of the apron on the front. None are really necessary except I would have liked a picture of how to attach the ties.
Pattern Pieces
The pattern pieces are very simple for this apron. In fact, they come printed exactly as you need to lay them out for cutting. However, if you are using exactly one yard of fabric, this will put selvages in your cut pieces. I cut the pieces apart before I pinned them to the fabric.
Overall Level of Difficulty
This is a simple pattern to do even for beginners, especially if you are finishing the edges with double fold bias tape. (On that note, buy more than 7 1/2 yards of bias tape to account for mistakes).
Modifications
I mentioned before that I would finish the edges completely (all sides) of the ties and the apron before I attached the ties to the apron. Even using bias tape, 90 degree junction where the ties meet the apron are very difficult to manage. I did each one differently and they still turned out less than satisfactory.
Fabric Recommendations
I used good old 100% cotton, so it will wrinkle after it is washed. I wouldn’t use anything heavier since it needs to drape due to the bias cut. I would also not choose a design that has any direction at all (or any noticeable one, at least). If you are buying fabric online and don’t have the luxury of setting the fabric on point to envision what it will look like, just tilt your head to a 45 degree angle!
Conclusion
This pattern is quick and easy to make with only one yard of fabric (who doesn’t have one yard of fabric?). If you are average height or taller, it will look fabulous on you. It covers much of your clothing and is very cute and flattering in the back.
