Jen shares her great approach to adding a little (or big!) pop of fabric color in a room.
Fabric as Art
There was a great, huge expanse of nothingness in our bedroom, on the wall above the bed, and it needed to be filled. Large pieces of art can be expensive.
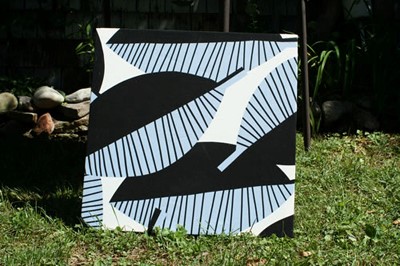
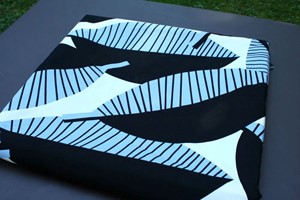
I thought there has to be some easy way to cover a wall with something interesting, without spending a fortune. I decided to use fabric. I chose a really bold, large print and stretched the fabric over stretcher strips. Here’s the end result– each piece is 24” x 36”.
Excited? Ready to do it yourself? It was super easy … and cheap.
For this tutorial, I’m going to make 1 piece of artwork, 20” x 20” square, like this:
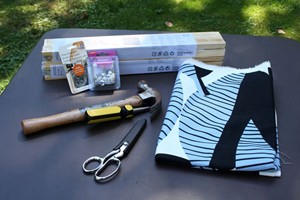
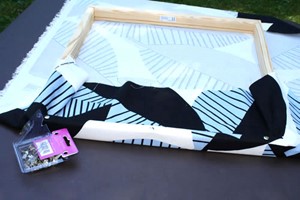
Materials you will need
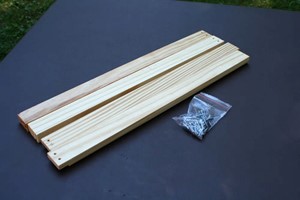
• 4 Stretcher strips, 20” long (prices range from $2 – $6 each), available at art supply stores, or if you live near an Ikea (and want this size) they have a set to make one full frame (4 pieces) for $5.
• 1 yard of fabric, or a remnant of fabric approximately 30” x 36”
• Flat top push pins, approximately 30
• A hammer (if you have problems pushing in the pins)
• Picturing-hanging wire and screw set
Optional
• glue or screws to hold stretcher strips together
• craft stapler
Cut the fabric into a piece approximately 30” x 36” in size. This will give you some wiggle room to decide on placement on the 20” x 20” inch frame.
Join the stretcher strips to form a frame. The pieces just slide into place at each of the corners. (Optional: When I’ve used stretcher strips in the past, I’ve found that they stay together, but if you are worried you can glue them or screw them together. I didn’t find this to be necessary).Or, if you are using the Ikea frame (like I did here), attach the frame with 2 screws in each corner, using the pre-drilled holes.
Place the fabric on top of the frame, to get an idea of what will display. You may want to tuck the edges around to get a better idea.
Once you are happy with your fabric placement, carefully turn the fabric and frame over, keeping the fabric in place.
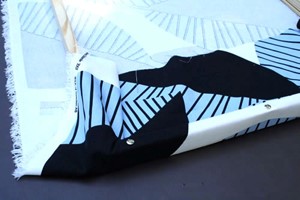
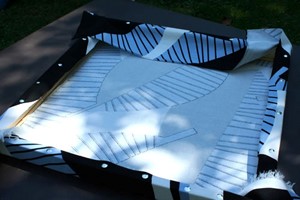
Starting with one side, fold the fabric over the edge of the frame, and use the push pins to pin the fabric to the frame. I pinned the middle first, then the corners, and then filled in along the rest of the edge with as many as I felt was necessary.
At this point, you should have the fabric secured well to one edge. Pull the fabric taut and pin to the opposite side, in the same manner as before. Check the front of the frame to make sure the fabric has not shifted. (This is why I use push pins instead of a stapler – I feel that I have greater control of the placement, and it is easier to remove the push pin to fix the fabric if it has shifted.)
Trim the excess fabric along the 2 pinned edges of the frame.
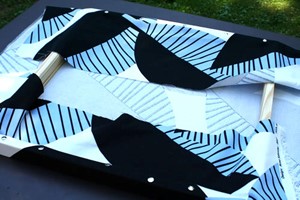
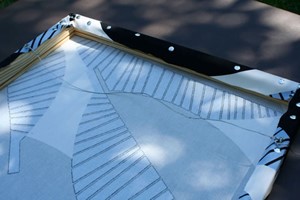
Now, pin the 2 remaining sides, making sure to pull the fabric taut and check to insure the placement is correct. Trim the excess fabric from these sides as well.
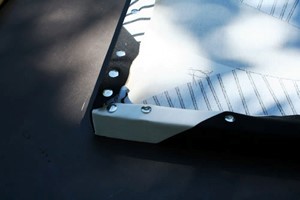
Fold the corners neatly, so you don’t have too much fabric bulk, and pin in place.
(Optional: Now that you have the fabric in place, use a stapler to secure it and remove the push pins. I don’t do this, but it will probably hold well for longer than the pins.)
Attach the small screws and picture wire to the back of the frame.
Admire your work!
Points to keep in mind
• If you are making more than one piece of art, and you are using a fabric with a distinctive repeat to the design, you will probably want to purchase additional fabric for matching.
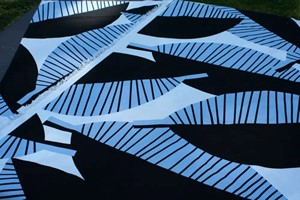
• Choose a large print. It looks better on the wall than a small print, and it makes a much bolder statement.
• Have fun with pattern and color! If you grow tired of the look, all you have to do is remove the pins and switch out the fabric.