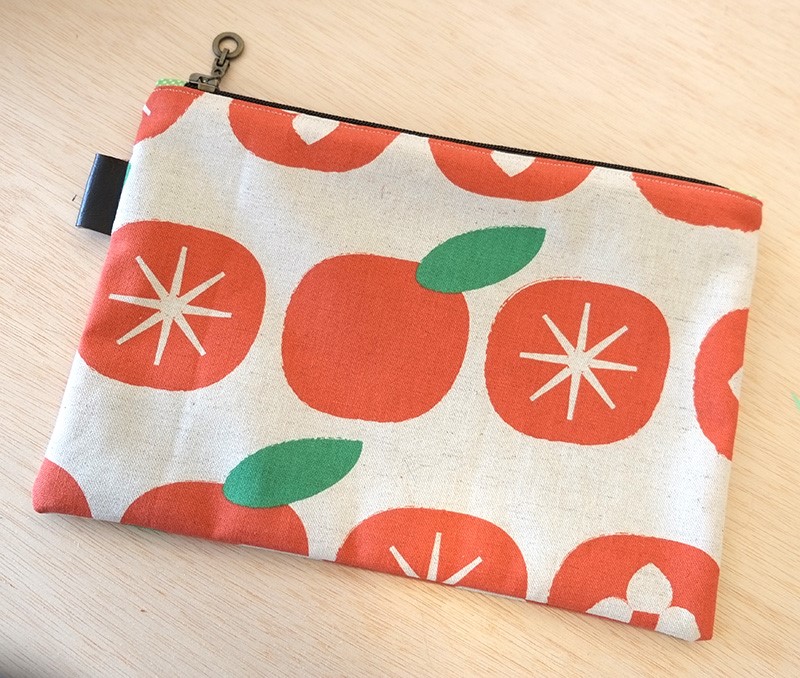
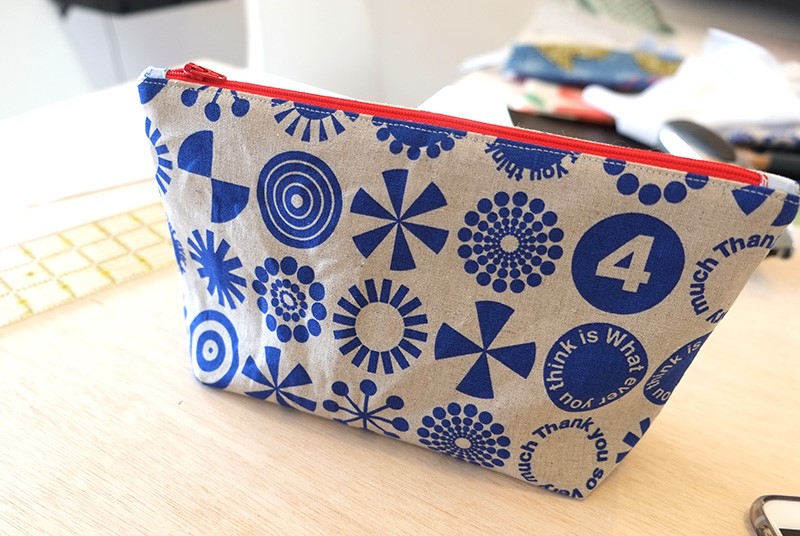
In this tutorial you will learn how to make no-stress tabbed zipper pouch at home with step by step procedure.
Zipper Pouch Tutorial
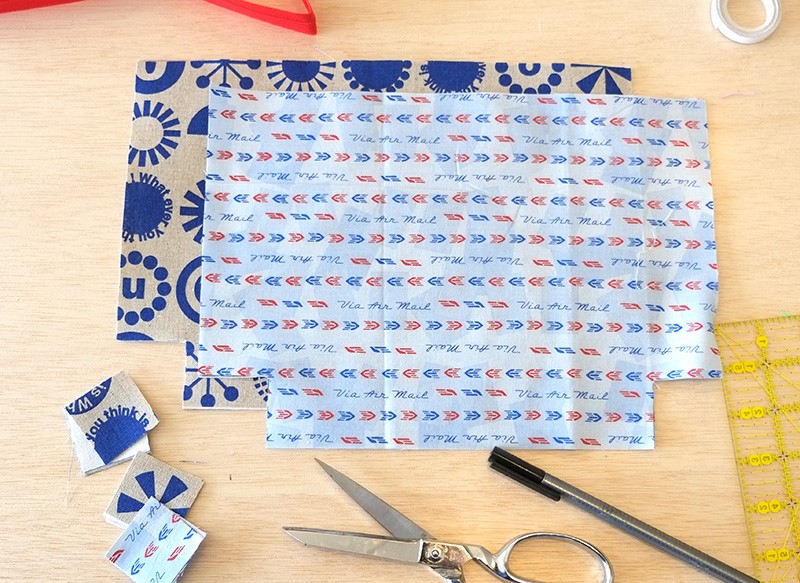
Materials Required
- • 2 fat quarters (exterior and interior of pouch)
- • ½ yard fusible interfacing
- • 1 10” zipper
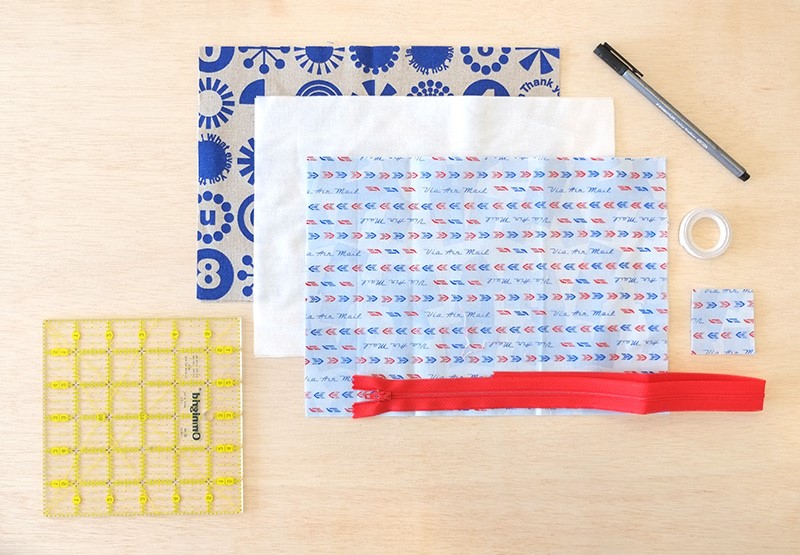
Supplies Needed
- • Rotary cutter, ruler, and mat
- • Iron
- • Double-sided sewing tape (Wonder Tape) or optionally, a washable glue stick
- • Pen or pencil
Zipper Pouch Making Procedures
- • Cut Fabric
- • Exterior: (2) 11 ¼” x 8”
- • Lining: (2) 11 ¼” x 8”
- • Interfacing: (2) 11” x 7 ¾”
- • Zipper tabs: (2) 2” x 2” (cut from either exterior or lining)
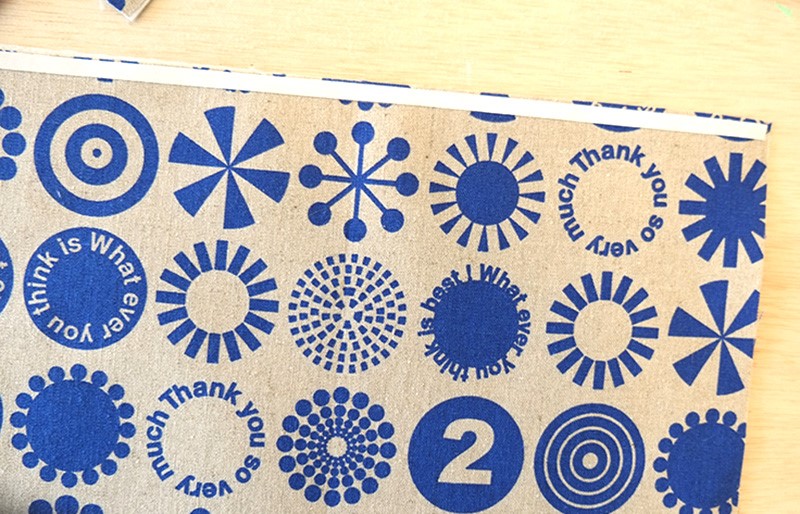
Fuse interfacing to the wrong side of the exterior fabric.
Cut 1.5” squares from the bottom corners of the exterior and lining pieces. (Skip for flat bag.)
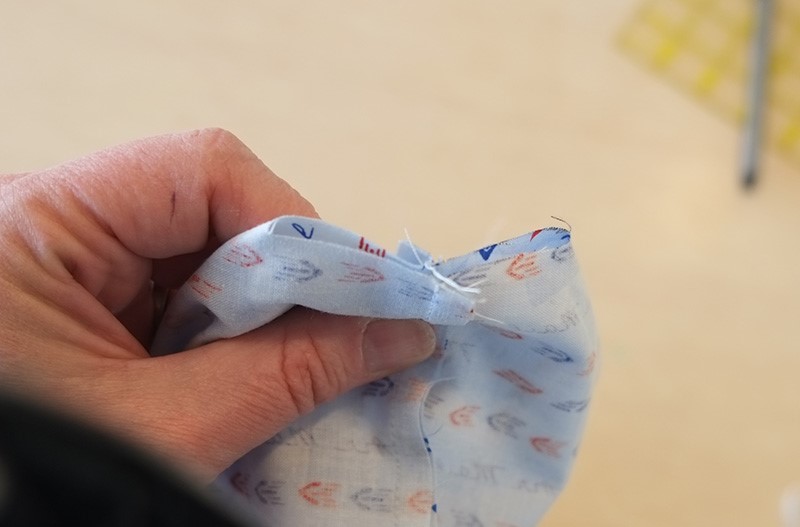
Fold zipper tabs in half, press and open, then press edges toward center crease.
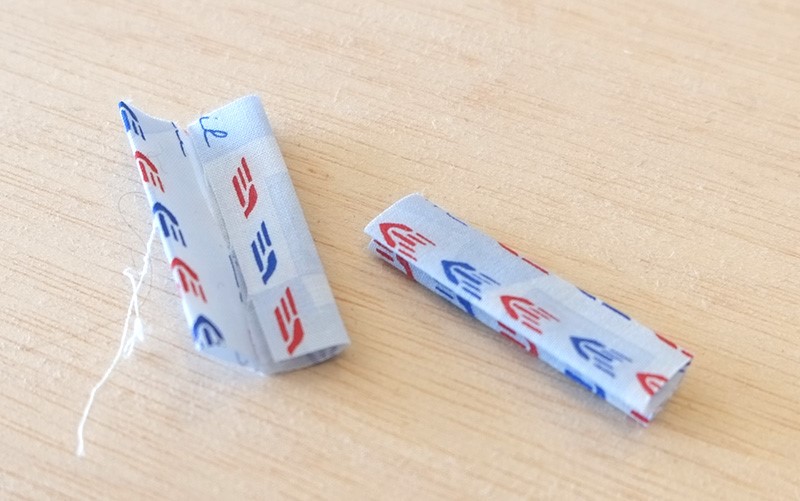
Trim zipper tape, leaving about 1/8” at each end. (I temporarily put staples in the keep the open end together while I sew the tab on.)
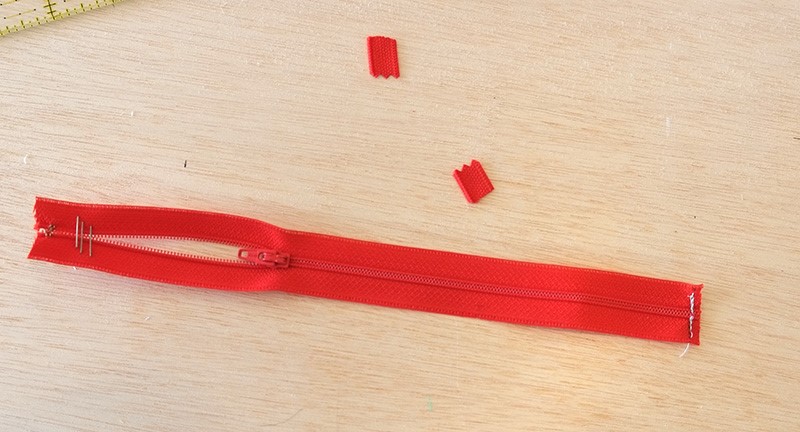
Place zipper end in fold of zipper tab and sew. (It’s okay to sew across the plastic teeth, but don’t hit the metal zipper stop.) Trim tab so it’s even with the sides of the zipper tape. Repeat with the other end.

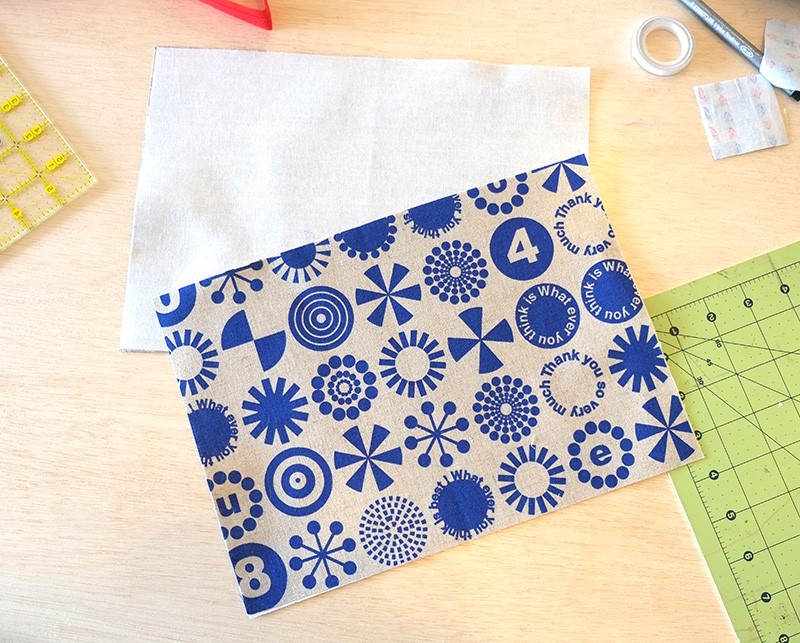
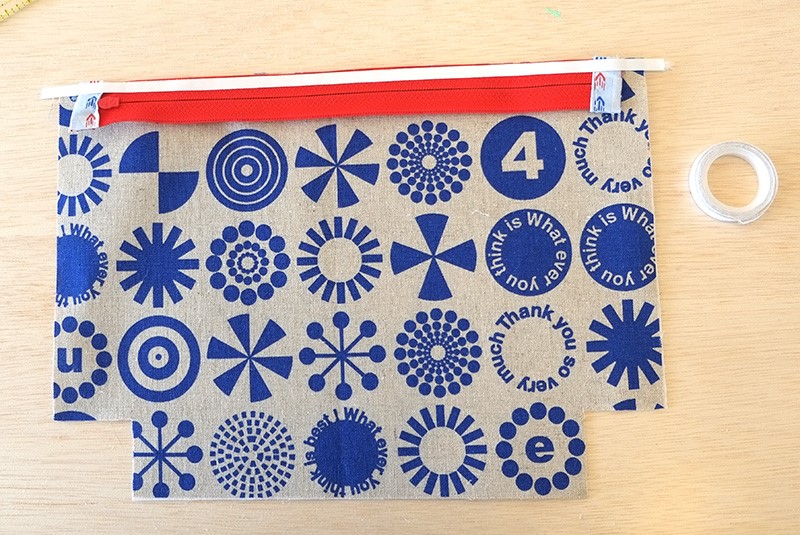
Place one of the exterior pieces right-side up on your table. Run Wonder Tape along the top edge, secure well, then remove paper backing. Center the zipper face down, with the pull on the left, and press the top edge into the Wonder Tape.
Next, run Wonder Tape along the top edge of the zipper (as shown.)
Place one of the lining pieces right-side down on the tape and finger press. Using a zipper foot, sew all the layers together. Sew approximately 1/8th” away from the zipper teeth.
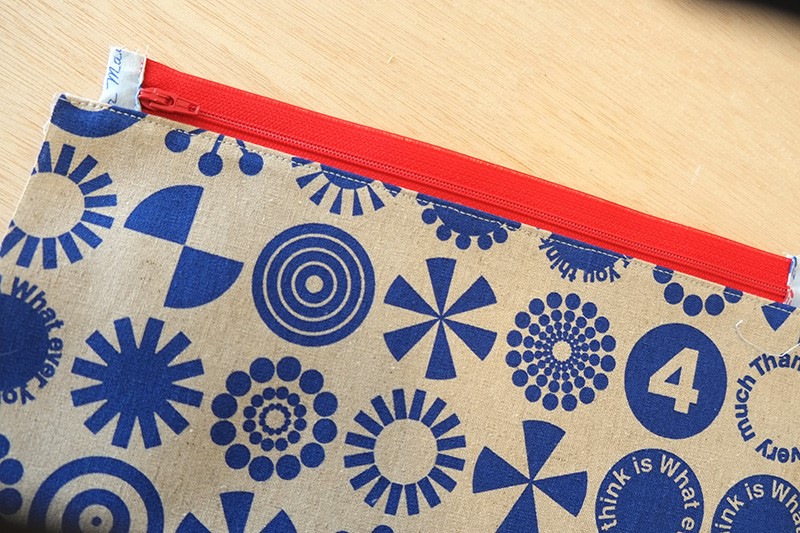
Flip the lining to the back. Press and top stitch.
Repeat Steps 7–9 with other exterior and lining pieces. Open zip halfway before next step.

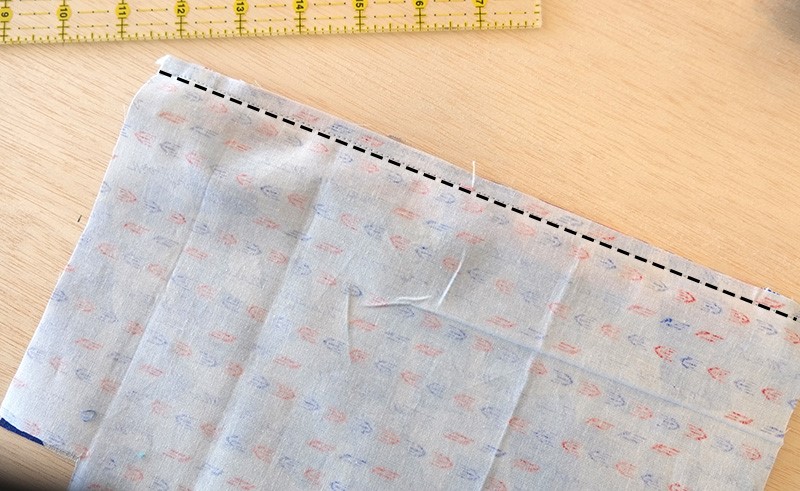
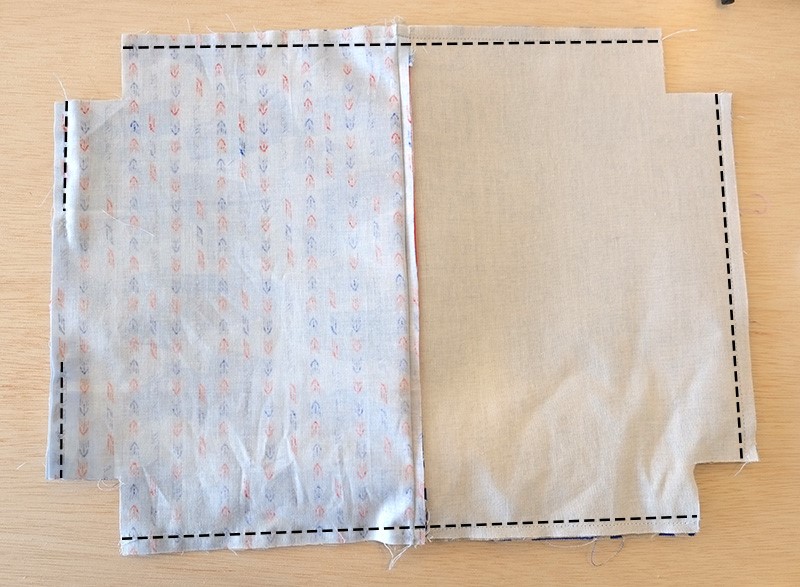
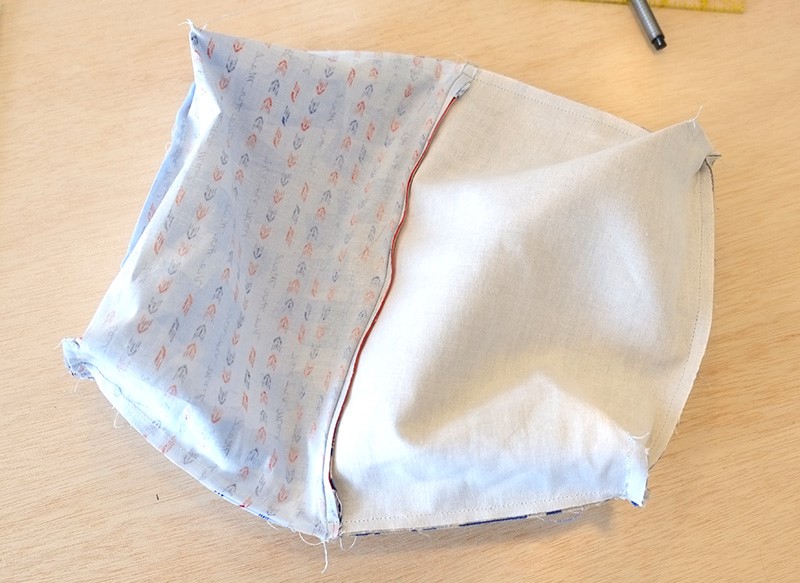
Bring linings together and exteriors together. Line up seams at zipper tabs and pin. Using a 1/4” seam allowance, sew sides and ends. Leave a 3-4” opening in the lining end for turning. As you sew sides, make sure you don’t sew through zipper tabs.
To box the bottoms, open square and match side seam to bottom seam. Sew with ¼” seam allowance. Repeat with all four corners.
Turn bag out through zipper and lining. Hand or machine stitch the opening in the lining.
OPTIONS: For a flat bag, skip steps 3 and 12. To add a tab or strap, attach at step 2.